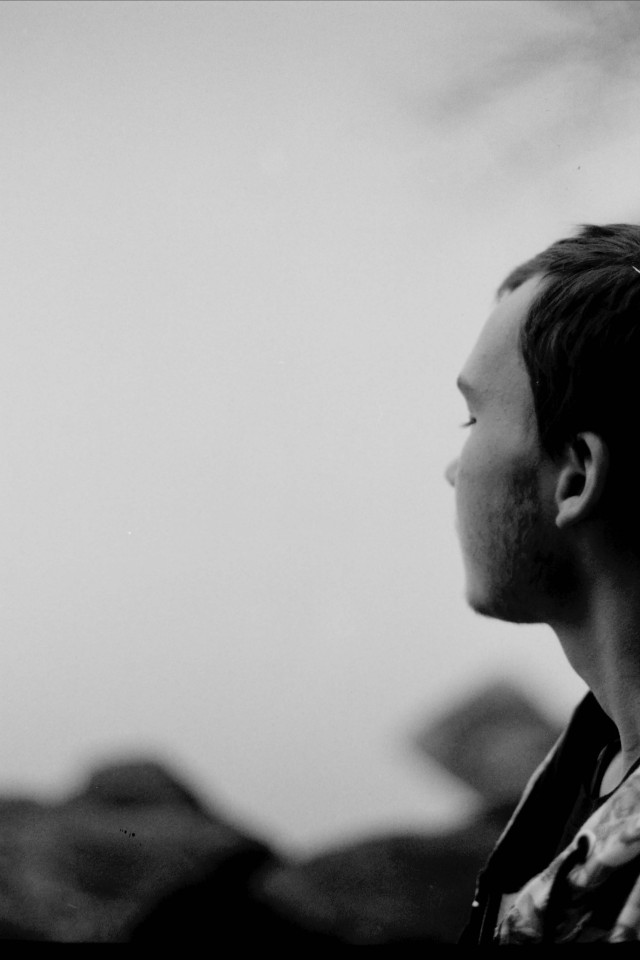
#bw film


Olivia Knox by Alfredo Cristinziano
Via Flickr:
GirlsWithCameras polaroid600se | fp-3000b www.zianophoto.com
Post link


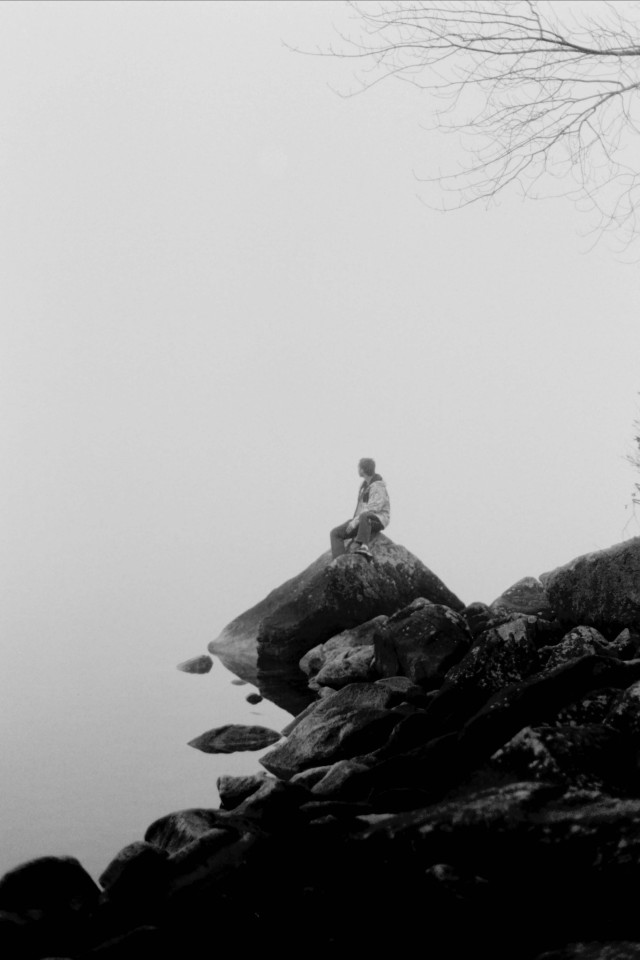
A tree in a lake winter edition.
Canon EOS Elan 7, 20-35mm, 135 Ilford Delta 100
Winner of the landscape category of Auckland Camera Centres annual photography competition 2021. Social links below!

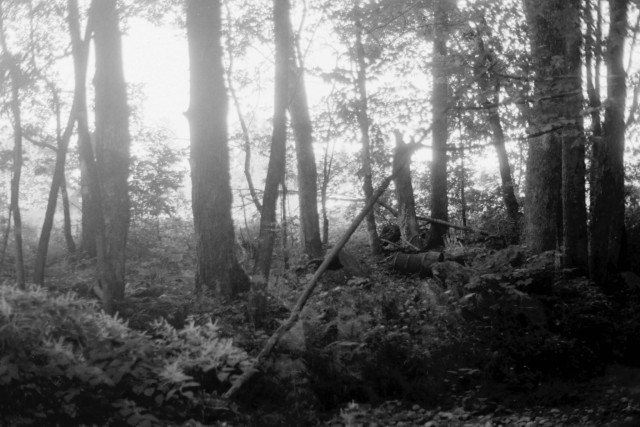
Just got my roll of B&W back! It was expired, but Ilford 125 iso nonetheless, so a lot of it turned out pretty well!
Here’s a shot of Luna looking resolute near my home.
Post link


Ilford FP4
Minolta SRT 101


Messed up pictures of a Christmas tree
Ilford FP4
Minolta SRT 101


Arista EDU Ultra 200 (expired 2016)
Minolta SRT 101

Arista EDU Ultra 200 (expired 2016)
Minolta SRT 101

Arista EDU Ultra 200 (expired 2016)
Minolta SRT 101


Arista EDU Ultra 200 (expired 2016)
Minolta SRT 101


Ilford FP4
Minolta STR 101


Ilford FP4
Minolta STR 101


S.V. Creaky
Ilford FP4
Minolta SRT 101
I tried making prints again today, and I made some progress and ruled out some of my previous issues. I started off with a fog test of my safelights using new, unopened, and refrigerated paper. I covered sections for 5 seconds at a time, to have a strip exposed to just the safelight for 5 seconds, and then 10, going all the way to 25 seconds. The result was a mostly white paper, with the slightest grey gradient at the bottom edge of the paper. It was the one on the left side in the first picture, and it’s labeled ‘2’ in the third image.

The paper on the right was exposed to a negative in the enlarger in the same way as the fog test, but after about 30 seconds in the developer, it looked like that. Here is what it looked like in the enlarger:

I tried a test print again, with the enlarger on, but no negative in it (number 1 in the image below). I still got some weird effects, and with this and the fog test, I was able to rule out the safelights or any light leaking into my darkroom as a problem.


Picture 3 is the first print I’ve made that has somewhat of an actual image on it. For 3-6, I cut the 8x10 paper into four 4x5 pieces. I was still experimenting, and I didn’t want to waste my good paper. For these four, I had also left the enlarger a the focus for an 8x10, so these are cropped images. Below are the scans of the pictures for 3-5, but I couldn’t find a scanned version of 6.
I realized that there must have been an issue with the enlarger, and everything was getting overexposed, so I decided to try just exposing it for 5 seconds, and then for developing time, just pulling it from the tray before the whites started to get too dark. The contrast was still really low, and the developing times were very short for what the instructions with the paper had said.


For prints 7-14, I made a matte, and set the enlarger to be focused for a 4x5. 7 was the first one I used the matte for. I accidentally forgot to put the negative in, and the paper wasn’t correctly lined up. This did give me a chance to test the matte, and then I made marks on the paper below it to properly line up the prints.
8, which is upside down, was of the same picture as 9, but I had had the aperture on the enlarger wide open.
After that, I decided to mess around with the aperture, and I got prints 9 and 10. Below are the scanned pictures for 9 and 10. I still had an issue with the contrast, and there were still those swirly dark spots, which are most noticeable in the sky in picture 10.


I had thought part of the uneven development could have been because of how I was putting the prints into the developer. It often made those diagonal lines, and I realized it must have been because of the trays I have. They had these herringbone grooves on the bottom, that I think that the developer was settling into those grooves, or that it was changing how the developer was getting to the paper. The first print (13) I had exposed after trying different, flat-bottomed trays, got a fingerprint on it, but by looking at the sky, it would have come out ok aside from the contrast.
I don’t even know what happened to 14. I did the same thing as for 13, but the development was uneven. It may have been that The chemicals where starting to get contaminated, but I still think it looks cool.
It felt like each time I thought I had fixed one problem, a new one showed up. Although none of the prints really looked how they were supposed to, I made a good amount of progress today.


Ilford FP4 125
Minolta SRT 101


Ilford FP4 125
Minolta SRT 101

