#chickencoop


Over 1,000 likes on our Facebook page already! This is crazy, seriously thank you everyone for all the love and support. It means the world! @redleafranch ✨
.
.
.
.
.
.
.
#homestead #homesteadersofinstagram #farm #farmlife #citytocountry #sustainableliving #vegetablegarden #chickencoop #chickens #babychicks #countrylife #loveanimals #vegetarian #petchickens
https://www.instagram.com/p/CANbsrpF7Ps/?igshid=d6b3g73ide4g
Post link
#Repost @john_hunt2743
…
First Day On The Job At @chickfila !! #johnhuntvoiceover #johnhunt2743 #johnhunt #teamjohnhunt #Viral #explorepage #lol #funnyvideo #funnyvideo #chickfila #chickenwings #chickenrecipes #chickencoop #chickfilamoms (at Downtown St. Louis)
https://www.instagram.com/p/CWJf4Ocpndb/?utm_medium=tumblr
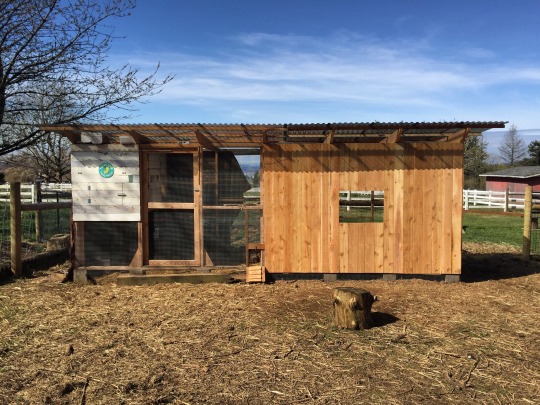
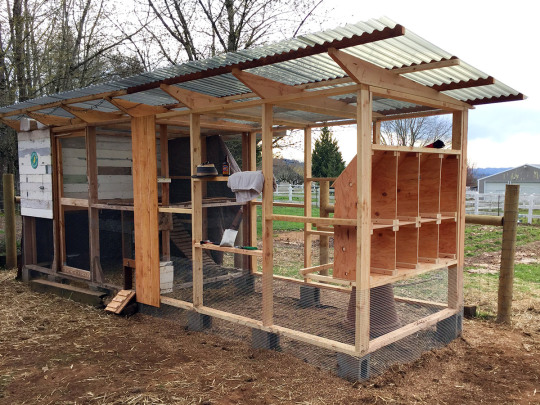
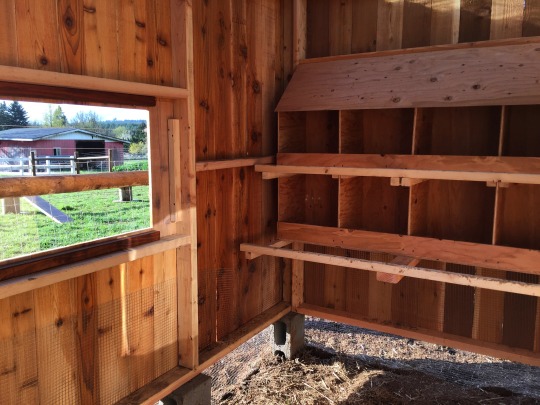
With 16 chicks in the brooder, it was time to build an addition to the chicken coop. I decided to basically build the same coop again, right next to the existing one. (Big thanks again to The Garden Coop plan this is based on.) Only this time, it will be sided for shade in the summer and protection from the rain the rest of the year. I also designed a set of eight nesting boxes for the wall on the end.
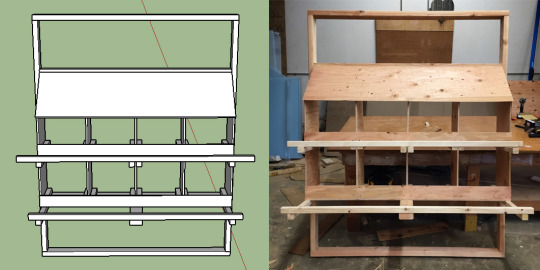
I started with the nesting boxes. With the constant rain, I wanted a project I could do in the garage where it was dry. I designed them in Sketchup, cut all the wood, and got to the glueing, nailing, and screwing. It came out looking pretty much like the design. Then I built the other two walls and waited for a sunny day.
When the sun came out, I mapped out where everything would go, and sunk the cinderblocks into the ground in approximately the right places. The cinderblocks will keep the whole thing level and up off the ground. The chickens supervised me closely.
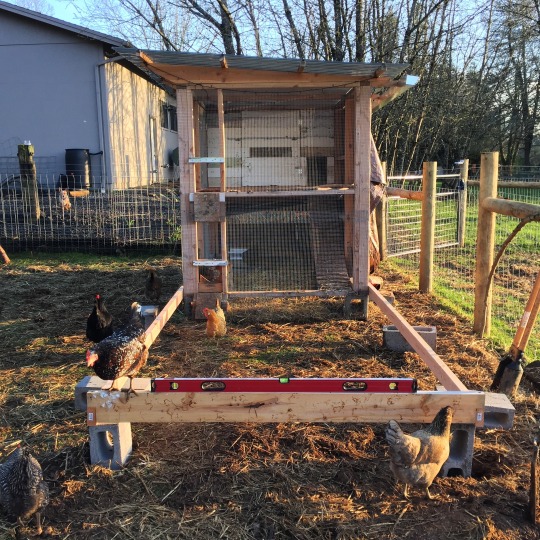
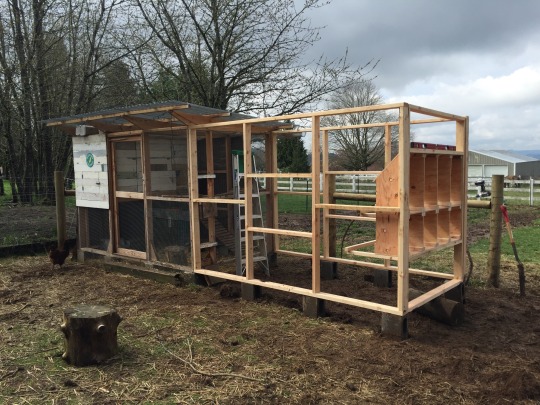
Then we got the walls in place and screwed together.
The chickens got the idea pretty quickly.
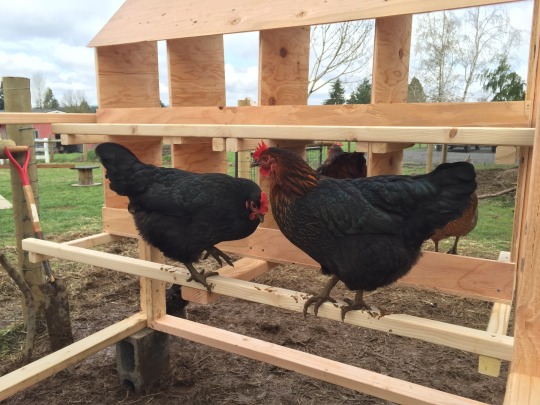
The goats also wanted to help.

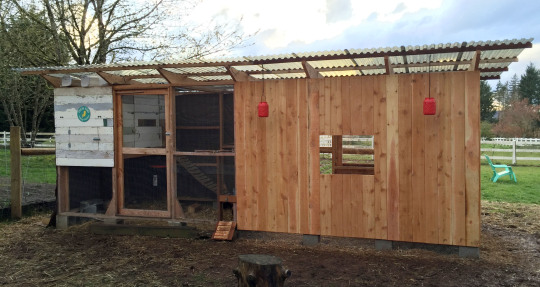
Then I could really get to work. I installed the rafters, extended the roof across, dug a trench one foot down around the entire perimeter and installed wire mesh around the exterior (this is a barrier against any critters digging their way in), and replaced all the dirt. I also added a new chicken door to the front of the old coop, since the old ones are now inside the addition.
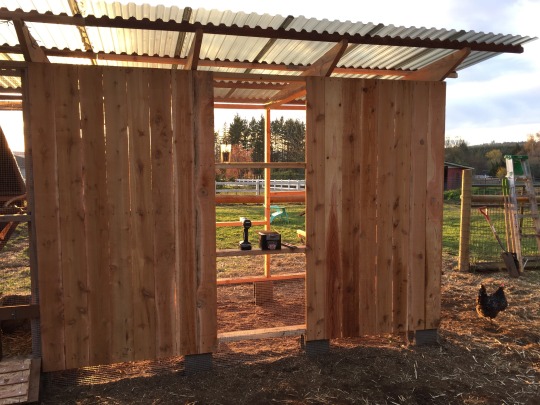
Now I could work on installing the siding. I used cedar fence boards because they’re cheap and I like the way they look. It also matches the goat shed.
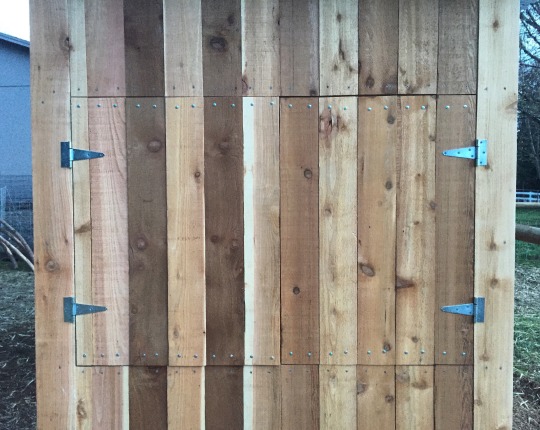
The hardest part was getting the outer nesting box doors on and functional. It required a bit of trimming and cussing. I have a new appreciation for cabinet makers.
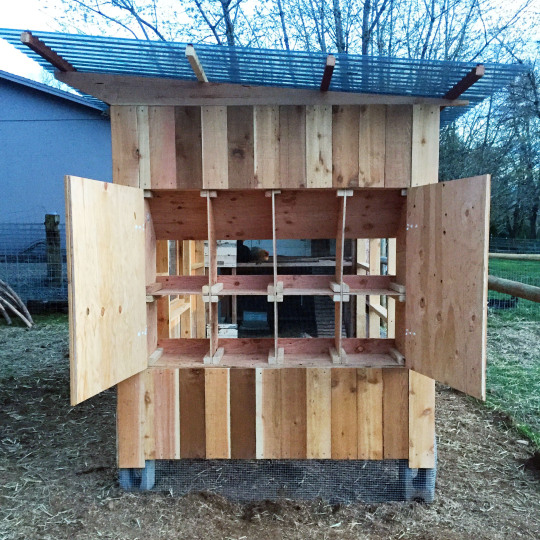
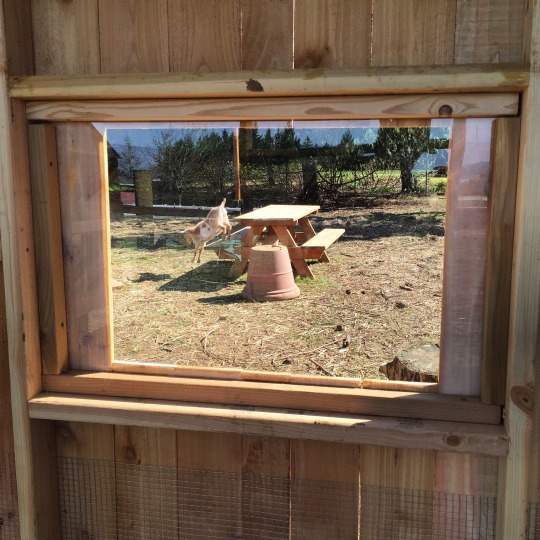
I also added plexiglass windows in the center of each wall, so the chickens have a nice view and we can glance in to check the nesting boxes.
Finally, I added a couple hanging solar lanterns. Gotta class the joint up just a little.
I’ve left the interior wall up for now, so we can keep the new chicks separate for the first week or two. I’ve heard that’s a good way to introduce them. But when that’s done, I’ll be able to remove the divider and it’ll just be one big coop inside. I’ll also then be able to run roosting bars along the length of the interior.
I’ve read that you need one nesting box and two square feet per chicken. So now, with 10 nesting boxes and 100 square feet, this coop could accommodate 50 chickens. We’re only up to 23 now, so that gives us plenty of room to expand in the future.
I’m pretty stoked at how it came out.