For me, I grew up making them in fall and winter because that’s when my family made tamales. Hojas, or corn husks were an integral part of the process and without them, no tamales. So we always had more than we needed. Better to have more masa than meat. And better to have more hojas than both.
Here’s a little corn doll you can make as a gift, a fetish, a poppet or whatever your tradition holds. It’s not my business what there for, but here’s how I make them.
So I went a little crazy writing again and still pulled myself back, so history of corn dolls is below the tutorial Based on requests, I’ll be focusing on ways to make these poppets instead of spirit dolls (though I may make another post for the spirit component at a later date). As a poppet, these will last as long as you need them to, they will dry completely within a day and keep indefinitely. Once you’re done or you want to end the working, these poppets burn rather easily.
Materials: scissors, string, and corn husks. Optional, use the corn husks instead of string, either cut thinly, or braided….and water. Super simple.
Step 1: soak the corn husks (about 6) in warm water for at least 5 minutes to make them pliable. You may need to weigh down the husks to keep them submerged…I only had a pomegranate on hand since I’m at work.
You can add ritual oils, dyes, herbs, or whatever you need to imbue to whole thing with your purpose. I used an oil blend for protection.
Step 2: take the husks out and pat them dry with paper towels to get off excess moisture.
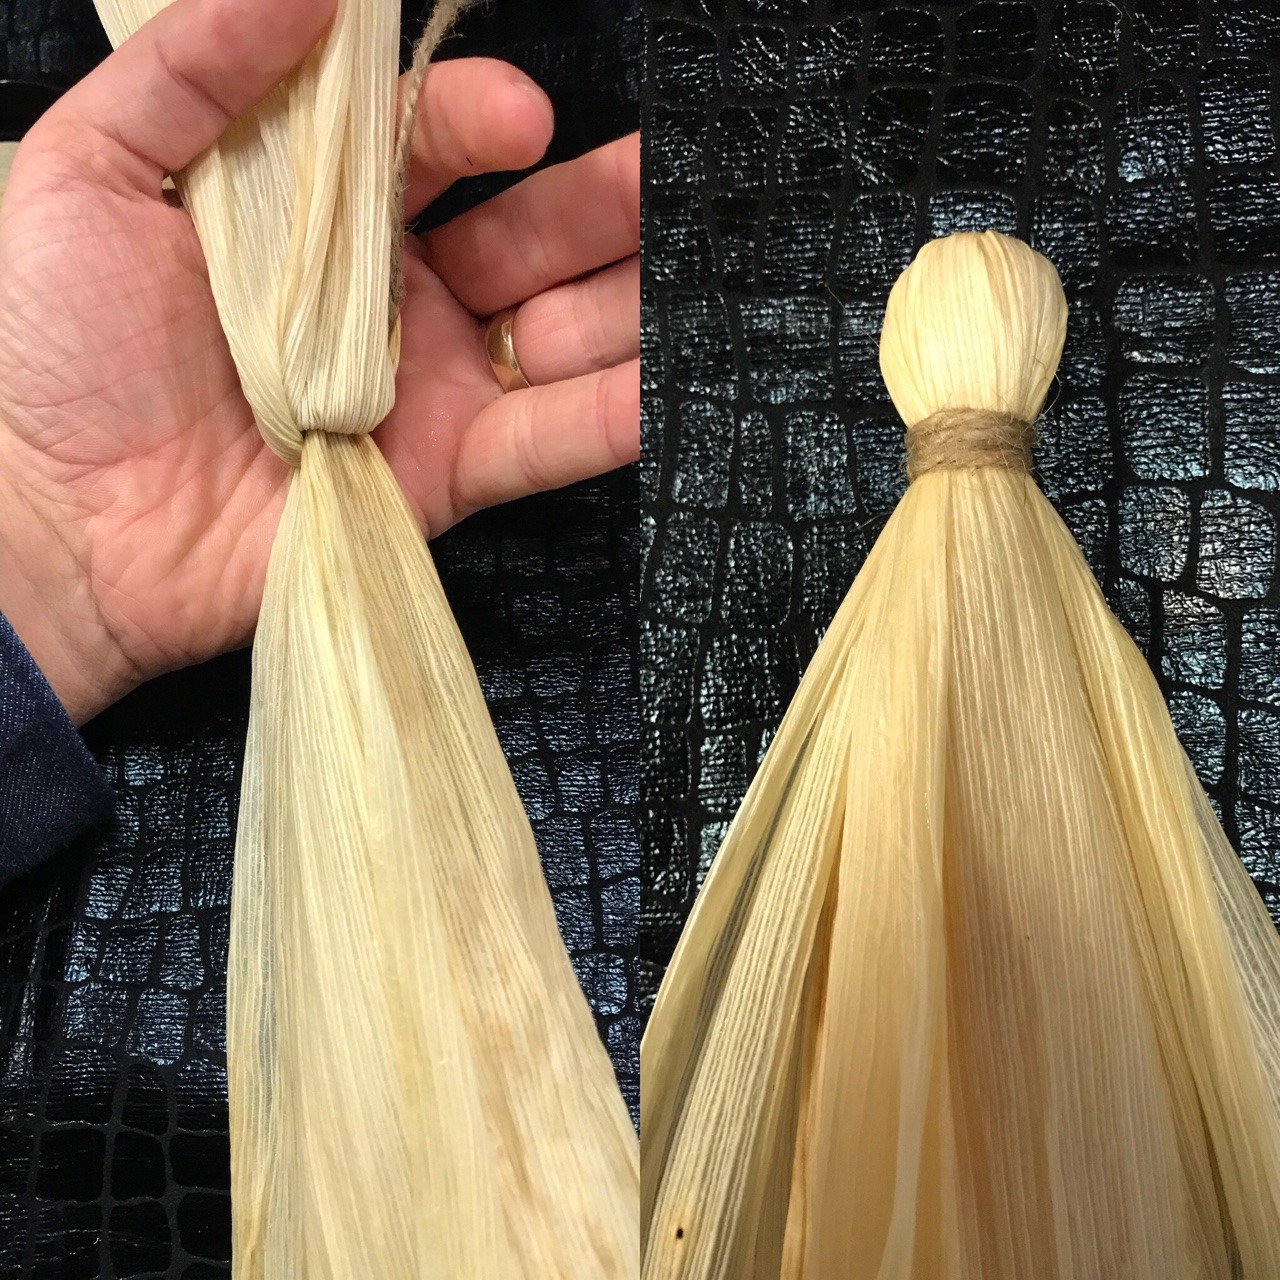
Step 3: gather the thinnest points of the triangular husks and tie them off about an inch from tip.
Step 4: fold the lengths over the tied off end.
Before folding over, you can add a taglock to the tied off edges because folding them over will encase the taglock and form the head of the doll. For reference, add the taglock to the right of the twine in the above picture.
Step 5: Once all the lengths have flipped over the taglock and tied off section, tie string around the folded part to create the head.
You can introduce knot magic or color magic with the string. If doing baneful magic, you may want to make this into a noose.
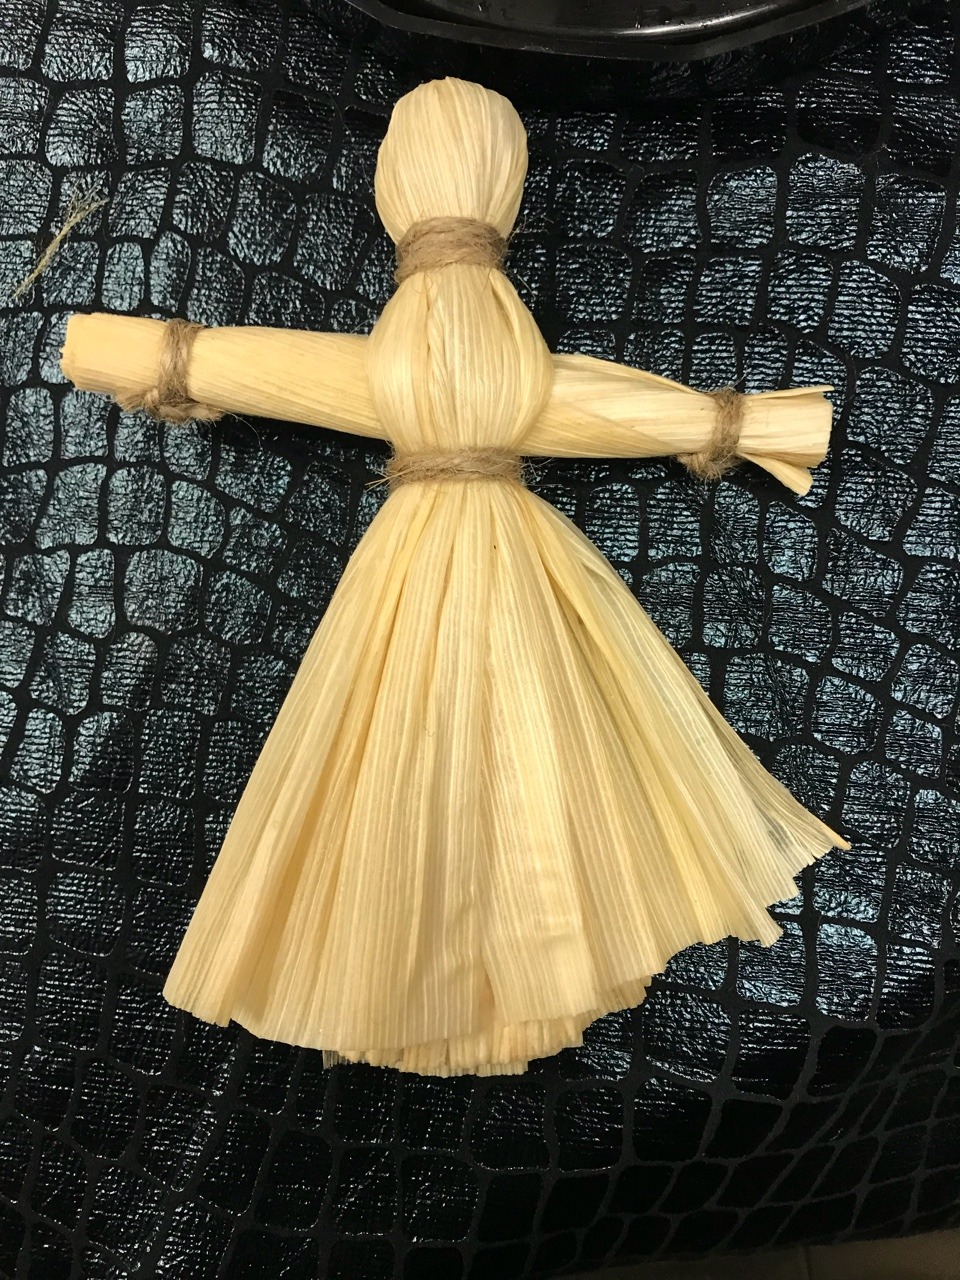
Step 6: take one corn husk, and fold in half. Tightly roll and tie off the ends. Trim the edges. This is also a section where in folk practice, the arms may be braided instead.
If your tag lock was too large, or you want to include a sigil, written spell or other component, roll it into the arms. Whatever is at the most central point will sit where the heart is.
Step 7: separate the “dress” portion of the doll, and place the arms just beneath the neck. Once in place, tie off below the arms, this forms the waist.
Step 8: This section will vary doll to doll. You can leave it as is and make a dress. Or you can cut straight down the middle and make legs. I left a front and back section uncut to make this into a robe, covering the legs.
Step 9: Optional, but you can split a section and drape it over the shoulders, tying it off and creating an X, sealing the intent into the doll.
From there, do whatever you need to do with the doll to continue the spell you’ve done. You can toss it in a jar and label honey over it and other spices for a sweetening spell. Put it in a box with nasty things for a curse. Completely tie it off for a binding, or give t encouragement for some sympathetic magic/mood boosting to tour target.
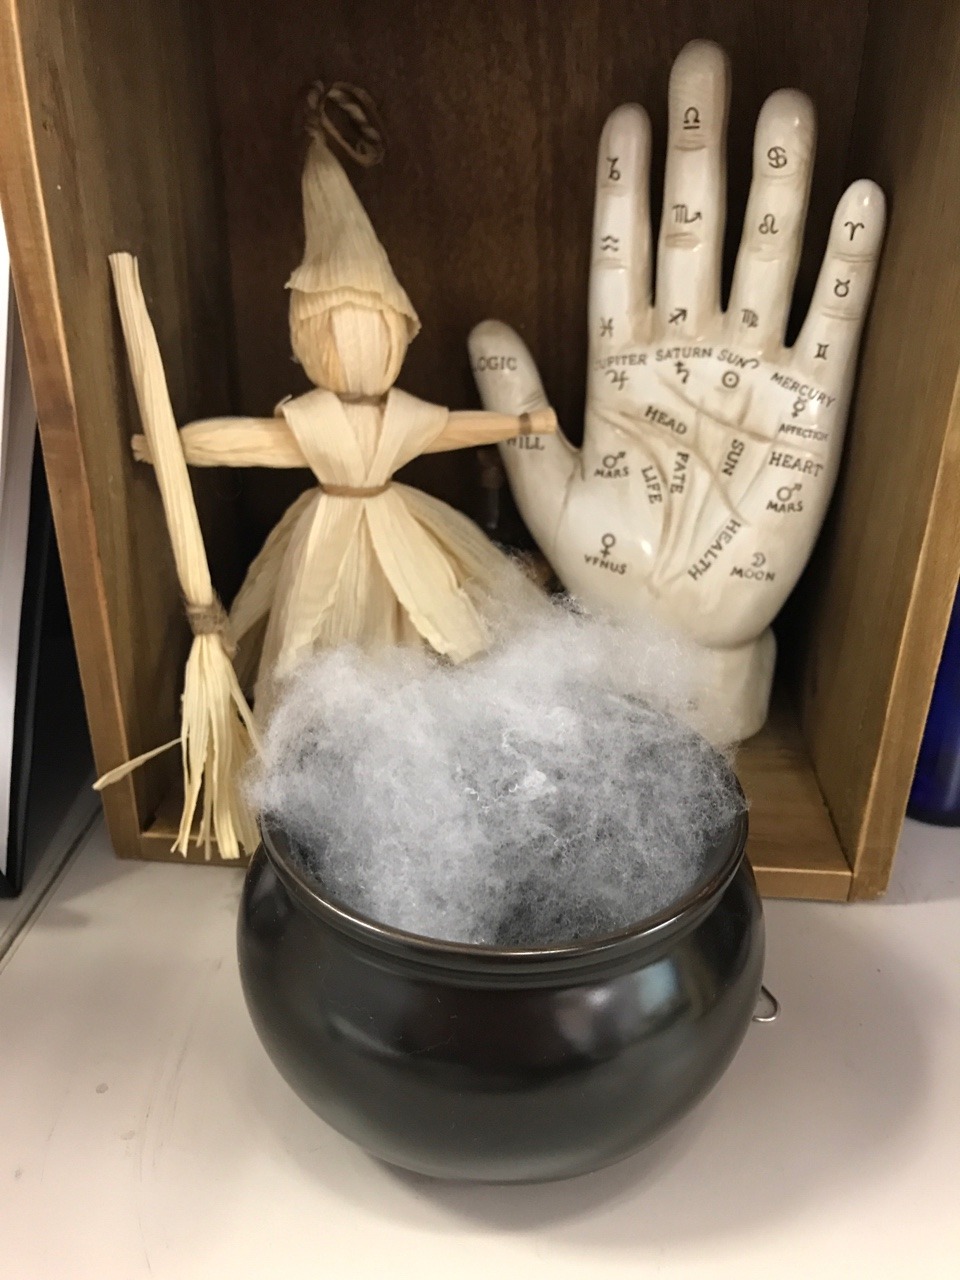
You can also dress them in fabric or make adornments out of husks to further their likeness to the intended. The very first picture is a witch, capped in a hat and broom, so get creative!