#embroidered animals

Holi is a popular ancient Hindu festival, also known as the “Festival of Spring”, the “Festival of Colours” or “The Festival of Love” and is celebrated in March on differing dates each year to mark the arrival of spring, the end of winter and the blossoming of love. The annual event commemorates the triumph of good over evil, while also celebrating fertility, colour and love.
In 2019 I was commissioned by the fashion label Saloni, to make two identical bindings for photographs taken during this festival in India in 2018. Named “Holi Saloni” the festival was a celebration of Holi teamed with Saloni’s exacting sense of colour, cut and imaginative collections.
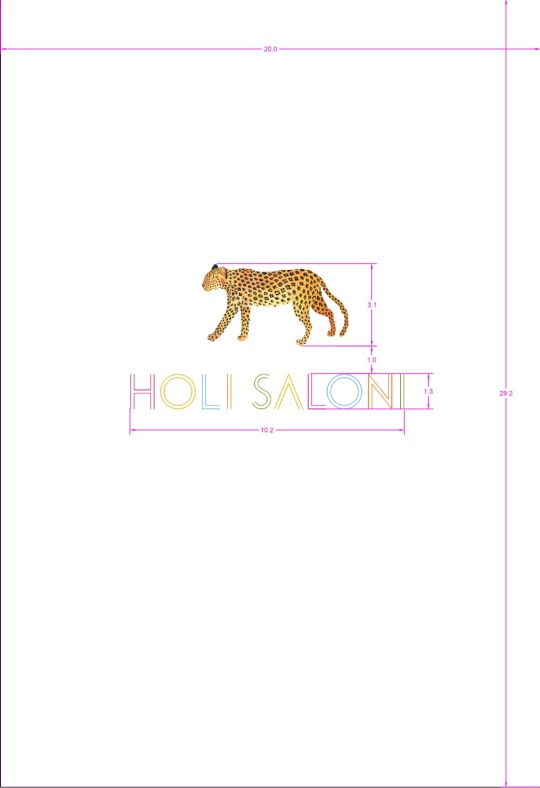
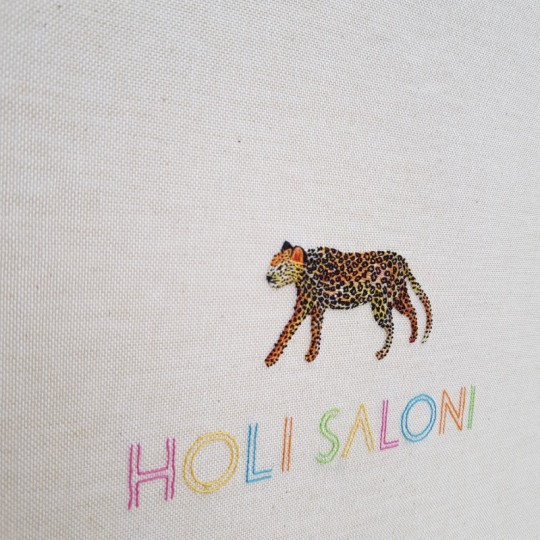
The brief set was to create two bindings with the below hand-embroidered design on the cover; the “Holi Saloni” title with a leopard above it.
The bindings were to be covered in a neutral linen bookcloth that I ordered from Winter & CO, “WICOTEX® - Natuurlinnen 2041 - Tamar Cream Natuurlinnen”.

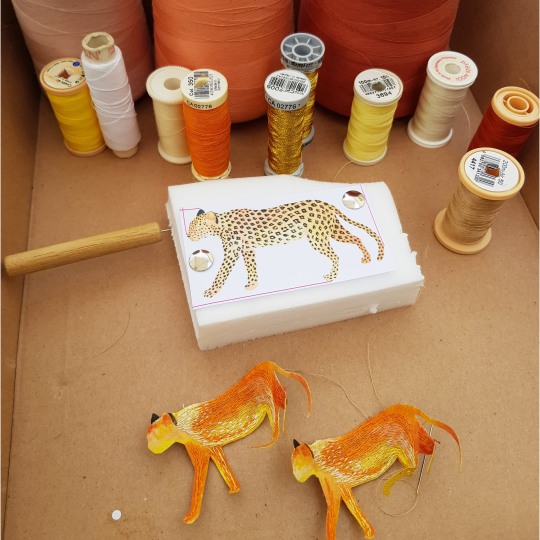
I decided the best method was going to be to work on the leopard cut-out off the book. As the bindings were going to be quite large, the linen book cloth was going to be difficult to embroider onto so this was to aid this part of the process to make it more manageable.
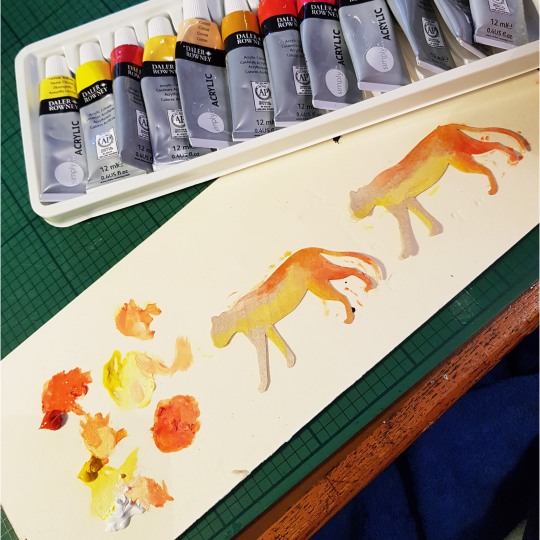
I cut out the leopard outlines from thinly pared pale yellow leather. The onlays were then painted with acrylic paint to build up a background colour.
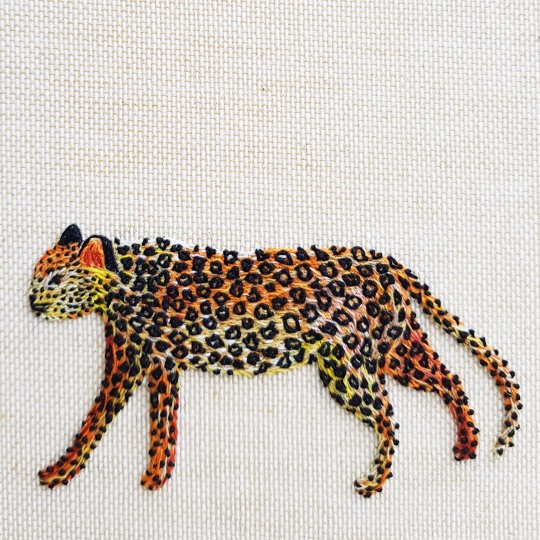
I then selected a range of orange, yellow, cream and white threads and began to embroider the leopard cut outs.
I used tiny stitches, overlapping the colours to blend them together.
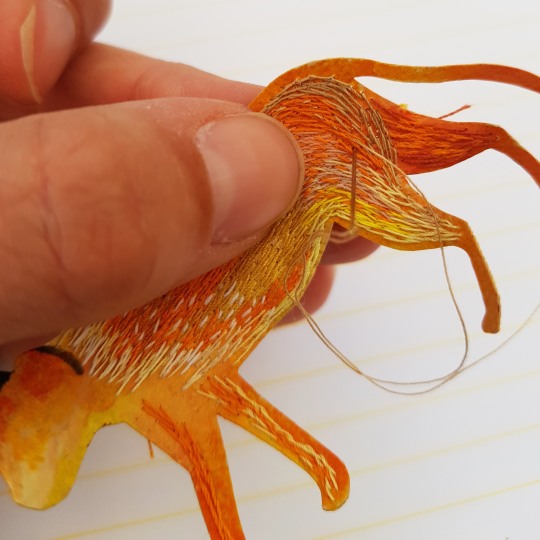
I worked little by little across the two leopards, working one colour at a time so that they were as similar as possible in appearance. I left the very edge of the leopard outline free of stitches, knowing that I would add these in once the leather cut-out was stuck to the linen covering cloth.

In order to make sure that I was going to sew the leopards black spots in the same pattern on both of the cut-outs I punched a series of holes through the paper leopard template where I wanted each to be. This was then placed on the reverse of the sewn leather onlay, and I marked through each hole with a marker pen.

I was then able to create the leopard’s black spots using the black spots I had marked on the reverse as a guide.
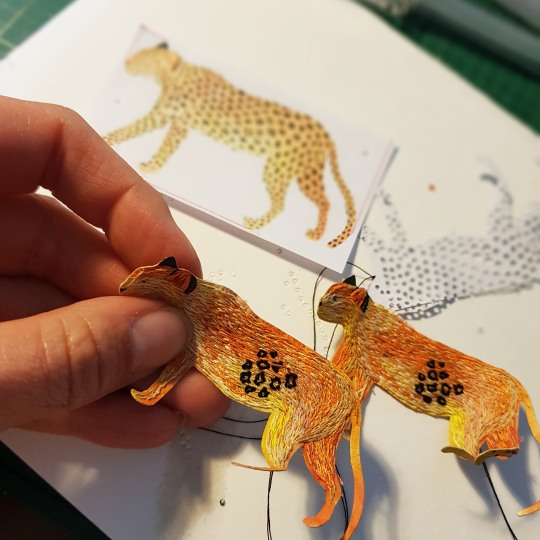
These spots were built up using a series of knots, creating clusters of dots to form a pattern all over the body of the leopard.

As with the base threads, the spots were also embroidered within the outer edge of the leopard shape, with the outer stitches to be completed once the onlay was stuck onto the covering linen cloth.

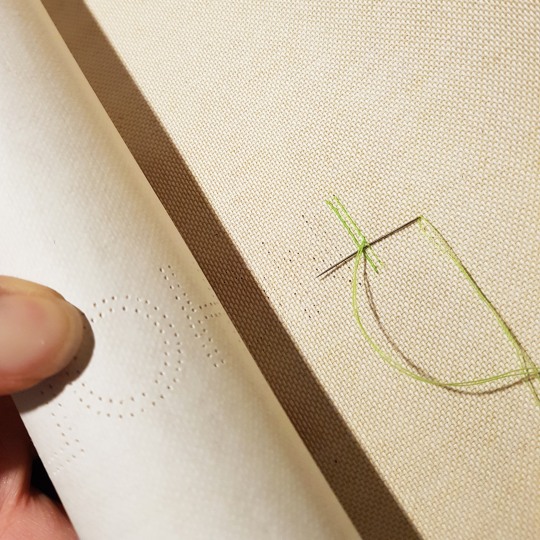
To correctly place the title onto the linen cloth for embroidering, the paper template was stuck down with masking tape in the correct position and the lines of the title letters were pricked through with a needle pricker. This marked where the stitches needed to go.

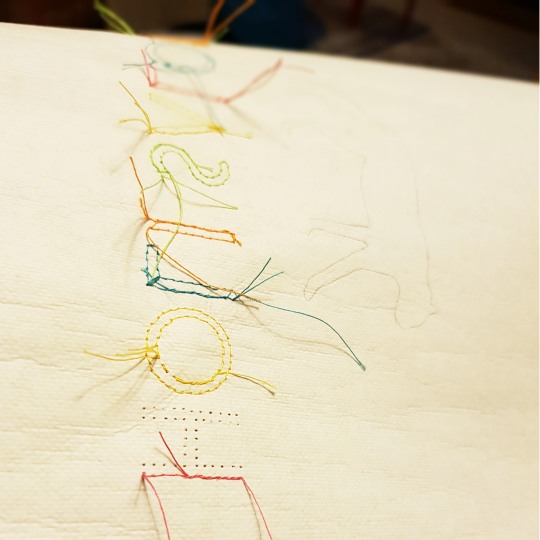
I matched the colours on the initial design to thread colours. The lines were then embroidered with a running stitch, and then I used a whipping stitch to consolidate the running stitch.
On the back of the linen cloth, the end of the threads were woven behind the stitches, and once I had done all of the stitching these were trimmed so no loose threads were present.
At this point I was able to stick the embroidered leopard cut-outs onto the linen cloth using PVA glue. I then finished off the tiny base stitches in the orange, yellow, white and cream threads and also finished the black dots around the circumference.

The back of the linen below shows what it looked like once all of the embroidery was complete.

I next moved onto the construction of the outer cover. A case was made, sticking laminated boards and a spine piece to the linen cloth. The cloth was turned in and the inside of the boards were infilled and sanded flush. The back and front boards were then finished with a mandarin orange coloured paper stuck down as a doublure.
The plan was to sew each of the seventeen sections into the book using linen threads. I therefore needed to drill a series of holes through the spine section of the case to allow me to attach each section directly through it.
I made a template from card, with lines marked in the corresponding thread colour order.
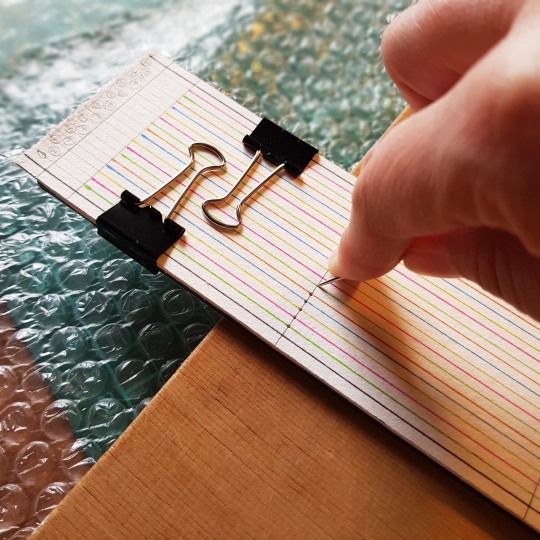
This was then clipped to the spine section using bulldog clips and I marked a point at each of the holes using a bodkin. I then removed the template, and using a 0.8mm drill bit, drilled a hole at each of the points using my Dremel.
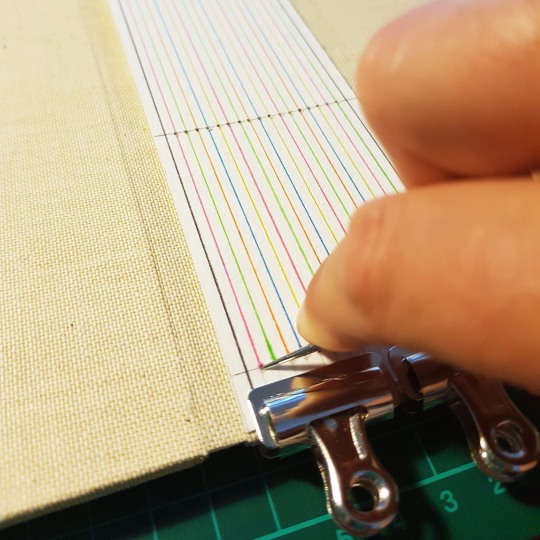
Section by section I then attached them onto the spine, making sure I pulled the threads as tightly as possible to keep the sections taught against the spine of the case.

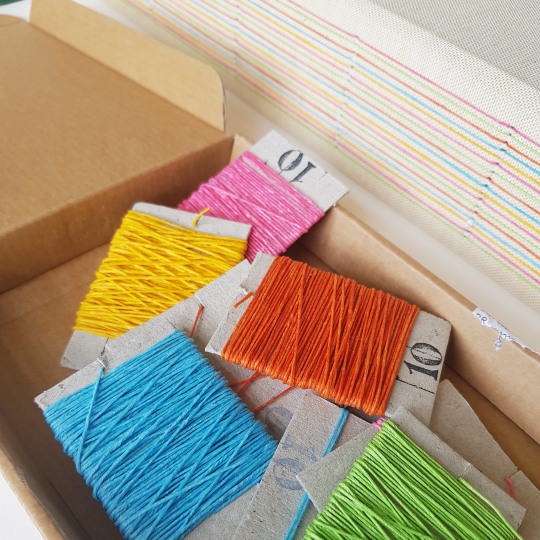
The threads were ordered from Hilke Kurzke at Büchertiger. To get a good match for the five colours I largely ordered Crawford Threads (Orange Crush, Fuchsia , Autumn Yellow and Turquoise) with the final length being Lin Cable (Vert Clair).
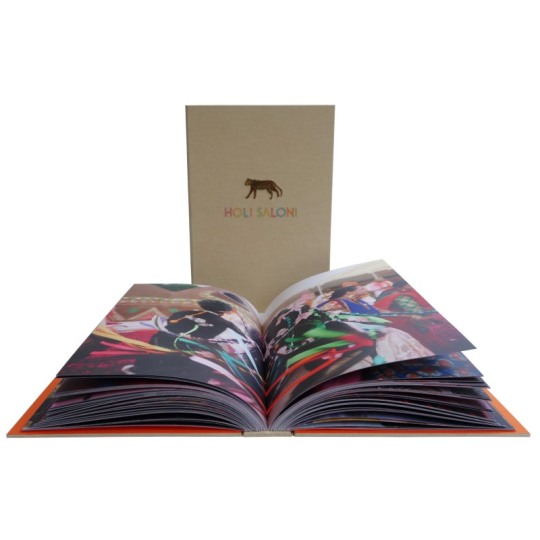
The following images show the completed book…
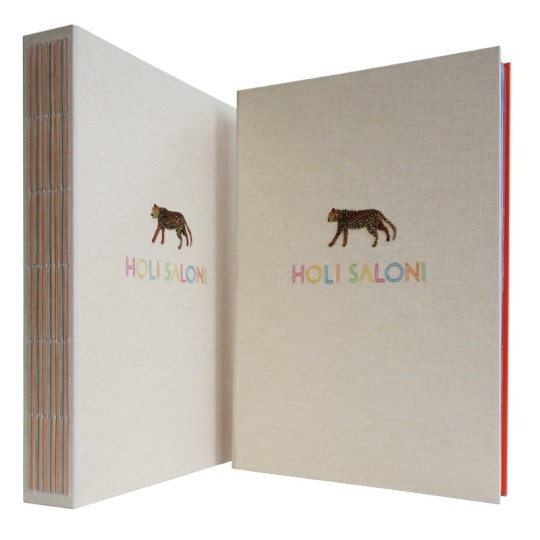
COVER AND SPINE DETAIL

THE BINDINGS OPENED NICE A FLAT USIGN THIS METHOD OF BINDING, ALLOWING THE PAGES OF THIS LARGE BOOK TO BE VIEWED WITH EASE
THE TWO IDENTICAL BINDINGS SIDE BY SIDE
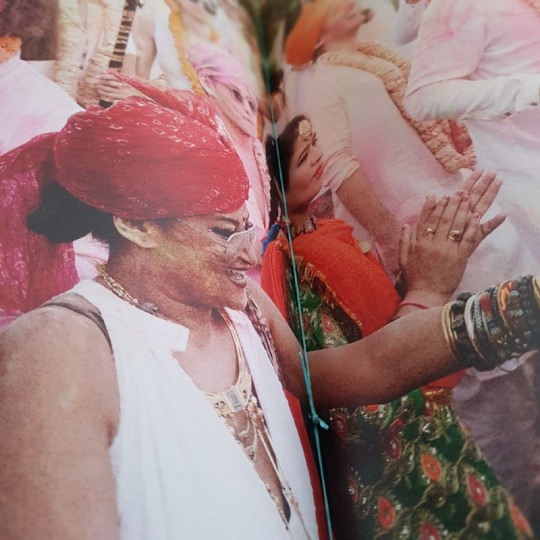
DETAIL OF THE PAGES, WITH THE COLOURED THREAD TIED ON THE INNER FOLD OF EACH OF THE SECTIONS


Hand-embroidered Blue and Gold Macaw
- Etsy: @beebordando
- Instagram:@beebordando
don’t remove caption
Post link