#coloring tutorials

coloring tutorial requested by anonymous
Note!! - This coloring obviously doesn’t work on all pictures. ofc you need to adjust them. This coloring will involves many textures to be play around with. other example: http://oi50.tinypic.com/1zgumie.jpg
Step 1: Open up your picture. I’m using thisone.
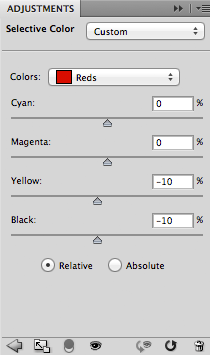
Step 2: Go to layer>new adjustment layer>selective color
Colors: Reds
0, 0, -10, -10
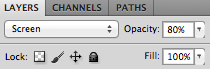
Step 3:Openthis texture on photoshop, drag the layer to your picture. set the blending mood to screen, opacity 80% and fill 100%
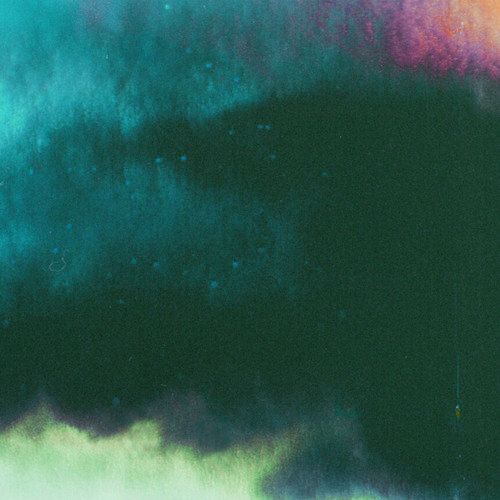
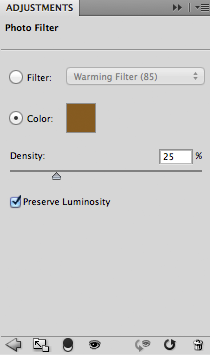
Step 4: Go to layer>new adjustment layer>photo filter
Choose color and enter #855b20
Step 5: layer>new adjustment layer>color balance
tone: Midtones
0, -16, 0

Step 6: Go to layer>new adjustment layer>gradient map
choose black and white gradient map
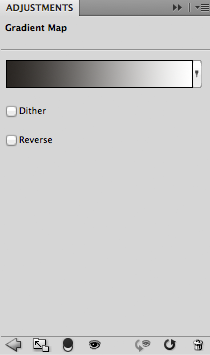
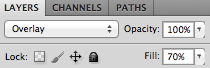
set it as overlay, opacity 100% and fill 70%
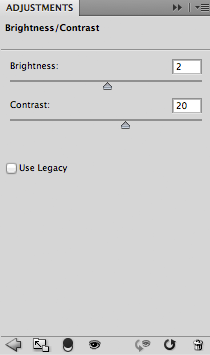
Step 7: Go to layer>new adjustment layer>brightness/contrast
2, 20
Step 8: Openthis texture on photoshop, drag the layer to your picture. set the blending mood to screen, opacity and fill 100%
Step 9: I add up glow texture which you can do that by using brush tool. create a new layer(layer>new>layer), choose white on the color picker and just brush off around the left corner. change the blending mood to screen. decrease the opacity to around 70%
Step 10: remember you can always adjust the setting above!! when you’re satisfied with the results, flatten the image (layer>flatten image).
- you’re done! any questions just ask me :)