#guestlist
。・ template psd one hundred nine, template pack fifty seven by templatepsds ゜+.*
-`. info .’-
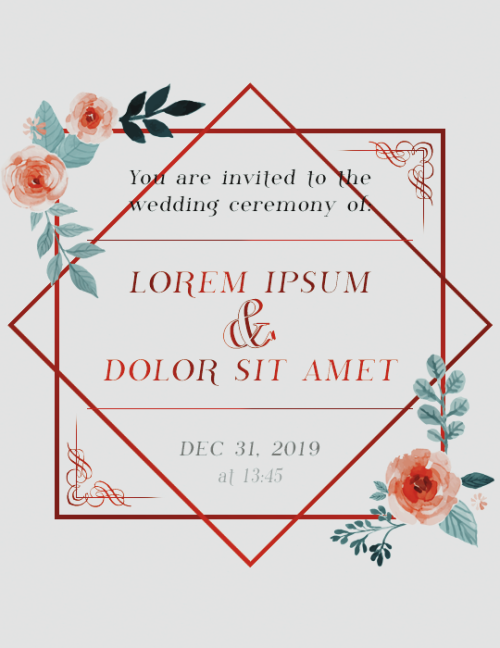
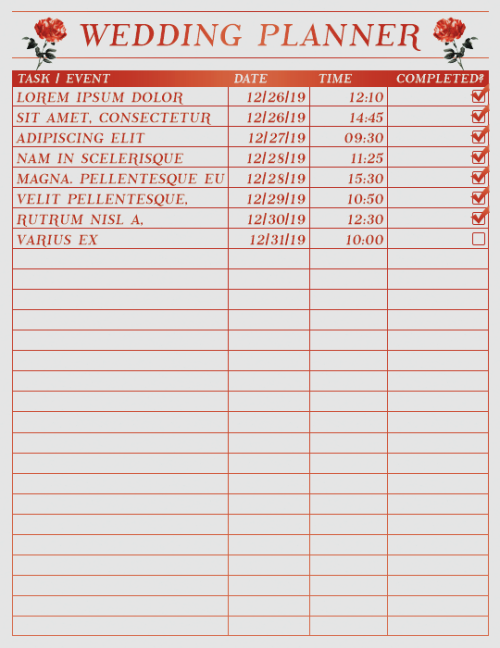
+ as requested, here is a wedding-theme template pack.
+ the first template is a wedding invitation, the second is a wedding planner and the third is a guest list.
+ for each template, you can choose the main color from gold, silver, black, red, pink, blue, or green. to learn how to change the color of it, click the read more below.
+ each template also has some decorative flowers that are optional.
+ for the wedding planner and guest list, both have a check-off box. in the wedding planner, you would check off the box if you’ve completed the task. if not, you make that layer invisible. similarly, in the guest list, you would check off the box if the guest is attending. if not, make that layer invisible. in the read more below, I’ll explain how to do this.
+ the fonts used in the templates are ‘Phosphorus’, ‘Phosphorus Sulphide’, ‘Phosphorus Chloride’ and ‘Phosphorus Bromide’, which you can download them all here.
+not for commercial use or anything like that! just for personal use/to have fun.
+ adjust as much as you want to suit your liking.
+ please like or reblog if you download.
+ message if you have any questions/difficulties!
-`. download .’-
1. HOW TO CHANGE THE COLOR
For the invitation template, it is relatively simple. All you have to do is choose the color you want from the options (gold, silver, black, red, blue, green, or pink), and make that folder visible.
By default, gold is featured.

(Sorry, I just noticed the grammatical error in “greem” but it’s too late to change that lol)
If you wish to change this, make the gold folder invisible, and make a different folder visible.

As you can see, I changed it to green (in this case, “greem”).
Just click the box next to the folder and have the eye appear.
Make sure no other folder is visible except for the one you want!
From there you can open the folder and customize the template, change the text, etc.!
For the wedding planner and guest list templates, both of them have the same function.
Like before, gold is the default color. To change this go to the folder titled “change color from gold,” make it visible, and open it.

Once you make the folder visible, green will then be the default color.

If you do not want green, make that layer invisible and make a different color visible.

I changed it to pink.
From there you can customize the rest, change the text, info, etc.
Make sure only one color layer is visible!
For this example, I used the wedding planner, but the guest list is exactly the same. The folder is the same, so you would do the same steps.
2. Editing the planner and guest list
2A. Changing the number of tasks and/or guests:
So for both the planner and guest list, you can have up to 27 tasks or guests. You can choose to have less though.
By default, in the wedding planner, only 8 tasks are visible.
All of the tasks and corresponding info are separated into folders (1-27), and all of those are put into a folder titled “task lists.” Open that folder.

If you want less than 8, hide some of the folders.

As you can see, I hid 4 of them, so now there are only 4 tasks listed.

From there, you can edit the task title, date, and time.
It’s the same thing for the guest list.
By default, on the guest list 23/27 guests are visible.

To make less, open the folder titled “guests,” and hide some of the folders inside until you get to the desired number.

Now only 7 guests are visible.

If you want more tasks or guests, do the opposite.
Make more folders visible.
For example, I’ll change the planner to 20 tasks.

You would make all folders from 1-20 visible, and the other remaining ones invisible.

Same thing for the guestlist.
I’ll now change it from 7 to 16.


Edit the text and you’re done.
2B. The checkbox:
The checkboxes are in every task/guest line folder. 1-27.
In the wedding planner, it is called the complete box.
To un-check this, or check it off, you would open each task folder, one by one.

Above, we can see it’s un-checked. To check it off, you need to make the layer titled “if completed” visible.
If you want it uncompleted, you would make that layer invisible, like it is already.
It is the same rules for the guest list.

In the guest list, it is called the attendance box.
As you can see, the box is checked off, meaning that guest is, in fact, attending.
If you do not wish for it to be checked, you would make the layer titled “if attending” invisible.
Always leave the box itself visible though. The only thing you should mess with is the “if completed” or “if attending” layer, depending on the status of it.

Above is the example of a check-offed box, and an un-checked one.
Once again, if you check off the box in the planner template, it means that the corresponding task is completed. If it is not checked, that task is not yet completed.
If you check off the box in the guest list, it means the corresponding person is attending the wedding. It it is not checked, that person is not attending.
You do this for each number of tasks or guests you have.
If you have 14 tasks, you would decide which tasks are completed for each one (14), go to those folders and make sure the box is checked off, and which ones are not for the tasks that are yet to be completed.
Sorry if this is confusing, it was difficult to explain and I’m incredibly tired/out of it while writing this. If you need further help, just ask!!
Post link


