#potion pouch

Hey folks, it’s been a while since I put up a freebie tutorial, so here we go, Geralt’s potion pouch from the manticore armor set in The Witcher 3.

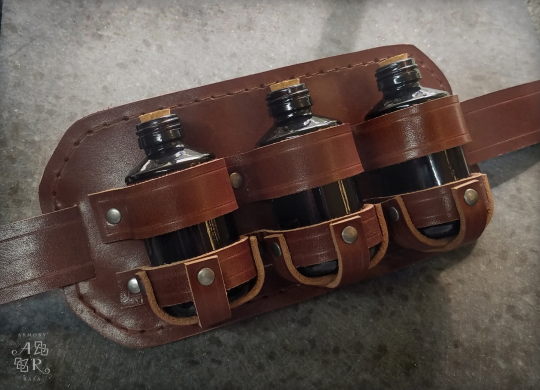
It’s a quick and easy little project, good for beginning leatherworkers, and when it’s done you’ll have a versatile little bottle holder that will go with just about any LARP/steampunk/renfaire outfit:
Click down for pattern & step by step instructions!
Before you do anything else, you have to know how big your bottles are, because unfortunately this is not a one-size-fits-all pattern. The bottles I found that were the best size/shape were the mini bottles of Hendricks gin:
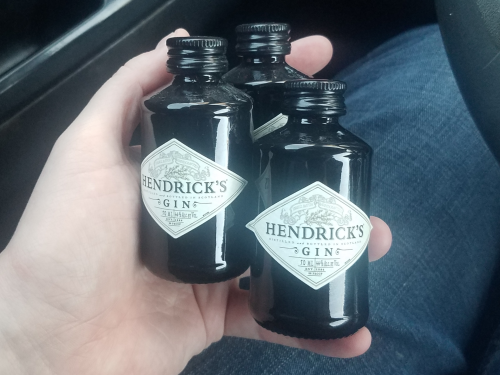
If you can get your hands on some, perfect – print the following at 100% scale, on cardstock if you’ve got it:

(It is designed for 8.5″x11″ paper – if you’re printing on A4 paper it may come out a hair different.)
If you’re using a different bottle: measure the circumference of the bottle in cm and multiply it by 8, that is the % scale to print at.
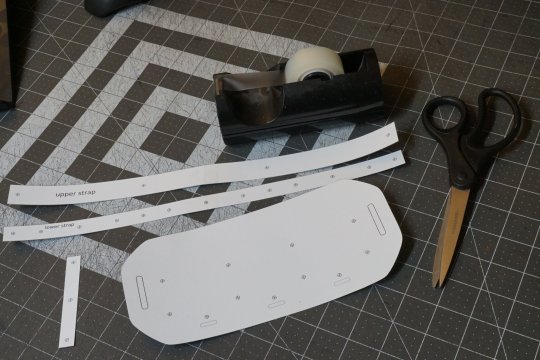
Once you’ve figured all that out and gotten it printed, cut everything out and tape the strap pieces together on the dotted lines:
Now cut them out in leather:
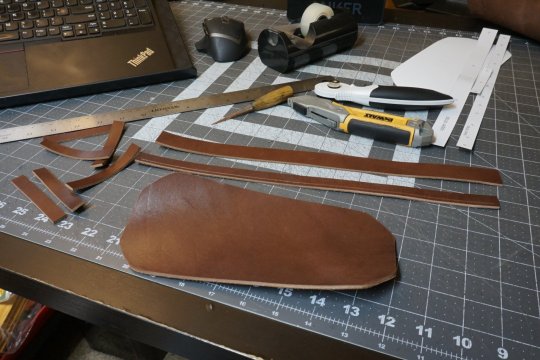
I used 6-7 oz latigo for this, but if you don’t have latigo, you can sub in 6-7 oz veg-tan, you’ll just have to dye & topcoat it yourself. (If you are buying leather for this project, a single shoulder is the smallest hide you can purchase, it will run you ~$40 and leave you with plenty leftover for other projects. )
(If your leather is thinner, you will have to adjust the straps slightly, or they will be too loose and your bottles will be prone to falling out.)
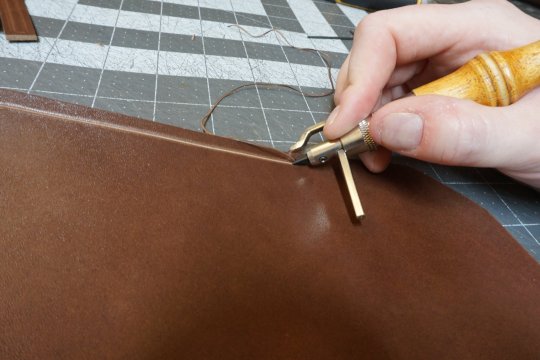
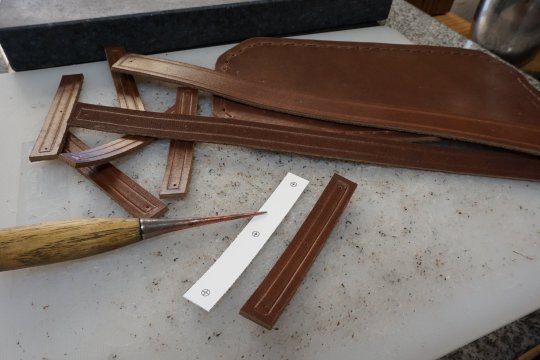
Next step is to run a decorative crease along the edges of all your straps:
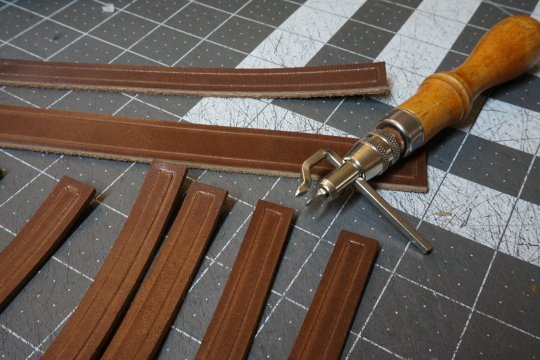
The tool for this is the stitching groover; here you are using the modeling head, but in a moment you’ll be using the grooving head too, so if you don’t have one of these, it is worth buying. I put creases around the straps about 1/8″ from the edges.
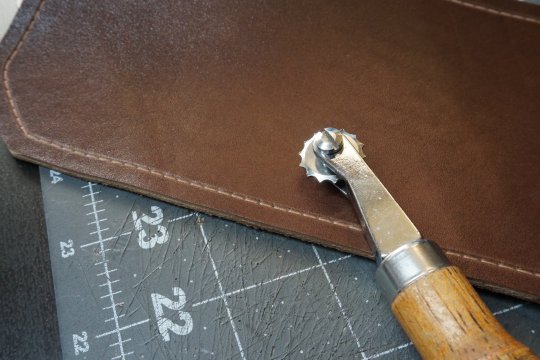
And now here is the grooving head in action, carving out a channel for your stitching:
This is not, strictly speaking, necessary, but it will make your stitches much tidier and less vulnerable to abrasion. Make a groove around the backing piece, about 1/4″ from the edge.
In the next step I used a spacing tool to mark where to punch the holes for stitching:
But if you don’t have one, no harm done – you can use a ruler and an awl and mark a dot every 1/4″. (When I’m doing very large stitches like this, I use the smallest spacer wheel and just punch every other hole.)
Punching your stitching holes:
If you don’t have a hand sewing punch, you can just use an awl – it’s slower, but will get you the same results.
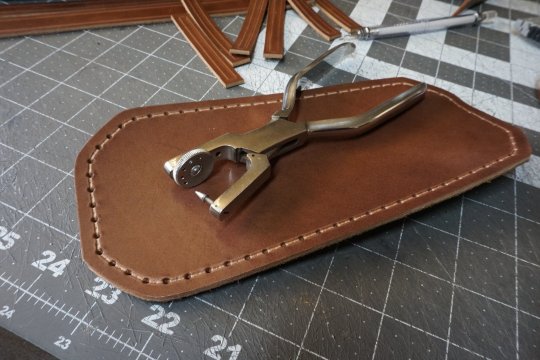
Saddle stitch around the edge of the backing piece:
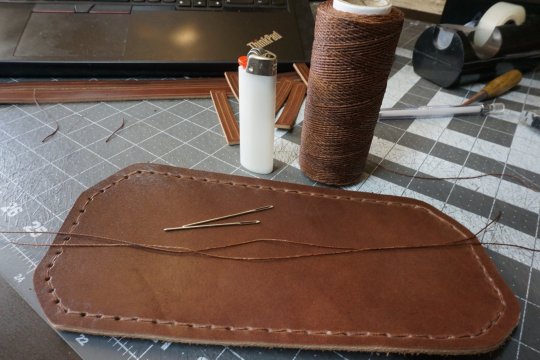
(Thread (of which this takes 57″) and needles)
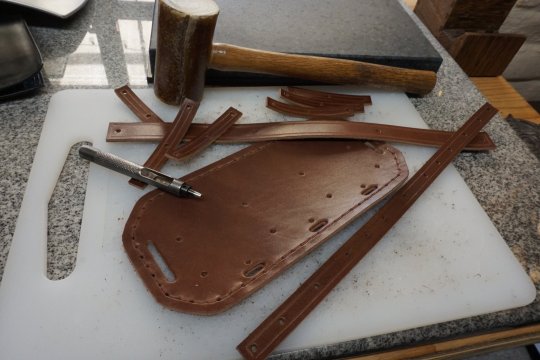
Now grab your awl and your pattern pieces again, and use the sharp tip to mark the holes:
Punch your rivet holes. Rivet holes will be ~2mm wide; the slots are made with an oblong punch or a manual workaround.
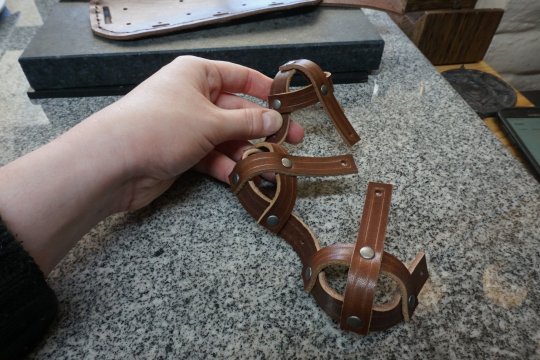
Assembly time! Start by riveting your back-to-front little straps on top of your side-to-side little straps, at right angles:
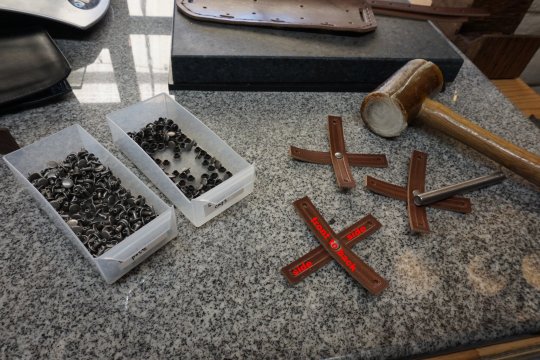
I used small antique-nickel double-cap rivets for this. Now rivet the end labeled FRONT to the lower strap as shown:

Now it gets kinda funky and awkward to set your rivets, but I believe in you:
Now thread the BACK end of the mini straps through the half-inch slots on the backing piece, and rivet them down:
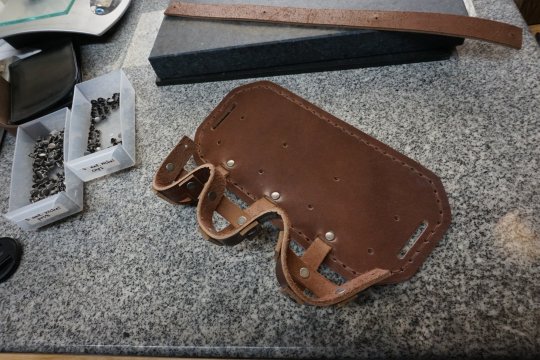
Finish riveting the lower strap to the backing, and then do the same for the upper strap:
Test fit of bottles:
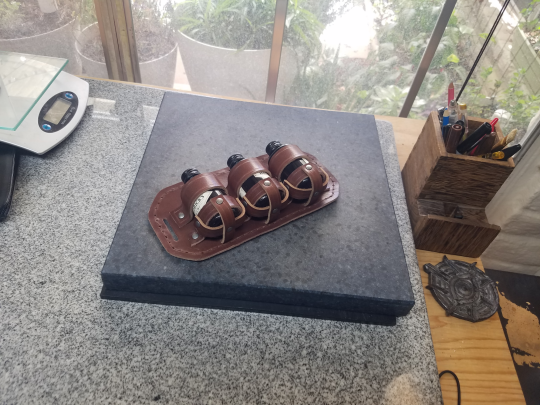
Perfect.
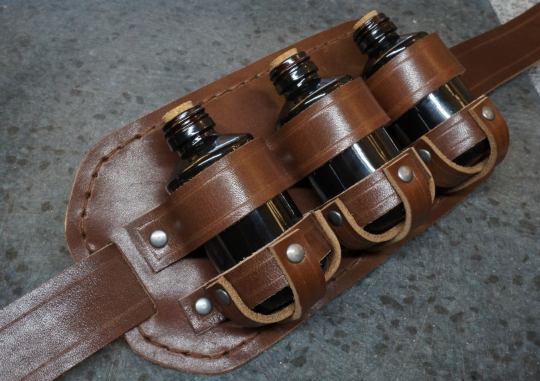
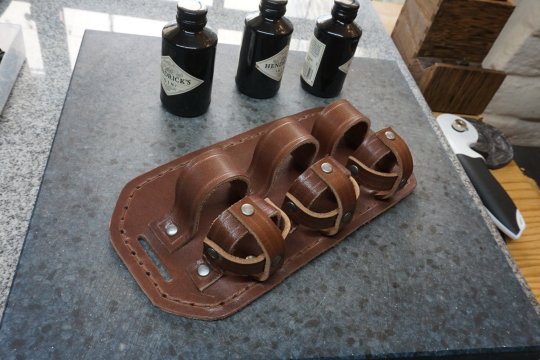
And there you have it!
(I buy corks in bulk from aliexpress, for this exact purpose – you will probably be stuck with the screw-on caps that they come with. >_<)