#quaderno
PCMCIA 1.0, SRAM and linear flash cards
Although mounting remote HDDs over a serial cable to my Olivetti Quaderno was a nice solution, it was not very fast. I wanted to add persistent storage using a PCMCIA card, but Quaderno has just PCMCIA 1.0. I used to work a lot with PCMCIA, but it was always the newer standard (2.0) typical for 386/486 laptops. PCMCIA 1.0 does not support IO devices (so no ethernet cards) or CompactFlash cards (as they are IO cards in the ATA mode). PCMCIA 1.0 can work only with linear memory mapped cards. For linear flash cards, there were two incompatible standards (FTL and MS FFS). SRAM cards had just a single standard. In addition to all of this, simpler devices (industrial, embedded) required attribute memory on the card in order to work at all (fortunately, this laptop supports full Card Services and does not need it).
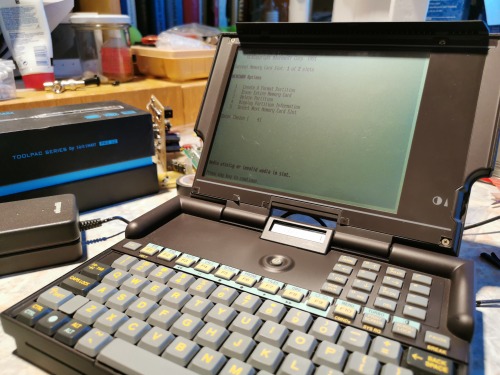
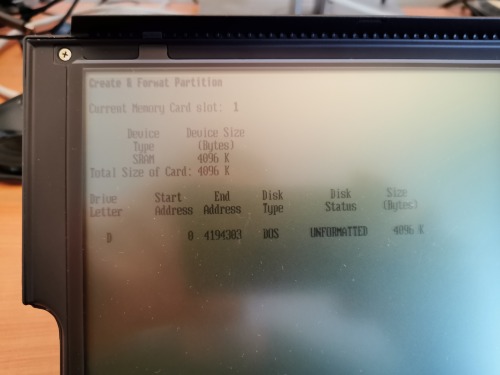
I took a 4MB PCMCIA SRAM expansion from my Amiga 600 and put it in Quaderno. The ROMDOS drive contains a Microsoft program called MEMCARD.exe (very similar to FDISK.exe, but for early PCMCIA cards), so I used it to format the card, rebooted the machine and got 4MB of persistent storage (the SRAM card has a battery to retain the data even after removing the card from the computer).
These early PCMCIA cards don’t work in Windows out of the box. However, there is already a DOS driver included in Windows 9x. You just need to add two lines in the config.sys and you can use the SRAM card in a “more modern vintage computer” (it still allows you to use the slot with other cards and use hot-plug features). Btw these direct mapped SRAM cards have one big advantage – they are super-fast.
I know it’s almost 30 years late, but I finally understood, how these old PCMCIA devices work…
Post link
Olivetti Quaderno PT-XT-20 (1992) - part 1
This little machine is an XT-class computer with 16MHz NEC V30HL, 1MB of RAM, double-CGA 640x400 graphics (AT&T6300/Toshiba compatible), MS-DOS in ROM and a 20MB Conner HDD (working in 8-bit mode). Its size and weight are halfway between regular laptops and handhelds (it is ultra-portable even by today’s standards). I got one three years ago and it was dead like almost all of them nowadays. The issue was “easily” fixable by replacing all the SMD capacitors. We replaced the ones on the logic board and the computer booted. However, the screen was not able to retain the contrast value, which made it hardly usable. Also the Conner drive had the head stuck (a common issue, that I want to fix later). We disassembled the lid and replaced a capacitor on the display board. Everything worked flawlessly when disassembled. As soon as we assembled the machine together, it stopped working. We were tired and put the whole thing into storage.
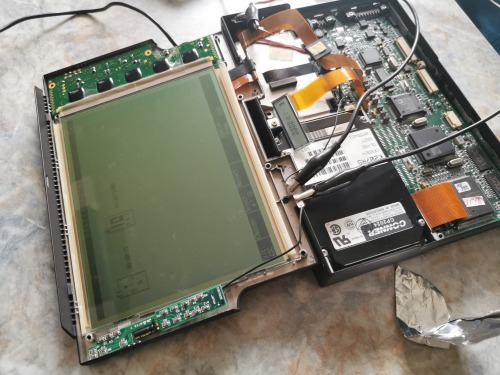
Recently, after three years, we gave the machine another chance. Disassembled it, booted and everything worked ok (except the HDD of course). After assembling it back? No sign of life… The issue was caused by too long legs on the new capacitor in the display board. The legs were sharp and went through the insulation layer on the (metalized) screen cover and shorted the capacitor (I know, shame on us…). Once we fixed this, we were able to put the machine back together and enjoy it. David also replaced cracked internal plastic parts using a 3D printer.
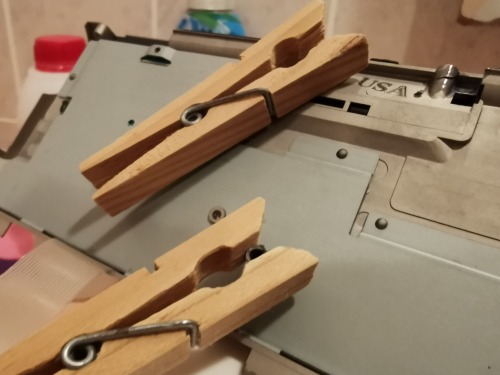
Now we have a trouble-free machine in a perfect shape with just one flaw – a faulty hard drive (and no floppy drive). However, that is not as big issue as one might think…
Post link


