#raspberry pi zero
These are the current ideas for Stabby the Roomba. Some of his ideas deviate a bit from the original internet concept of Stabby, but his ‘normal’ setting will stay true to that image. However we proudly enjoy looking at something and going ‘but what else can we make it do’ and so Stabby will hopefully be able to do all of the following:
Speed: Top speed of about 4.5MPH, faster than a good walking speed. A bit like the following: https://www.roboticsbusinessreview.com/rbr/hacked_roomba_is_the_worlds_fastest_robot_vacuum/
Voice: Four selectable options
- Mute – the basic Roomba that does not complain
- Talkative – Complains when it hits something, but G/PG
- Pissed – Progressively get more pissed off every time it hits something. See video: https://www.youtube.com/watch?v=mvz3LRK263E
- Hunter/Killer mode – plays the theme from Jaws
Lights: Fully selectable lights under the outside edge of the Roomba. These would change with the voice options
- Mute – Either no light or a nice cool blue or green
- Talkative – Blue to White as he runs into things
- Pissed – Blue or White progressing to pulsing Red as he hits more and more objects.
- Pulsing red like a heartbeat
We may able able to color code the little battery light on top to indicate mode
Control: Remote control using a Wiimote with nun-chuck
- Joystick - Speed and direction
- Button C - On nun-chuck, Voice without hitting anything
- Button Z - On nun-chuck, selects Voice & Lights mode (1, 2, 3 or 4)
- Button C+Z - Would make him shake back and forth or spin in a tight circle at high speed
- +/- on Wiimote - Volume
- Blue Leds on Wiimote -Indicate which mode Stabby is in (1,2,3, or 4)
When Stabby hits something he will stop and turn 45 – 90 degrees. We may want a standard mode when he keeps moving slowly until overridden by the joystick.
Needed parts:
- Pi Zero
- Arcade Bonnet (to interface bumper sensors)
- Two 600 RPM motors and mounts
- Two 2.5” skateboard style wheels
- Motor controller
- 4 cell LiPo battery (14.2v)
- Audio Amp & Speaker
- Strip of side light NeoPixel LED’s or 5 to 6 - 3 watt pixie LED’s.
- Wiimote with nun-chuck
Thank you for being patient about the delay of posts! We had a lot of programming challenges that delayed things significantly. Many of the add on software boards we use are dropping support for Python 2.7 and moving to Python 3. Overall this is a nice change, but we did have to re-write some code.
Some updates!
1. The Bluetooth connection on both the portal gun and Wheatley will now detect when the other is shut down or out of range and re-connect automatically.
2. The joystick and buttons on the Portal Gun now all work with Wheatley and actions show up on the tiny mounted display on the portal gun. The software will also now allow you to adjust speaker volume and eye brightness on Wheatley from the Portal Gun in addition to selecting the animation to play. The tiny display also lets you know when the Bluetooth connection is re-connecting.
3. With the new Python 3 library for the servo controller, we have to change the code to control the servos from a signal that used milliseconds to angles or rotation. Thus, we re-calibrated all of the servo’s on Wheatley to work with the new software.
4. We hooked up a speaker to the Pi-zero and sorted out how to play the portal opening sound when the portal gun is fired. This should have been simple but the test program would not play the sound. After a couple of hours of frustration we found that the PyGame library that we’re using runs the sound without “blocking”, which means that the song in played in parallel with the program. Thus since the test program played the song and then ended, the program was ending before the sound ever played!
We started fabricating the lights for the Portal gun. There will be four high output LEDs at each end of the plexi-glass rod and 10 similar Led’s for front illumination. ½ of the LEDs are blue and ½ yellow/amber and thus you can select which color portal to open. These lights and the Pi-Zero will be powered from a 3.7 V LiPo battery. We also captured the portal gun firing sounds. Sounds will be generated by the Pi-Zero and a speaker mounted in the portal gun.


The first image is the lights for the front of the gun, the second image for the plexiglass tube.
We then proceeded to start wiring the four sets of LEDs for the portal gun. The front will have 12 led’s (6 blue & 6 yellow), the rod in the center of the portal gun will be illuminated from each side, both blue and yellow, and two LEDs for the top.
We’ve started building the Portal Gun!
The pi-zero, arcade bonnet, the home-made remote control, and battery for the pi-zero and portal gun lights, must all be mounted inside the portal gun. Everything is controlled with a Pi-Zero W attached to an Arcade Bonnet from Adafruit. The Pi-Zero will connect to the Pi in Wheatley over Bluetooth. Actions and animation will be selected using the custom built “Hand” control that connects to the Arcade bonnet. The hand control will have a joystick and select/enter button along two buttons for firing the portal gun. Everything in the Portal Gun will be powered by a single cell LiPo battery with a USB up-boot power supply / charger.

We’ve blown up of a drawing on a Portal Gun and calculated additional dimensions to begin the build. The pipe we’re using to fabricate the Portal Gun is PVC. However, we need some flat PVC for internal components and maybe we can form the PVC for the portal gun “shells”. We have not been able to find a local supply of flat PVC panels. Thus, we successfully flattened several pieces of PVC pipe using a heat gun. Flattening pipe limits how large of sheet we can create, but this will help for now. We haven’t located a good source for a clear tube for the center either. However, we tested some flat acrylic sheet and should be able to bend the clear tube to the exact diameter that we need

Bluetooth Connection: We have always planned to have Wheatley will be controlled by buttons on the Portal Gun. Originally we’d intended to install a Wiimote in the portal gun along with the Pi-Zero. We have tested connecting and controlling the Pi with a Wiimote. However, this would require two concurrent Bluetooth connections to the Pi in Wheatley. We have redesigned this to have a thumb-stick and buttons connected directly to the Pi-Zero in the portal gun. Thus, only one Bluetooth connection to worry about. In effect, we’re building a custom remote control using the Pi-Zero that communicates to Wheatley over a Bluetooth connection.
We found a great Pi-Hat from Ada-Fruit that makes attaching a thumb-stick and multiple switch inputs. This is their Arcade bonnet that allows a joystick, 7 switches, and a speaker to be easily connected to the Pi/Pi-Zero. With a bit of luck (and time) our Portal Gun will also make the proper firing sounds!
We have the Pi-Zero sending commands to Wheatley over Bluetooth and then echoing the command/menu option on a small led screen that will be installed on portal gun. The following photo shows the menu item: “Ani” – Animation submenu…. “W Pick Me Up” which is one of the animation scripts.

We also spent a lot of time working on writing the software to handle error conditions on Bluetooth correctly along with a “heartbeat” between the Pi and Pi-Zero to determine if a disconnect occurs. Even more time was sorting out how to make the receive functions “non-blocking”… ie the receive does not stop and wait for data. It checks to see if data from the Pi-Zero has come in and if not it allows the program to work on other items.
Bluetooth is good for 30 – 50 feet. Thus we need everything to behave properly when one walks away from Wheatley and have it reconnect when you return.
Battery Life: We are using a 12v, 11ah lead acid battery to power Wheatley and the cube lights. This will be mounted in the cube and it is also an effective counterweight. The challenge is knowing when Wheatley is running low on power since Wheatley does not have an attached screen. Thus, we’re adding a volt-meter by the on-off switched inside the cube. The photo below shows the volt-meter (in green on the right) as the battery is being recharged.
If we find that battery life on Wheatley is too short, we can add a 2nd battery that will just drive the lights in the cube. The Portal Gun will use a USB power stick.
Eyebrow and Eyelids: These are currently just brass frames and we had planned to cover them in styrene. We tested several glues including 2-part epoxy, CA, and commercial contact cement. Nothing seems to bond well to both brass and styrene.
The covering will be painted and it needs to be light as both of these frames are articulated by servo’s. The outside center covering of Wheatley will still be styrene as that needs to be dent resistant. The good news is that the outside covering will be screwed on. In contrast, the eyelids and eyebrow are somewhat protected. We’re going to test convering them in high quality poster board/card stock, which should bond well to brass with epoxy.

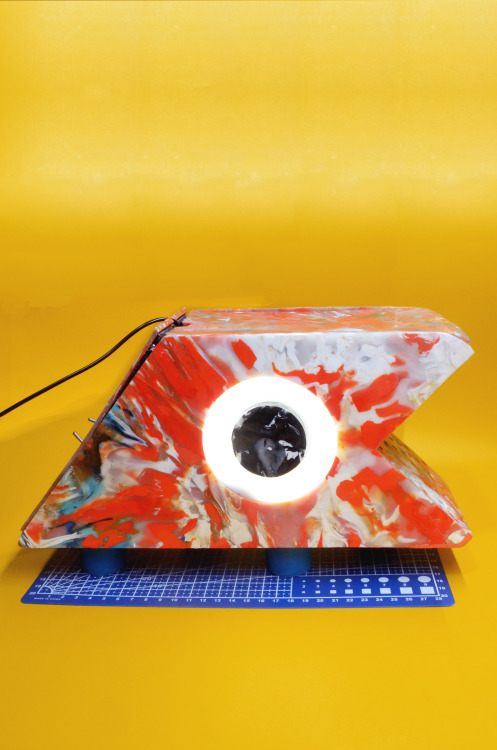
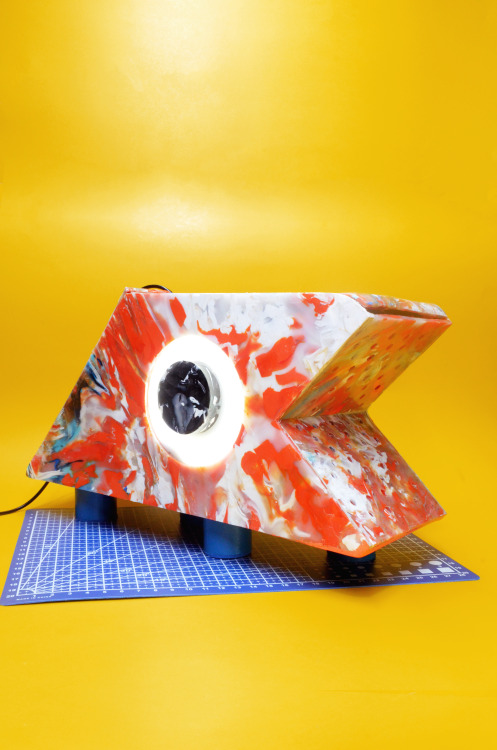
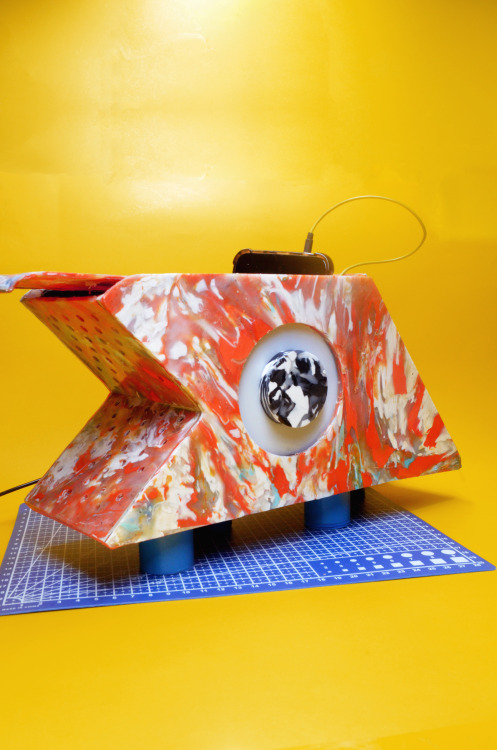
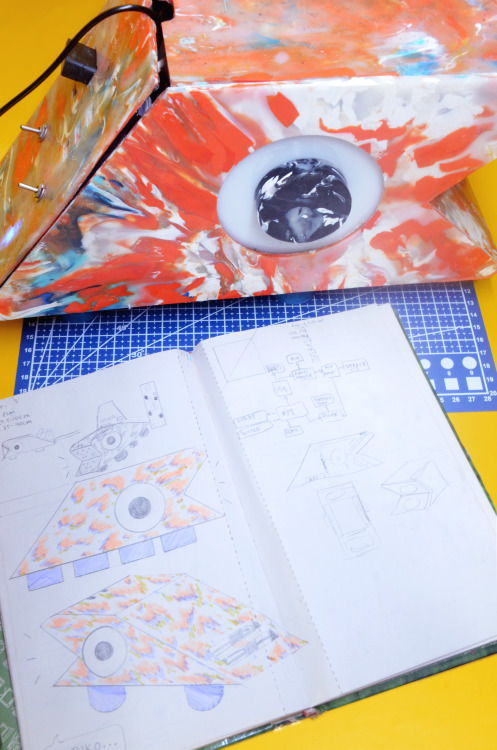
An Attempt Has Been Made | 01: OK Tuko/OK Gecko Raspberry Pi Assistant
Materials: upcycled plastics, acrylic, aluminum tubing, Sinatra board and loose electronics
The OK Tuko was made by hand during the lengthy lockdown of 2020. The Raspberry Pi (Zero W) powered Tuko, when illuminated, runs Google Assistant and Raspotify. With its insufficient battery supply, it operates whenever it feels like it. Thus making it a glorified auxiliary speaker and Pi computer - which is perfect for Retropie gaming! If I can figure out how to power it properly (coding it to turn on the Google Assistant upon booting and get the mic and speakers can work simultaneously), the Tuko can truly be my OK-faced, everyday assistant
Post project notes: If this can be re-house inside an Amazon Echo, this would be called the Echo Gecko
Post link


