#night skies
The JarredSpec Introduction to Milkyway Landscape Photography for beginners. Part I: Gear!
This is a series of posts i’ll be posting over on Patreon and my Website over the next few weeks. Patrons get them a week earlier than anyone else :)
Part II coming Next week!
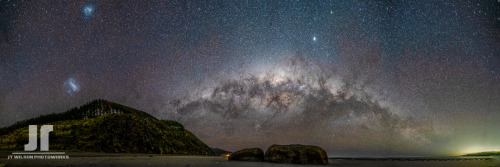
If you’ve been following me for the past few years you’ll have noticed that I do enjoy going out at ridiculous times of night in the freezing cold to point my camera at the stars. The shot above is from my first real attempt at deliberately shooting the Milkyway.So. With the intent of going out this season and dragging a few people out with me, I thought i’d write a quick blog post covering what gear you need (plus some gear that makes the job easier), the basics of shooting and some basic tips on composition.
GEAR
MUST HAVES:
An interchangeable lens camera and a wide angle lens. Not saying that this sort of stuff can’t be done with point and shoots to some extent and even smartphones these days, but we’re going to start with people who have already invested in some dedicated photography gear. The lens ideally should be wide angle and have a maximum aperture of f/3.5 or faster at its widest focal length. This is still not ideal, but I’m aiming this at beginners who most likely have an 18-55mm kit lens with their camera.
Tripod: This is a must. Shooting the milkyway comes under the umbrella of “Long Exposure Photography” and as we will be having our shutters open for up to and sometimes longer than 30 seconds, the camera needs to be held in place without it being able to be shaken. I use the Sirui AM-254 with A10R Ballhead - a fantastic sub $500NZD Carbon Fibre tripod. Look forward to a Youtube video with an overview of this guy!
WARM CLOTHES. You’re going out at night, probably in winter. No ones needs to bring Hypothermia home along with their epic Milkyway shot.Editing Software: To bring the best out of the Milkyway, we will be shooting RAW and processing the Image. Adobe Lightroom and Photoshop are probably the most popular editing tools worldwide and are what I use to edit all of my images. Worth the purchase!
BONUS EQUIPMENT:
A remote shutter release. These are handy to make sure you don’t introduce and camera shake while you’re pressing the shutter button, and to allow precise shutter durations in bulb mode. Sometimes a lens might be optimal at something like 19 seconds, and your camera might only have 15sec and 20sec available to select while in manual mode. Setting it to the longer might introduce unacceptable levels of star movement. I use an old school Cable release with my Fujifilm X-T4, but if you shoot with any other main brands you can probably get your hands on a wireless remote if you shoot Canon, Nikon or Sony
A fast, wide angle lens. When we describe a lens as “fast” were are speaking about its maximum aperture. A “fast” lens will generally have an aperture of f/2.8 or larger (remember, the lower the “f/X.X” number, the wider/larger the aperture). Fast wide angle lenses usually don’t come cheap, especially from the main camera companies themselves. Thankfully third party options are out there and offer fantastic value while performing very well. Tokina and Samyang are notable examples of this. If you shooting Nikon or Canon Id recommend looking at the Samyang 14mm f/2.8 or the Tokina 11-20mm f/2.8 (or its older version, the 11-16mm f2/8 on the second hand market). If shooting Fujifilm or Sony the Samyang 12mm f2.0 is fantastic and is currently my chosen lens. Caveat: The Samyang lenses are manual focus only, something to consider if you intend on using the lens for anything other than Astrolandscapes.
A Light pollution filter. This is bottom of the list. Not even slightly necessary to shoot the Milkyway, but at times can be handy to filter out the spectrum of light cities tend to produce. These are becoming less and less useful as the world moves more towards LED lighting. Up until recently I have been using a Hoya RA54 “Red Enhancer/Intensifier” but have since moved to a Kase Clip in “Neutral Night” filter via Meghan Maloney Photography here in NZ. These are nifty lil suckers - look forward to a video on this guy too. Stay tuned for Part II where we talk about planning, composition and shooting! Comment below with any further questions you might have and ill do my best to answer them!
Post link


my smoking area of the place i just lost work at, cos of the covid19.
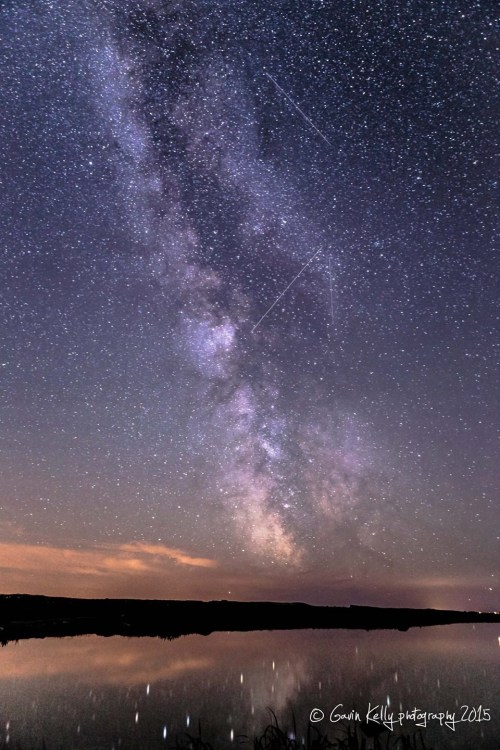
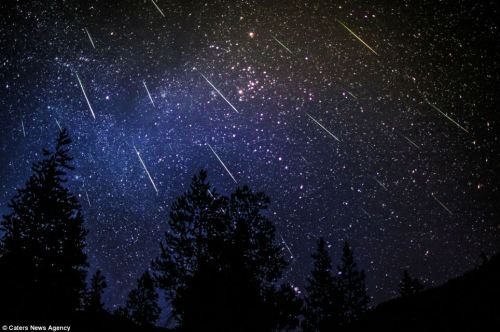
Perseid meteor shower passing in front of the Milky Way as seen from the Aran Islands in Galway, Ireland.
Post link
It’s nearly that time of year again! Time to get a peek of the annual Perseid meteor shower.
The Perseid meteor shower occurs every year in late July and early August in the Northern Hemisphere, when the Earth passes through the dusty remains of the comet; “Swift-Tuttle”. In the night sky, the meteor shower appears to radiate out of the constellation Perseus, hence, its name: Perseid meteor shower.
The 11th, 12th and 13th of August, is a good time to see the shower. The moon will be a waning crescent and the meteors should be flying at a rate close to their peak – about 50 or 60 meteors per hour.
So get outside, away from city lights, look up and enjoy.
For viewing times by Country see:http://www.spacedex.com/perseids/
For a guide to meteor shower watching see here:http://earthsky.org/astronomy-essentials/earthskys-meteor-shower-guide
Post link


