#phaser

LIVE
Playmates Type II Phaser Upgrade (Part II)Stage one of my Playmates Phaser upgrade is finished. AftePlaymates Type II Phaser Upgrade (Part II)Stage one of my Playmates Phaser upgrade is finished. AftePlaymates Type II Phaser Upgrade (Part II)Stage one of my Playmates Phaser upgrade is finished. AftePlaymates Type II Phaser Upgrade (Part II)Stage one of my Playmates Phaser upgrade is finished. AftePlaymates Type II Phaser Upgrade (Part II)Stage one of my Playmates Phaser upgrade is finished. AftePlaymates Type II Phaser Upgrade (Part II)Stage one of my Playmates Phaser upgrade is finished. AftePlaymates Type II Phaser Upgrade (Part II)Stage one of my Playmates Phaser upgrade is finished. Afte

Playmates Type II Phaser Upgrade (Part II)

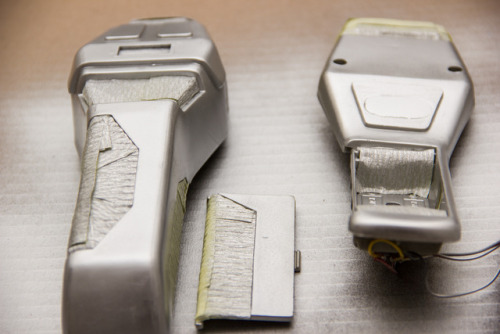
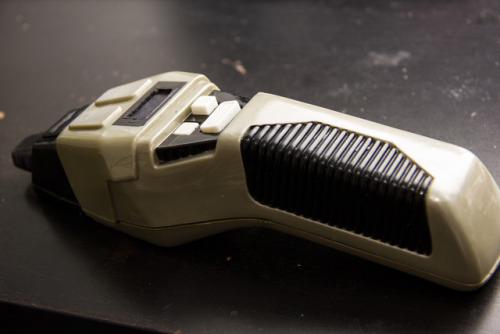
Stage one of my Playmates Phaser upgrade is finished. After filling the gaps on the sides, I spraypainted the black parts and the buttons. After everything was dried I painted the silver parts. There are still some little flaws in some corners, that will be mended later. In the next stage an LED status bar and some custome electronics get fitted in.


Post link
Playmates Type II Phaser Upgrade (Part I)This is the first stage of an upgrade I do to my Playmates Playmates Type II Phaser Upgrade (Part I)This is the first stage of an upgrade I do to my Playmates Playmates Type II Phaser Upgrade (Part I)This is the first stage of an upgrade I do to my Playmates Playmates Type II Phaser Upgrade (Part I)This is the first stage of an upgrade I do to my Playmates Playmates Type II Phaser Upgrade (Part I)This is the first stage of an upgrade I do to my Playmates Playmates Type II Phaser Upgrade (Part I)This is the first stage of an upgrade I do to my Playmates Playmates Type II Phaser Upgrade (Part I)This is the first stage of an upgrade I do to my Playmates Playmates Type II Phaser Upgrade (Part I)This is the first stage of an upgrade I do to my Playmates Playmates Type II Phaser Upgrade (Part I)This is the first stage of an upgrade I do to my Playmates

Playmates Type II Phaser Upgrade (Part I)

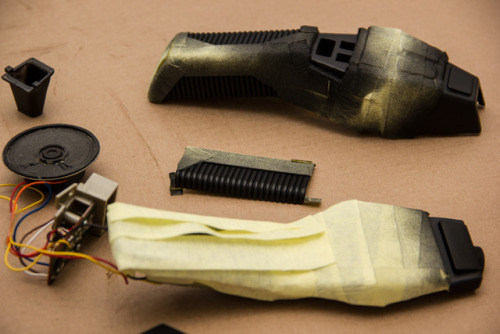
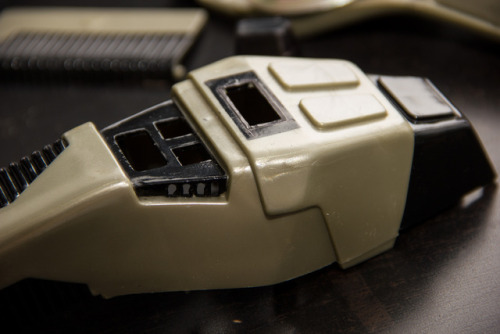
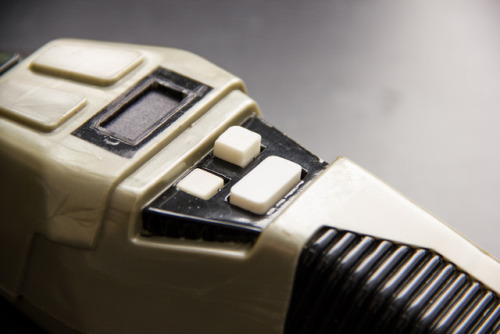
This is the first stage of an upgrade I do to my Playmates Type II Phaser.
First I removed the belt clip and filled the gap where it sat in. Then I removed the emitter part and sanded it down, so its outlines are getting more accurate. To get a first impression, I did a provisional paintjob to the emitter. After that I sanded down the trigger button, to be flat like the original one. Next step was to cut out the painted indicator bars. Later an accurate LED line will be fitted in here. The next step will be the final paintjob to the whole prop, followed by the new electronics.


Post link
Uhura on Flickr.So I’ve finally seen Star Trek: Into Darkness and I have a lot of opinions&hel

Uhura on Flickr.

So I’ve finally seen Star Trek: Into Darkness and I have a lot of opinions… but honestly it was a big explosion adventure romp and I enjoyed the hell out of that.

This image is more of how I see the character of Uhura rather than depicting a certain scene. Also I just HAD to include some JJ lens flair, how could I not?

-Reed


Post link
thoughts on the new Star Trek film

thoughts on the new Star Trek film


Post link
“Beam me up, Scotty! The tribbles are multiplying!!”Not an art post, because of having n“Beam me up, Scotty! The tribbles are multiplying!!”Not an art post, because of having n

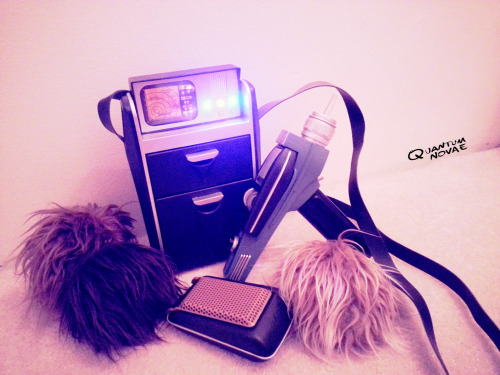
“Beam me up, Scotty! The tribbles are multiplying!!”


Not an art post, because of having no time. Will get to prompts! Hopefully you guys aren’t getting tired of my random posts. Courtesy to my dolls lending me their wigs for the tribbles.


Post link
loading