#mandolorian
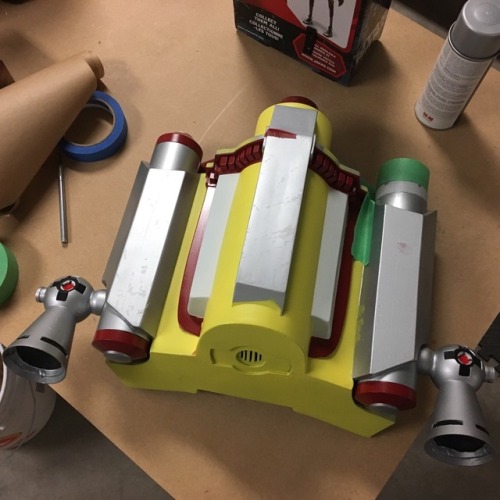
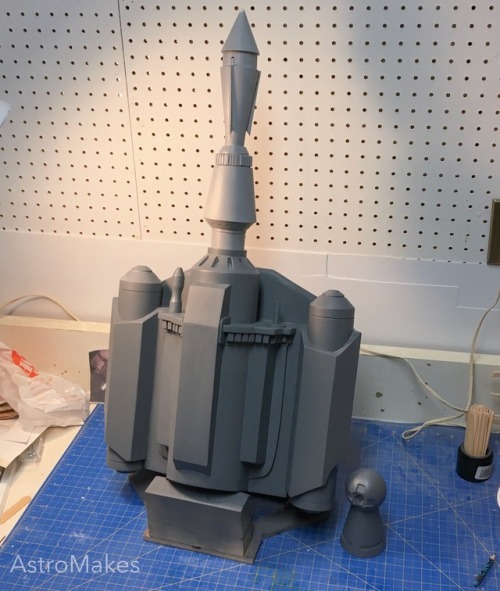
More paint on the rocketpack, and also more sass in the workshop.
Once I get the blue down on the pack, then it’s time for weathering, which is the fun stuff.
Post link
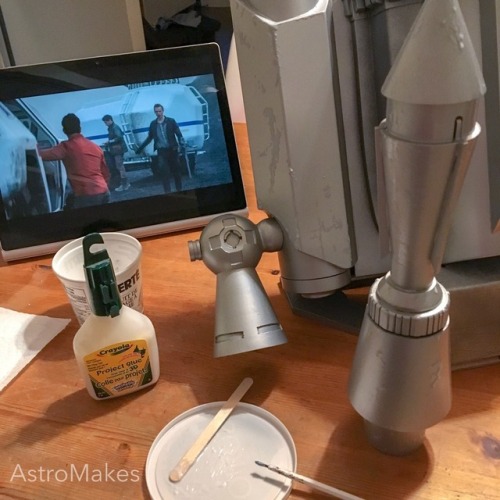
Silver base - check,
Lost in Space - check,
Kids glue to mask silver for weathering - check,
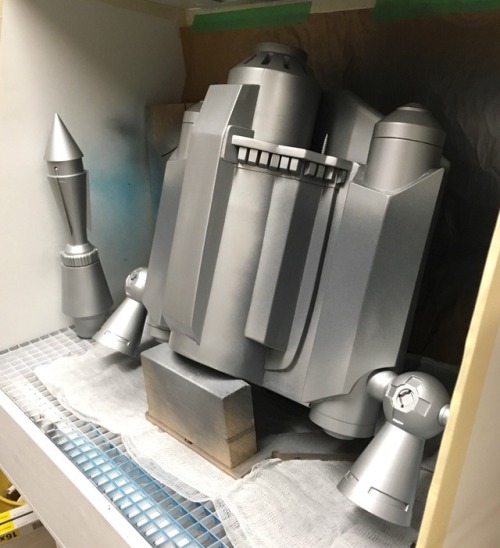
TIME TO SPRAY.
Post link
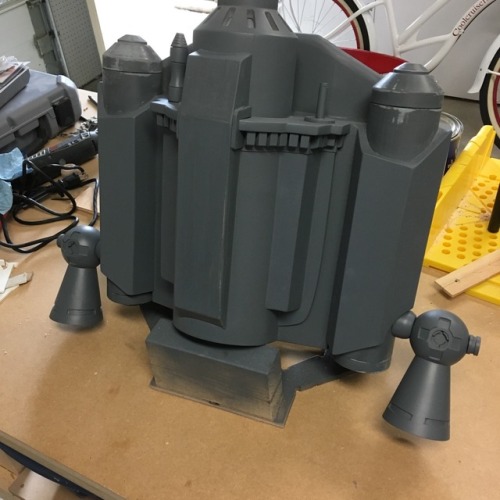
I’ve actually been working on attaching the thrusters semi-regularly, but most of it just hasn’t been very pic-worthy. Here’s a dry fit of all the parts. It’s a 1/4” threaded rod drilled and glued into the fuel tank (I gave that part of the tank a solid wood core), and then a shaped piece of hardwood dowel, the thruster, and then a 1/4” nut that gets covered by the end cap which is made of multiple layers of Sintra. Just glued it all together an hour ago, actually.
Post link
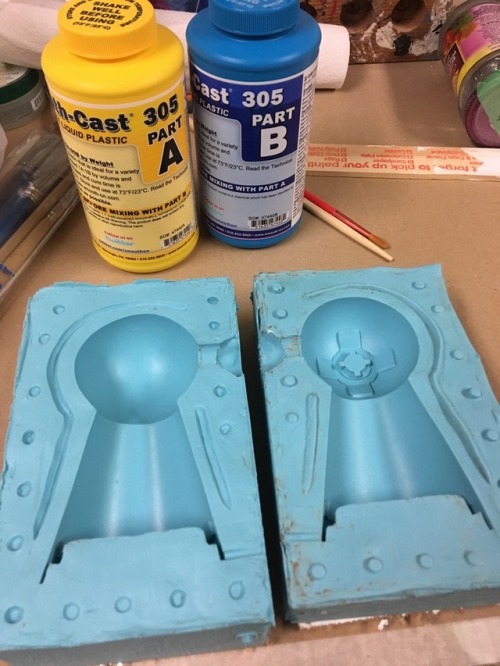
Demolding time! This was awesome. I had no idea how this would turn out (my first time using a silicone mold)—and it turned out great! Definitely learned a few minor things I’d do differently next time, but overall very pleased with the results.
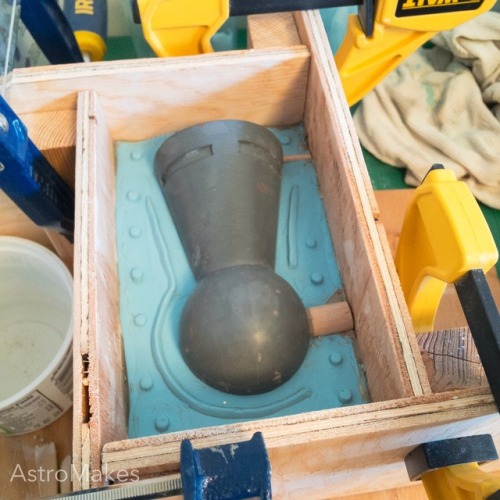
Finally got more silicone and poured the other half of the mold. I think it turned out well! A little concerned with making sure the Smoothcast 305 gets all the way into those thin channels by the base of the thruster cone, so I might use a brush to jam some of the resin in there before I close up the mold.
Post link
First half is poured! I sort of ran out of silicone though, so I gotta make a supply run before I can finish.
Post link
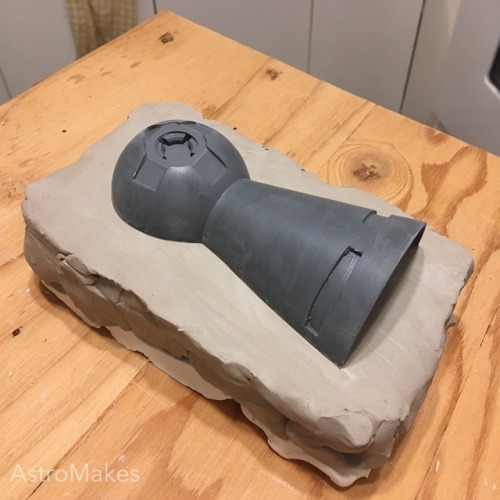
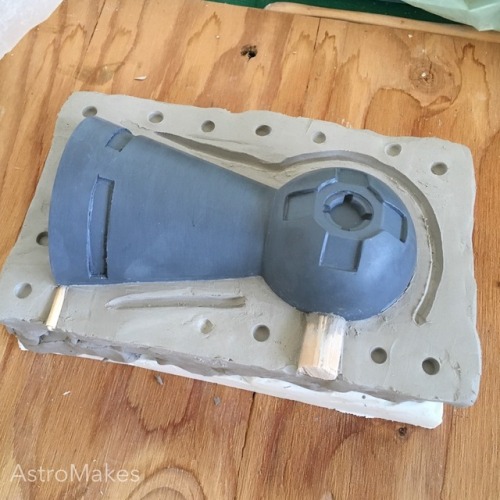
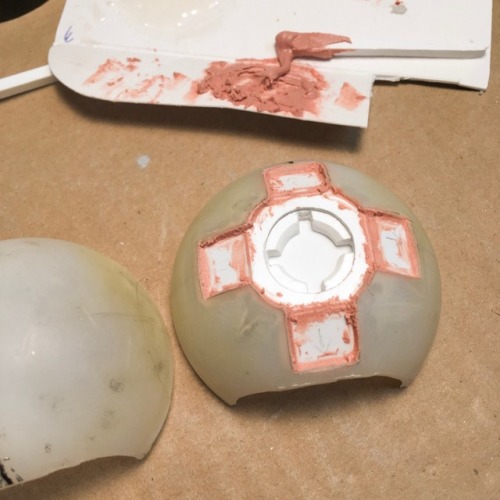
So far so good I think. Claying up the master for silicone pouring. Exciting, and slightly terrifying.
Post link
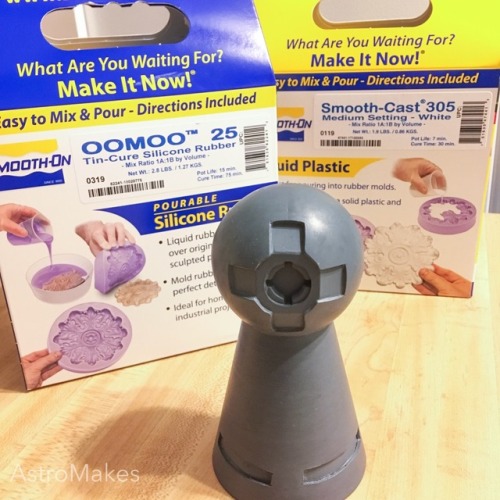
I have been wanting to try silicone mold making for YEARS. Picked up some Oomoo 25 and Smooth-Cast 305 yesterday and I am PUMPED. Also, the rest of the pack is primed, sanded and ready for paint.
Post link
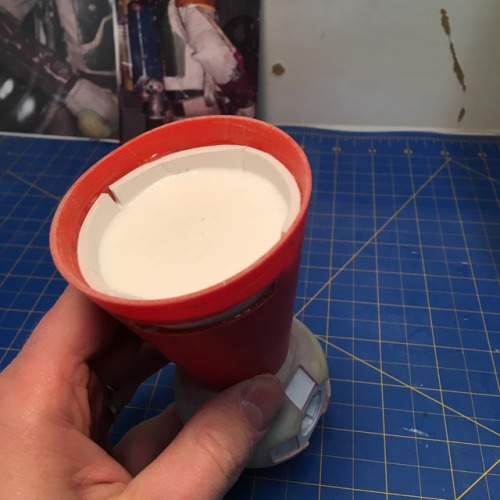
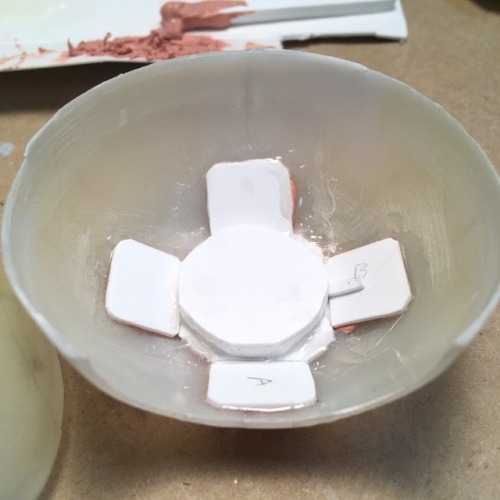
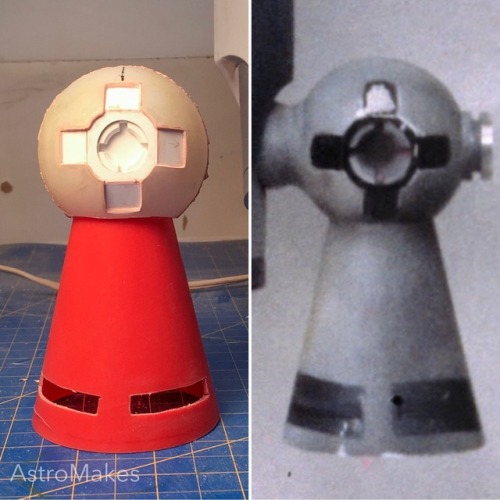
Okay the thruster cone is ready for primer—and so is the main body of the rocketpack! To make the reassembled cut-in-half Christmas ornament strong enough to handle and sand, and also to help attach the road cone, after gluing it all together I filled it up with a bunch of CastinCraft EasyCast resin that I had left over from casting some of the wrist rocket parts. I drilled a hole in the top of the road cone, so I could fill it all up together. This made it really nice and solid, and also filled any leaks that the silicone might have gotten into. After a bit of Bondo and sanding, it’s ready for primer!
Post link
Getting closer…
The ball thing is just sitting loosely on top of the cone, but it’s almost ready to glue together! Which means it’s almost almost ready to do all the other steps!
Post link

