#boba fett cosplay
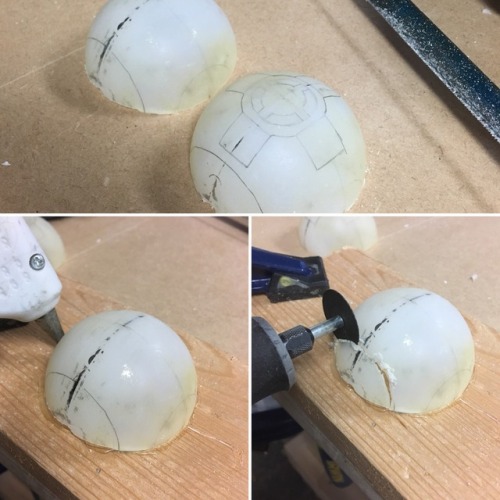
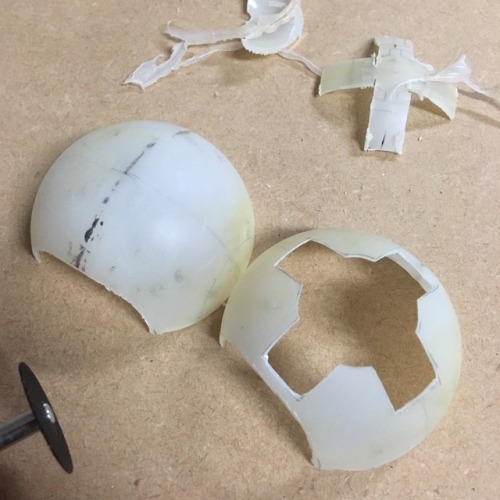
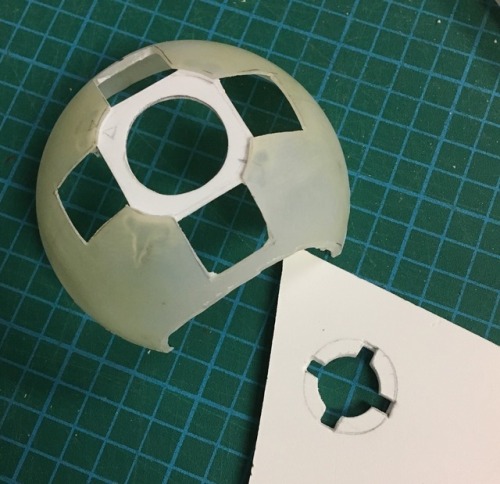
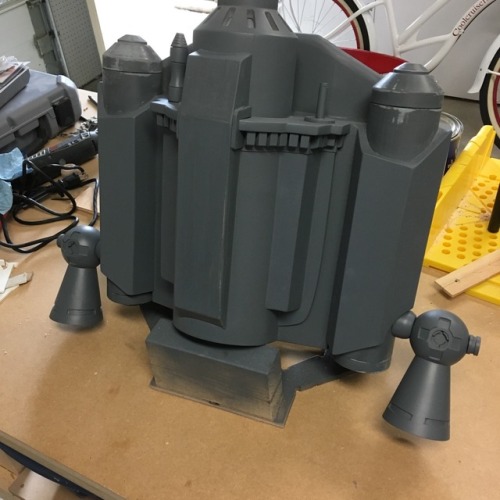
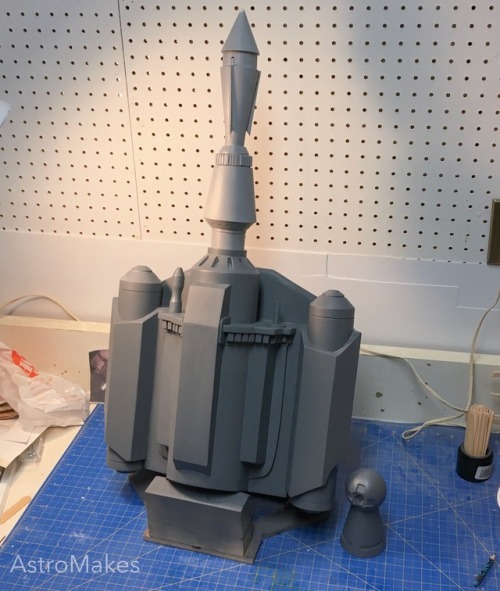
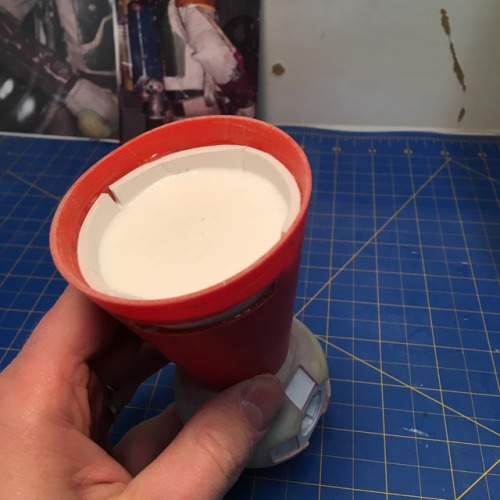
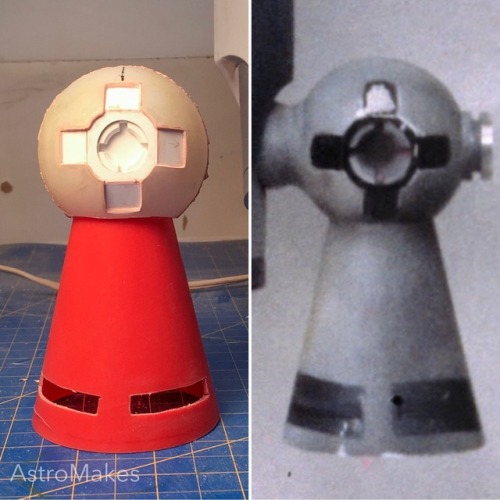
Rocket pack thrusters coming along. These will be molded and then cast out of urethane resin, so my master doesn’t have to be particularly strong, just needs to hold together long enough to get a good mold.
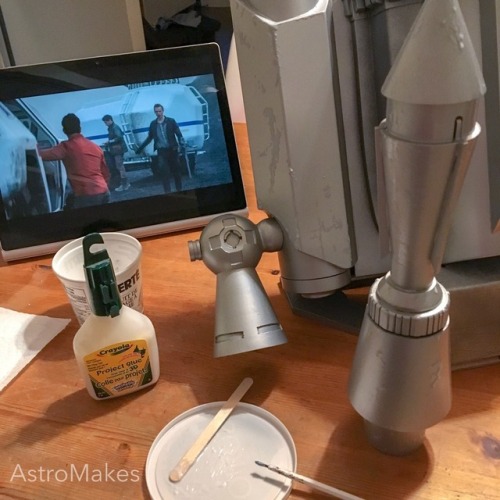
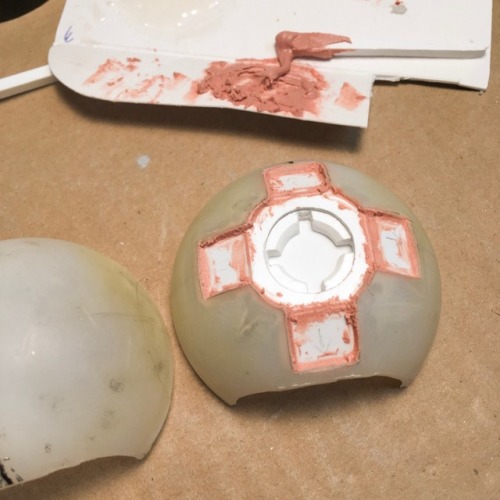
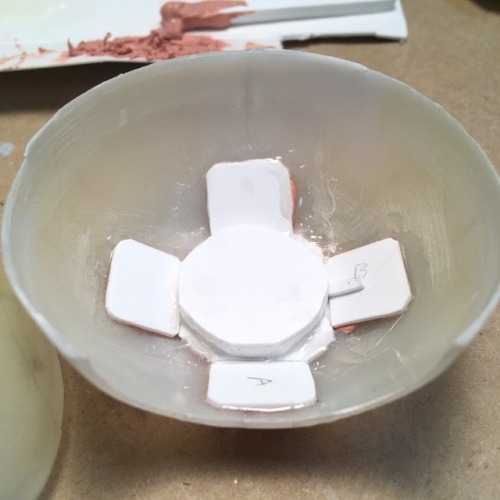
I used hot glue as a temporary clamp and support while I was cutting the details out of each half of the ornament. Worked well! No building up the detail in that little cross thing.
Post link


GUYS IT’S DONE!! I am so excited to be able to finally show you all the complete suit. It was quite a journey, and I’m super happy with the results. Hopefully going to get a pro photo shoot of this suit soon. CHEERS!
If you’re curious, check the rest of my tumblr for tons of process posts on how I made Boba, and stay tuned for whatever crazy thing I decide to build next! :)
Boba’s Chest Display
Boba Fett has a little digital readout on his left chestplate. Here’s some of the process I went through to simulate it!


(Above) first, I learned just enough electrical engineering to modify what’s called a trace circuit to match the timing and sequence of the blinking LEDs on Boba’s chest display. You can find tons of tutorials and breakdowns of trace circuits online. I also bought all the components I would need (plus a biiiit extra)


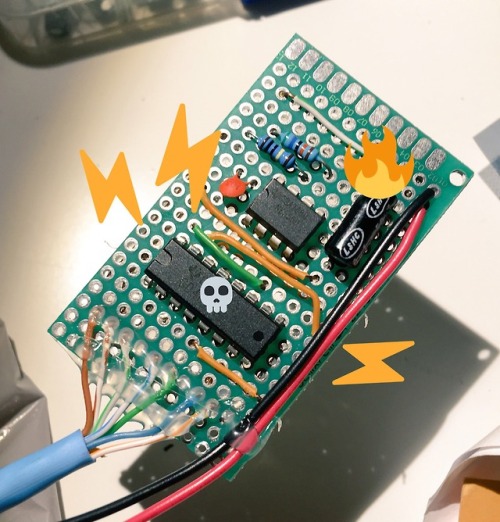
Next I made a mock-up using a breadboard, which lets you test circuits without doing any soldering, to make sure my design worked—it did! Once I knew it worked, I got to soldering. There are actually two boards connected with some standard network cable (just needed something with at least seven wires). This way I could keep the board with the actual LEDs small enough to go behind the chest plate unnoticed. Above is the LED board made with some generic prototype board. I accidentally fried the first timer board, so for the second version I went a little fancier:


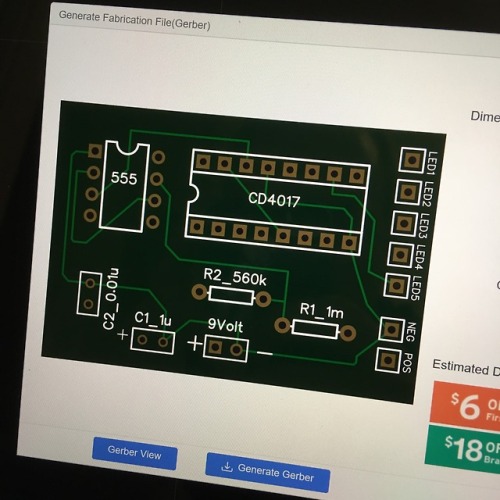
For V2 of the timer board, I decided to try a free online electronics CAD program to make a schematic for an actual PCB. In the future I will absolutely do this for any electronics I make, it is very cheap to order the boards, and they are SO much easier, sturdier and potentially smaller than a cobbled together prototype board.


Then I soldered all my components to the PCB. After testing it and making sure it all worked, I made a little enclosure to hold the battery, timer board, and a switch. This enclosure goes into one of my utility belt pockets, and the wire goes up underneath the bodysuit and vest to connect to the board on the chest plate.

Stick it behind some transparent film with the characters/lines that match Boba’s, and we’re golden! Oh I also put some thin foam over the LEDs to diffuse the light a bit. Cheers!
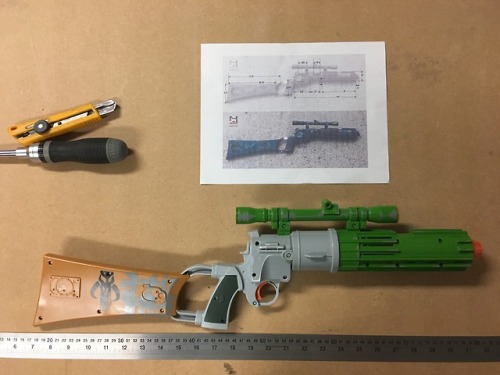
Hey friends! I’m just finishing up Boba’s Blastech ee-3 blaster carbine, so it’s time for another summary post. For more regular updates, find me on Instagram (https://www.instagram.com/ultraboltzinsta/) or twitter (https://twitter.com/nate_bolton). Anyway, step one (above). Come up with a plan! Decided I was going to lengthen the barrel by 2″ and create a new stock. The grip is slightly too small, but I decided to leave it as-is for structural reasons.

(above) Hey and here we go! Blocks are starting to come together. PVC pipe to lengthen the barrel and MDF for the stock. The connection between the stock and the grip will be made of three layers of sintra glued together.

(above) With the stock and barrel extension in place, it’s ready for primer (I use Krylon Fusion primer/paint as a base as I find it has the best plastic adhesion) and a base coat of matte black. Next, weathering and age!

(above) I thought I had some more intermediate pics of the weathering, but I’m afraid they’re just vids on my Instagram. Nevertheless, here we have the blaster ready for clear coat. The weathering is multiple layers of colour washes + dry brushing, as well as a healthy amount of silver dry brushing to simulate places the paint has been worn smooth off. After clearcoat you may want to reapply some of the silver weathering as a matte top coat will kill some of the shine of the silver. That’s it!
Post link
Hey and while we’re waiting, why don’t we see if we can make this toy look a little less like a toy, shall we? Find me on twitter for more regular process updates (@Nate_Bolton) or wait here for summary posts!
Post link
Once upon a time I made a little logic board that controlled the pretty LEDs in Boba’s chest display. Then one day, an evil spell overcame me and I accidentally connected the battery with the wrong polarity. TRAGEDY. The board was fried. Lo, there was hope on the horizon! Why just remake, when you can remake BETTER?
Gave easyEDA.com a try, it’s a CAD program that helps you design your own PCBs (printed circuit boards) and then lets you order them at pretty darn reasonable prices. I’m just waiting for mine to arrive–and then I get to find out if I actually did it right, or if I just designed a bunch of fancy looking green coasters. Stay tuned!
Post link
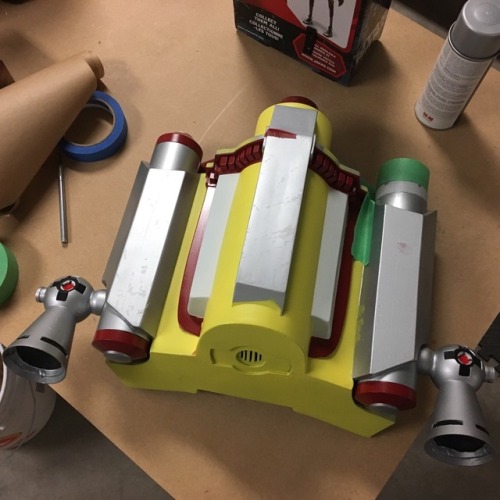
Alright, here’s a quick summary of the painting process for the rocket pack. First, primer. After primer, lay down some silver/aluminum wherever you think you’re going to want the fancy paint chip. I just do it for high-visibility areas, and anywhere where I need a lot of metal to show through. It’ll make more sense later. Read on!

Step 2: With the silver on, I use Crayola kids “Project Glue” as a masking substance. Just paint that stuff right onto the prop wherever you want your simulated paint chips and scratches to show the silver underneath. Definitely test whatever glue you use before you put it on your prop! I use kids glue because it peals off super easy.

Step 3: So once the masking is all done, it’s time to start laying down your base colours. Boba’s rocket pack in ROTJ actually has the most preschool color scheme you’ve ever seen. Thankfully, weathering is a beautiful thing.

Step 4: details, stencils, stuff. These are just made by verrry carefully cutting stencils out of painters tape–though there are a million ways to make stencils.

Step 5: The good stuff! I start with a “grunge” pass. I’ll do a wash with a sort of oily black-brown, and then airbrush on the accumulation of dirt, dust, carbon, etc. Remember, weathering tells the story of your prop, and it shows if you just put it on randomly. Story is king!

Step 6: last but certainly not least is the “scratches” pass. My favourite. This is where I use a fine pen-knife/exacto blade to peel off the kids glue and reveal the beautiful silver underneath. I ALSO do a fine detail pass with a brush and some Testors silver model paint to put in all the really fine scratches and worn corners and stuff. There are tons of techniques for weathering, and no rules, so have fun! Write your prop’s story. Hope some of this is useful!
Post link


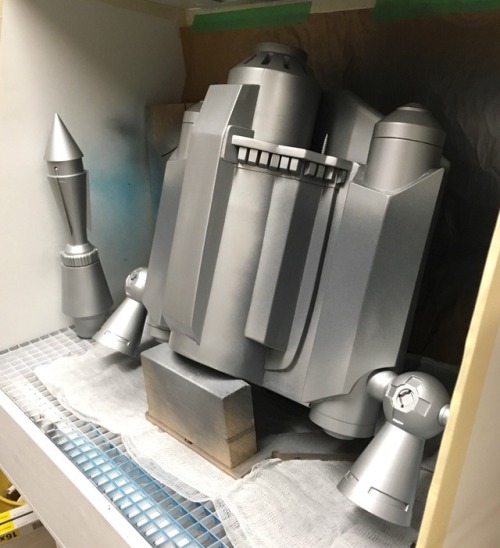
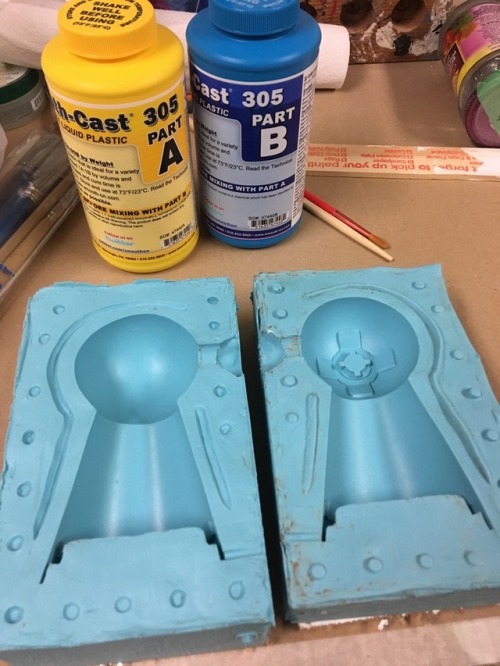
DONE!! Very happy with the result. I was able to put a lot of what I learned with previous parts of the suit into this one, and even try out silicone mold making and resin casting, which was awesome. I’ll post a breakdown of the painting process next.
Sprayed a whole bunch of blue last night.
Also on the topic of airbrushes: thinners! A good thinner is a must if you want to use off-the-shelf acrylic craft paints (which I often do). While I have a lot to learn about airbrushing still, I have discovered a few thingsthat might be useful to you, too!
I haven’t fully tested these two thinners side by side (which I will do and post the results), but for now I’ll post the recipes and you can try them out for yourselves if you like.
Thinner option #1: Pledge Floor Care with Future Finish
Pros: This seems to give the paint a fairly hard and durable surface.
Cons: Have to test this further, but doesn’t seem to completely dissolve the acrylic paint, which has lead to a verrry slight orange peel texture, and adds a low level of satin/gloss to the paint.
How to make it: Go to a store that carries it (I got mine at Wal-Mart in Canada), buy it.
Notes:This seems to be more commonly used as a top coat, which it does very well. It will protect the paint beneath and gives a satin/low-gloss finish. Here’s a video on that and some other top-coat options.
Thinner option #2: Make your own
Pros:Crazy cheap, thins acrylic paints beautifully, can be used to flush your airbrush between colours. Seems to Retains original sheen level of paint (satin stays satin, matte stays matte–though more testing is needed on this).
Cons:Paint needs a topcoat, as this does not add strength to the finish.
How to make it: First off, this is not my recipe! I directly followed this video from Luke’s APS on Youtube. Go check it out!
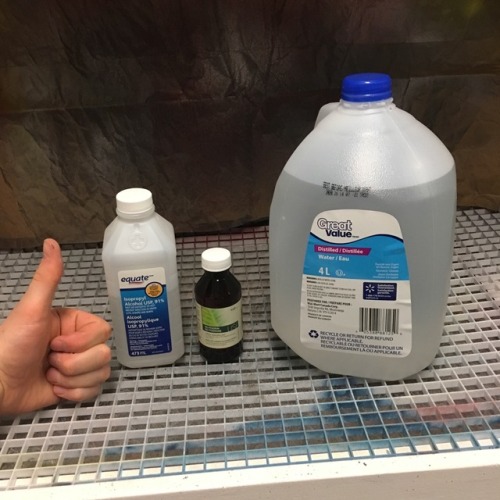
Ingredients: Distilled water, glycerin, 91% isopropyl alcohol, thumbs up.
Directions:In a vessel of your choice (I used a 500ml water bottle) mix 2/3 distilled water, 1/3 isopropyl alcohol, and 1ml glycerin (more/less if you’re making more/less than 500ml). Shake it up a bit and you’re done. Thumbs up!
Notes:So far, I love this mix. I want to test it on a few different brands of acrylic paints before I totally leave Pledge behind, but so far it seems to really do a great job of thinning the paint, and I love that I can use it to clean up afterwards. It’s so cheap that I don’t sweat using it to flush my brush frequently or clean out jars etc. You can also make a variation of this that includes ammonia-free glass cleaner to act as an airbrush cleaner.
Leave a comment if you end up trying either of these, I’m curious to know what you think!
Post link
More paint on the rocketpack, and also more sass in the workshop.
Once I get the blue down on the pack, then it’s time for weathering, which is the fun stuff.
Post link
Silver base - check,
Lost in Space - check,
Kids glue to mask silver for weathering - check,
TIME TO SPRAY.
Post link
I’ve actually been working on attaching the thrusters semi-regularly, but most of it just hasn’t been very pic-worthy. Here’s a dry fit of all the parts. It’s a 1/4” threaded rod drilled and glued into the fuel tank (I gave that part of the tank a solid wood core), and then a shaped piece of hardwood dowel, the thruster, and then a 1/4” nut that gets covered by the end cap which is made of multiple layers of Sintra. Just glued it all together an hour ago, actually.
Post link
Demolding time! This was awesome. I had no idea how this would turn out (my first time using a silicone mold)—and it turned out great! Definitely learned a few minor things I’d do differently next time, but overall very pleased with the results.
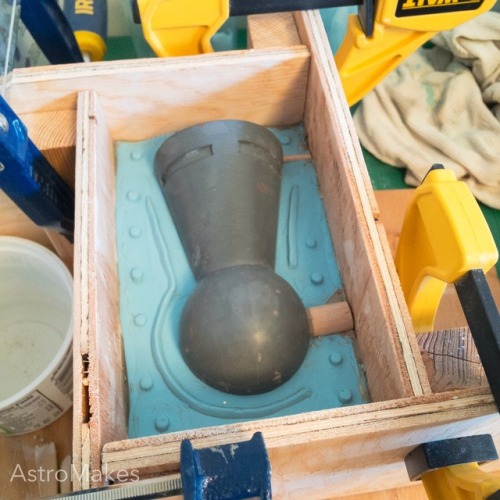
Finally got more silicone and poured the other half of the mold. I think it turned out well! A little concerned with making sure the Smoothcast 305 gets all the way into those thin channels by the base of the thruster cone, so I might use a brush to jam some of the resin in there before I close up the mold.
Post link
First half is poured! I sort of ran out of silicone though, so I gotta make a supply run before I can finish.
Post link
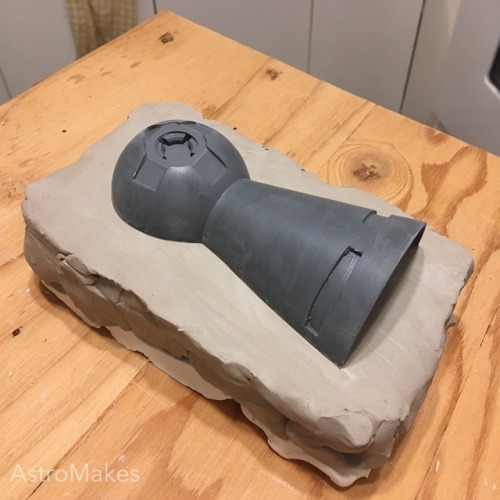
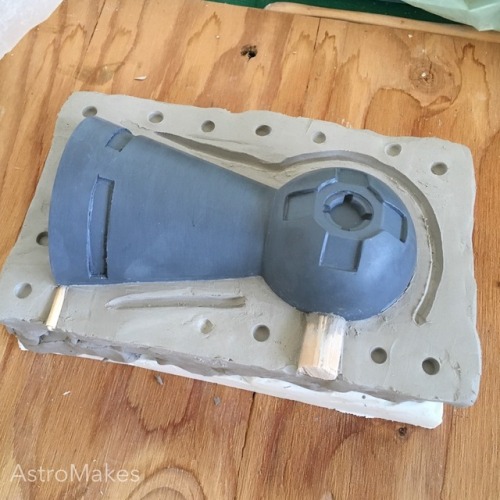
So far so good I think. Claying up the master for silicone pouring. Exciting, and slightly terrifying.
Post link
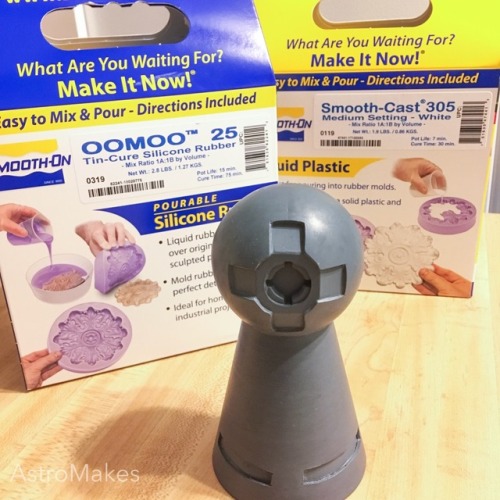
I have been wanting to try silicone mold making for YEARS. Picked up some Oomoo 25 and Smooth-Cast 305 yesterday and I am PUMPED. Also, the rest of the pack is primed, sanded and ready for paint.
Post link
Okay the thruster cone is ready for primer—and so is the main body of the rocketpack! To make the reassembled cut-in-half Christmas ornament strong enough to handle and sand, and also to help attach the road cone, after gluing it all together I filled it up with a bunch of CastinCraft EasyCast resin that I had left over from casting some of the wrist rocket parts. I drilled a hole in the top of the road cone, so I could fill it all up together. This made it really nice and solid, and also filled any leaks that the silicone might have gotten into. After a bit of Bondo and sanding, it’s ready for primer!
Post link
Getting closer…
The ball thing is just sitting loosely on top of the cone, but it’s almost ready to glue together! Which means it’s almost almost ready to do all the other steps!
Post link

