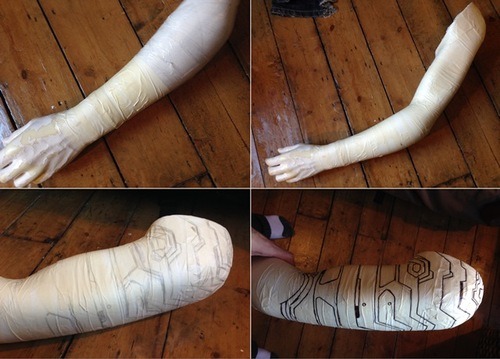
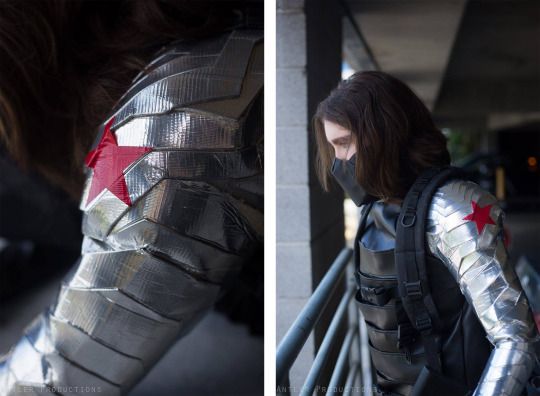
So I wrapped my arm in cellophane and then tape, and I cut a slit up the inside, I drew on the muscles and used those lines to cut out templates, which I then transferred to 5mm foam .
I glued those pieces together and then once again wrapped the arm in cellophane and silver tape, I drew on the design using lots of reference pics, then cut those out, keeping them in order,
I transfered those to 2mm foam and covered them with a metallic material and glued them on to the base arm, I then painted in between the cracks with black and then gold.
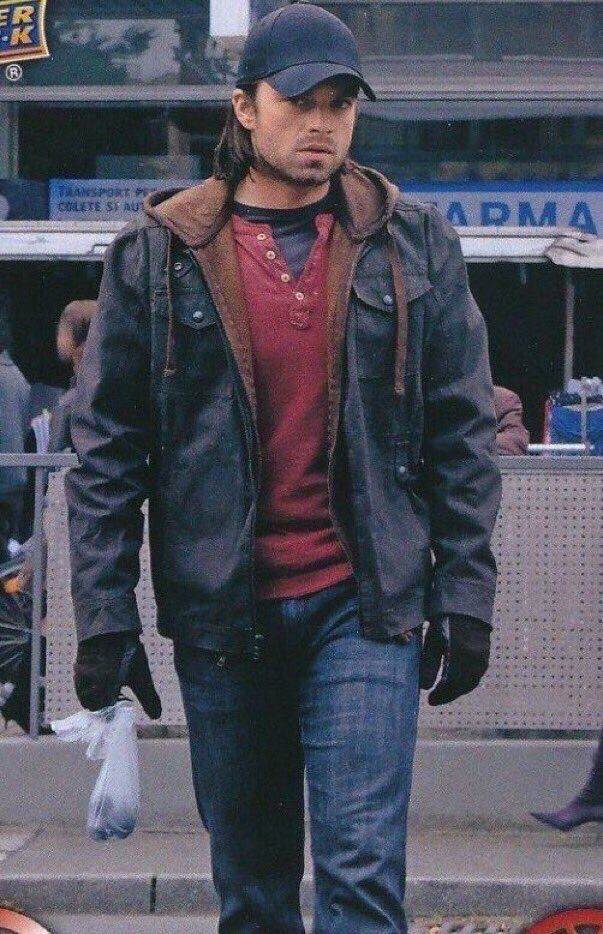
Attempted to recreate the moment from the Falcon and the Winter Soldier where Ayo tests to see if Bucky is finally free of his Winter Soldier programming
Hello! As I’ve had several people ask about the creation process of the arm I had made for my Bucky costume, I thought I’d make a tutorial and share it with you guys - hope it helps :)
So lets get started!
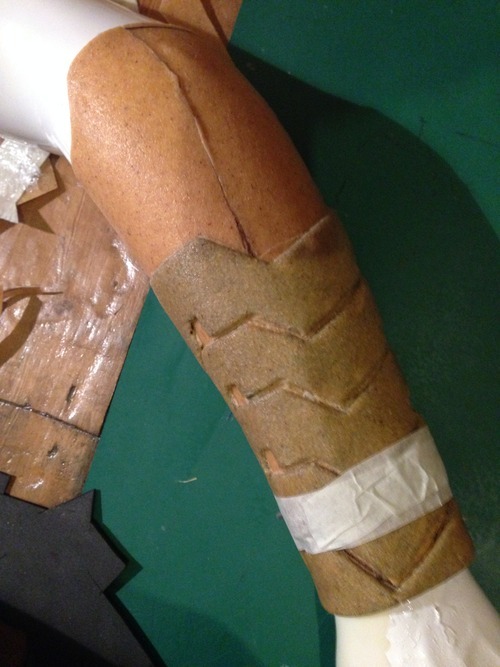
Step 1 - The Template. To create the arm I first needed to make a template, so I used the left arm from a mannequin and wrapped it up in cling film, then cut strips of masking tape to to wrap around and cover the arm (If you don’t have a mannequin arm you can always make your own by wrapping your own arm up and then covering it in tape, then once removed tape it back up and stuff it full of plastic bags/wadding or fill it with expanding foam). Once I had covered the arm from the wrist to the end of the shoulder in masking tape I then began to draw on the detail in pencil, then once I was happy with it all I went over in permanent marker.
After completing the detail of the upper arm I repeated the process with the forearm, and made sure to leave the inner arm/elbow joint blank as this area is not needed as you’ll need space to be able to freely move and bend your arm.
Step 2 - Making the Arm.
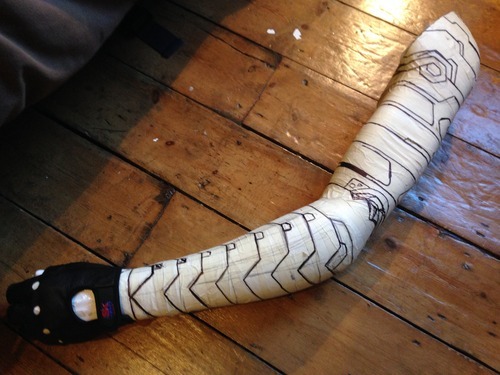
To remove the masking tape template design I used a very sharp scalpel and carefully cut a straight line going from the top of the inside of the arm to the bottom of the arm at the wrist.
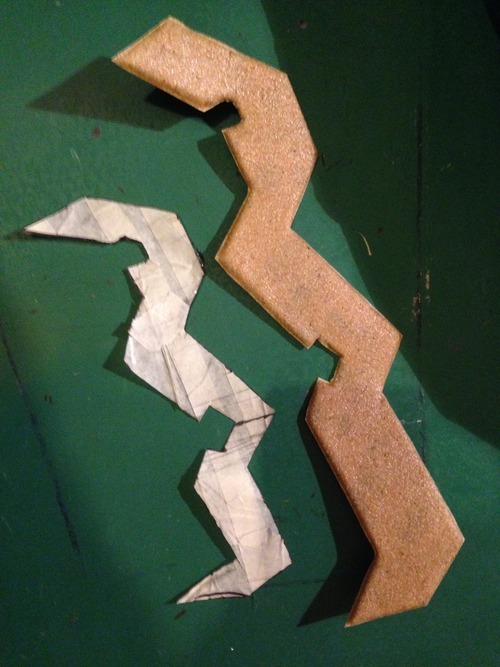
Once I had cut the blank elbow area away from the upper and lower arm pieces I drew around them both onto a sheet or worbla and cut them out, then heated them up and molded them around the mannequin arm making sure not to stick the inside seams together so that I could remove them from the arm afterwards (I forgot to take pictures of this part as I was in a rush unfortunately, but you can see a bit of it in the next picture). The next step was making the detail to cover both the base pieces of the arm, to do this I cut up both the templates to make smaller ones that I could then use to draw around onto the craft foam, cut out and then cover the facing side in worbla, making sure to cover the edges and then used a scalpel to cut away the excess whilst it was still warm and pliable, then reheated the pieces up and stuck them to the arm and used a metal ruler to help straighten the edges of the worbla and to make sure the edges bonded to the main arm.
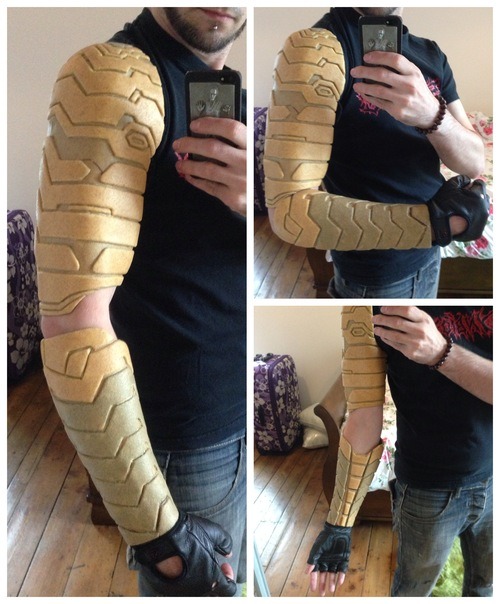
Once I had done all the detail on both pieces of the arm I removed them from the mannequin arm and on the upper arm I bonded the seam line together on the inside of the arm using a strip of worbla, then made a few strips to cover the seam line on the outside. The strip on the Inner arm of the forearm was made from a seperate piece that I then heated and attached to the main forearm down the one side, while the other side of the strip that is tucked under the main arm is left so that when I put it on/take it off the arm flexes allowing my hand to slide through.
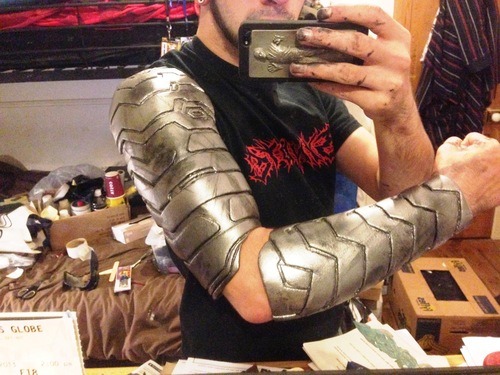
Test Fit!
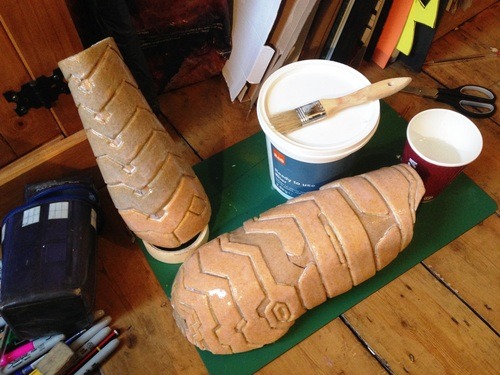
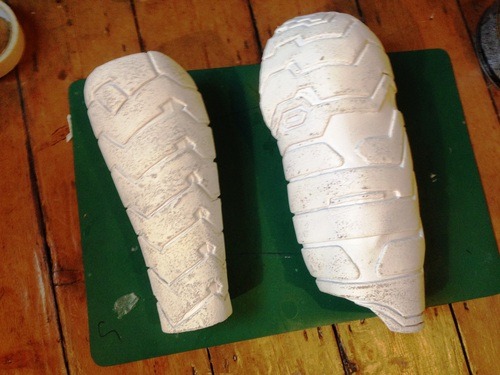
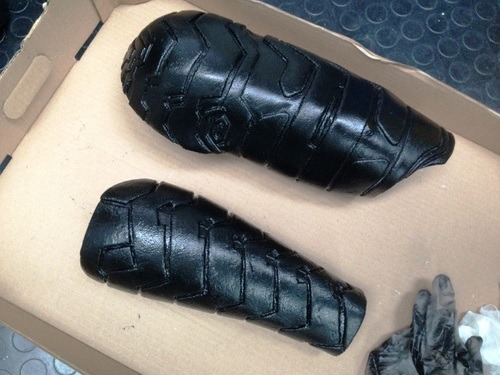
Step 3 - Painting. Before painting the arm I gave the worbla several layers of sightly watered down PVA Glue to help seal the worbla and to help get rid of the the natural texture of the worbla. The next step was to give both pieces 3 coats of white primer spray paint and when fully dry I then used a damp piece of Wet & Dry sandpaper to sand back the paint a little to make it smother.Once that was done I used a damp cloth to clean away any excess dust from sanding and then dried it off before giving both pieces a few light coats of Black Satin spray paint as a base layer before spraying both pieces with a dark silver spray paint.The next step was to lightly spray the arm with a much lighter silver, then once dried I then started weathering the arm by lightly spraying some areas with the darker silver and also the black spray paint, then painted on some scuff marks using watered down black paint and then lightly wiped it off/smudged it to make the arm look tarnished and battle worn.
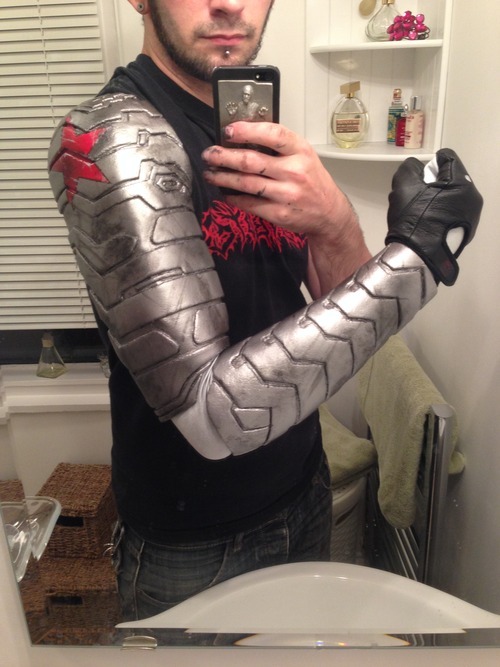
To create the star I first made a template to work out the size needed, then once I then placed it onto the arm and carefully drew around it with a red permanent marker. The next step was to use some electrical tape to go around the edges of the star making sure then were all straight and went inside of the little trenches between the detail so that when it came to painting it the paint wouldn’t bleed under the tape (again I forgot to take pictures of this process as I was in a rush).
I then used masking tape and newspaper to cover the rest of the arm then sprayed the exposed star shaped area with a a few light coats of white spray paint, then when it was dry I then sprayed it with red spray paint. The next step was to them mask of the inside of the star using electrical tape to and then sprayed the exposed edges of the star to make the black outline of the star. Once fully dried I then carefully removed all of the tape and the newspaper to reveal the red star, then began to weather it by lightly spraying areas of it with a mist like spray of black spray paint and created scratches and chips in the paint by using a thin paint brush with a ‘chrome’ colored enamel based paint, then I sprayed both arms with a few layers of clear lacquer to seal the paint and protect it from chipping easily. For underneath the arm I used a long Silver/Grey ballgown glove.
*I plan to make a piece that covers the elbow joint and fingers at some point, so I will update this tutorial when I do.
I hope this tutorial has been of some help to all you, and if you have any questions please feel to contact me on my page at: Sketch McDraw Cosplay:)
I recently rebuilt the metal arm for my Winter Soldier cosplay and took process photos every step of the way. So here’s a tutorial showing how I did it! I wanted an arm that was cheap/non-messy to build and lightweight/flexible to wear, so I came up with a method using foam and duct tape.