#watercolor tutorial
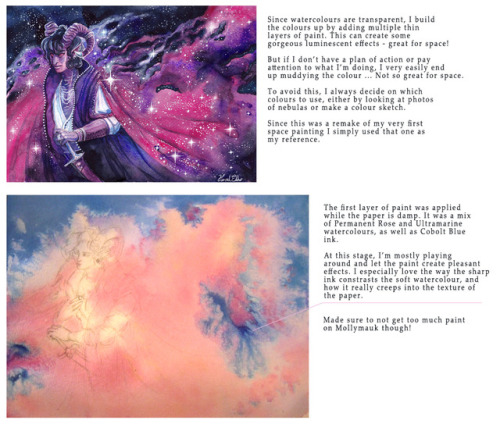
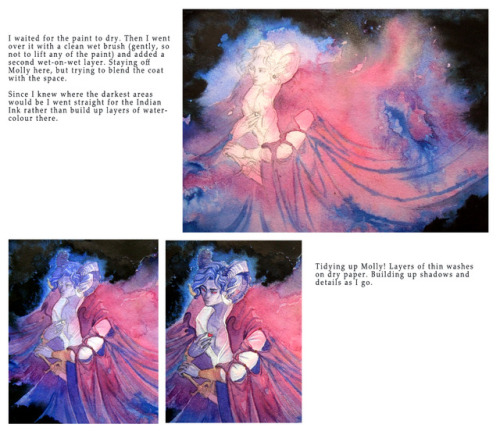
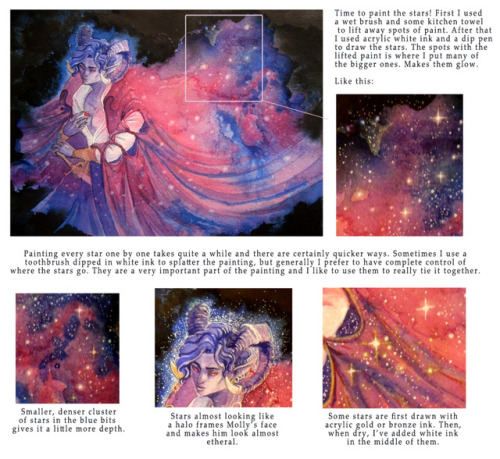
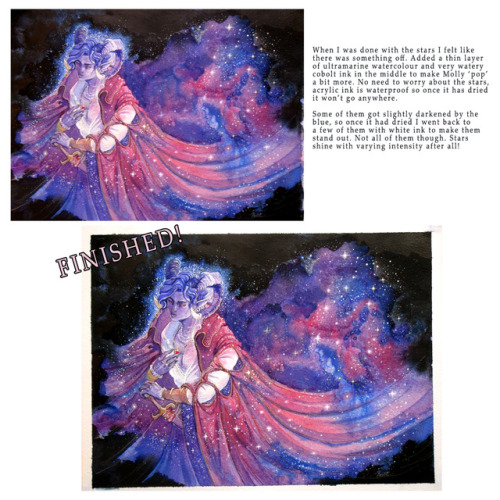
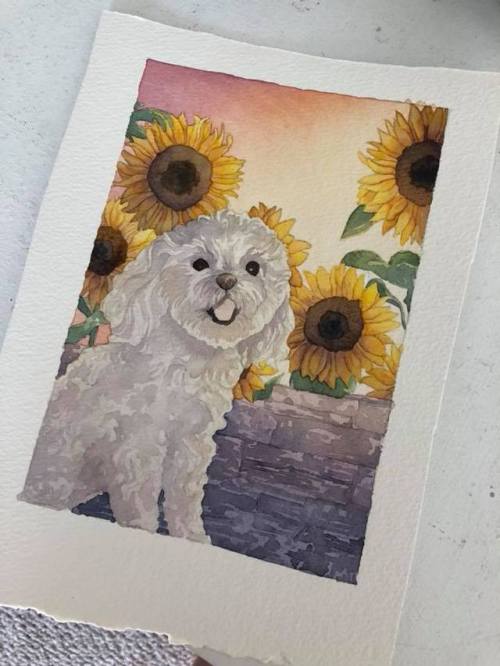
Like I promised, here’s some photos (of varying quality) and a little summary of how I made my latest space painting! It’s the first time I’ve ever done something like this and I underestimated how long it would take. Turns out “making art” and “explaining how you made the art in a coherent fashion” are two completely different skills.
Post link
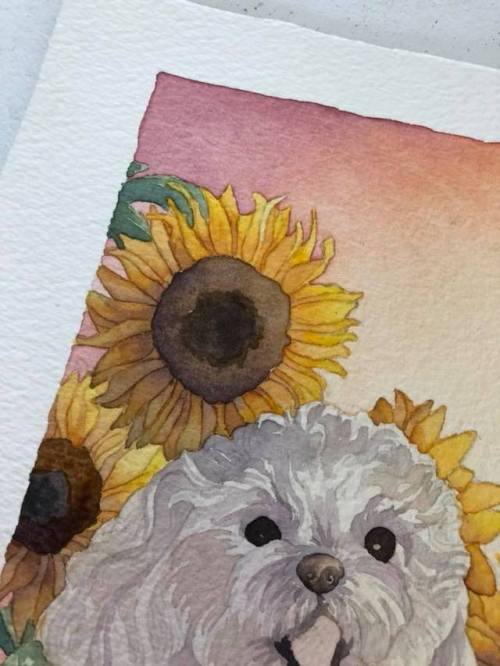
Watercolor flowers are one of my all time favorite things to paint.
There’s something about the rhythm of the petals, the base coat turning vibrant with just one more layer…I absolutely love it.
I can’t wait to post this finished painting! It should be done by tomorrow. ✨
Come follow us for more of our dog-themed tarot deck pictures!
Some watercolor tips too!
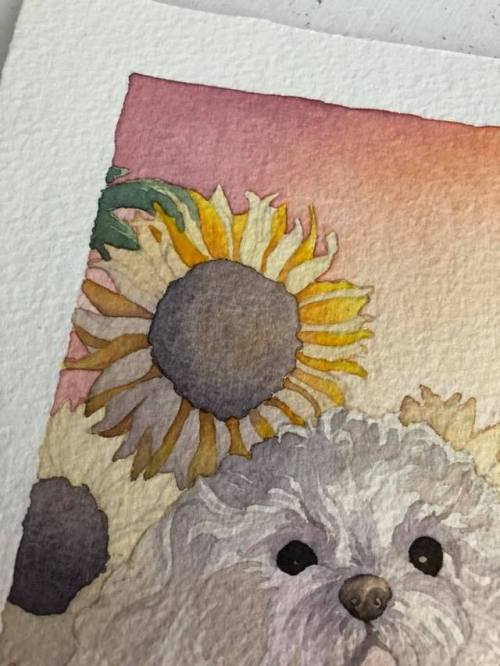
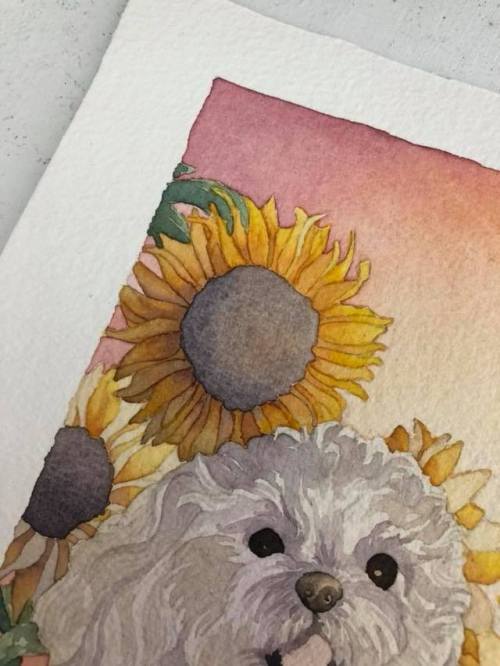
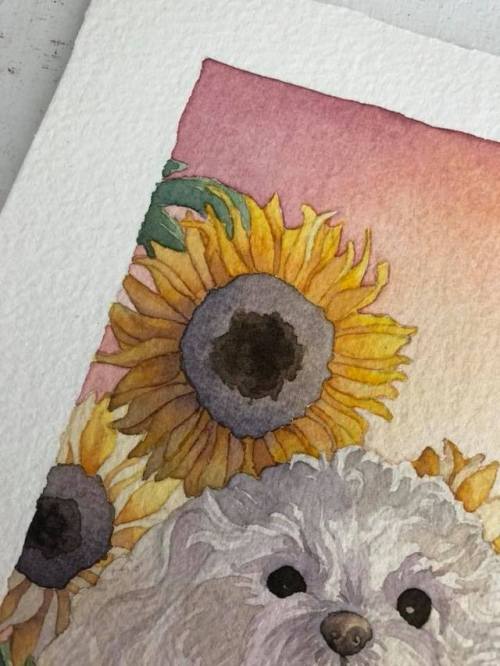
- Try to keep the layers of watercolor to a minimum. As you can see, the flower is just two layers (one with the base shadow and highlight, then each petal is painted in a gradient)! This makes vibrant colors.
- When doing details, make sure it’s dry before painting near it. See how we did every other petal first? That was to make sure the others were totally dry before painting next to it so the color didn’t bleed.
- Rotate your paper! In order to make sure the brush is precise and leaves clean lines, rotate your paper. The tip of the brush has the most control, so make sure that paints the edges of any detail work.
- Use complementary colors for your base. We used yellow and purple, and then painted over the petals with a mix of purples, oranges, and yellows. This made one side in a strong shadow and one in a highlight!
- Plan ahead where the light source is. Watercolor is a medium that really needs a defined light source to shine. Pick the direction before painting, it helps with organizing your piece and colors a lot!
Post link

i’m an absolute sucker for watercolor and learning how to do this has been something of a game-changer for me. so now i am doing my best to show you! this tutorial is very image-based and kinda rambly but if you have any questions feel free to ask! if you find this helpful please consider buying me a coffee
disclaimer:this only seems to work well with larger images. the image i use in this example is about 3500x2500 px and downloaded off of unsplash! you could probably fiddle around with the settings to make it work for smaller images, but idk yet. I also don’t know how well this works with faces.
anyway, tutorial time
the very first thing you want to do is turn your picture into a smart object!

this will give you smart filters which are non-destructive and allow you to swap your image out if you want!
the second step is applying a median filter as shown here!


i’ve found that the best number for radius is somewhere between 8-15. lower for more detail and higher for more abstract looking things. play with it and see what works best for your image!
next you’re going to want to add a find edges filter!

once that is applied your image should look something like this!

you’re going to change the blending mode of this filter by clicking here

and then you’re going to set it to linear burn

next, you’re going to go up into the filter gallery and select the stamp filter


these are the settings i have found to be ideal!

once again you’re going to change the blending mode, this time to screen. this will give an illusion of paper poking through the colors and give it some good imperfect spiciness ✨
now you’re going to go back to the filter gallery and this time you’re going to be selecting the watercolor filter!

once again thes4e are the settings for that which i have found work best

add a new effect layer here

and select pallet knife

use these settings

okay! the hardest parts are all over! thank you for sticking with it this long. now you can add a nice paper texture if you’d like! this is a good one
slap that bad boy on the top layer and set it to multiply and you’re good to go!

thank you for reading and good luck with your watercolor editing adventures!
PART 1: Paints/ PART 2: Paper and Brushes
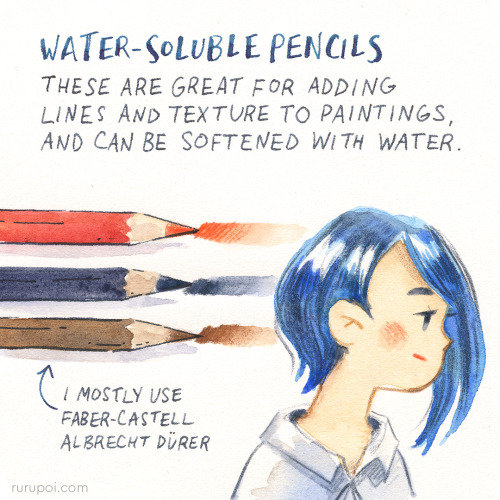
PART 3: Let’s explore some additional tools that are fun to use with watercolour! When it comes to fountain pens, I’m more about practicality and price than aesthetics. I have six Platinum Preppy pens!
—
Would you like to see more guides like this? Is there something else you’d be interested to learn about? Let me know in the comments! (I am much more active on my Instagram nowadays so you can reach me there too!)
Happy painting!
Post link
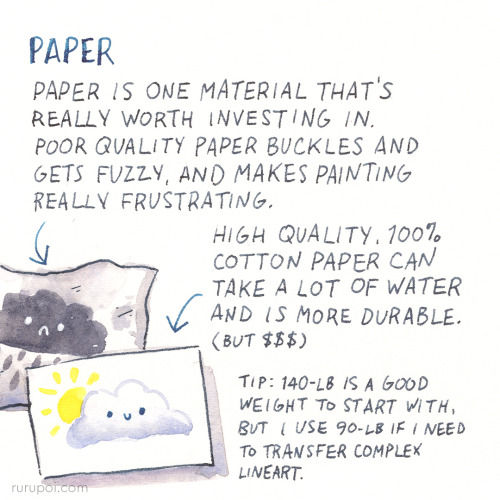
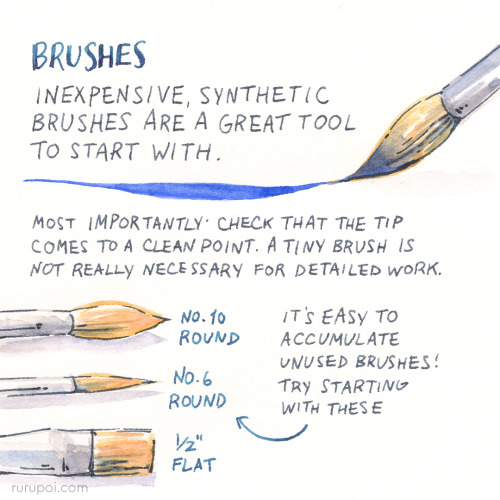
Part 2: Let’s talk about selecting paper and brushes!
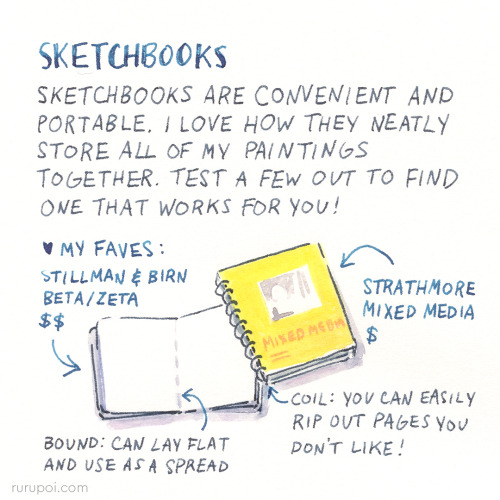
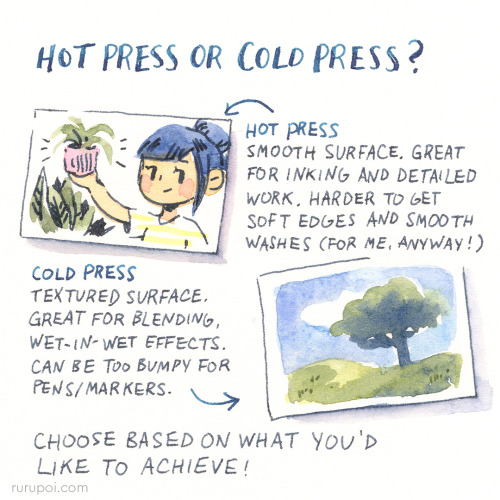
Paper is such a personal preference, and it can take a bit of exploration (and a few abandoned sketchbooks) to find what works best for you. I’m still looking too!
Have any questions about paper or brushes? Or recommendations for me? Leave me a comment!
On Thursday, we’ll explore some other tools that complement watercolour painting to conclude this series. Happy painting!
Post link

