#distort


This is my new favorite toy!
If you mess with it and can’t get it to work message me and I’ll try to help out.
@leny_lou entered the #digitalde")
Photo by @digital.decade(http://dcult.net/1ERDqir)@leny_lou entered the #digitaldecade #depositphotos #glitchart #offf15
Post link


。・ tutorial five, graphic tutorial three by graphictutorials ゜+.*
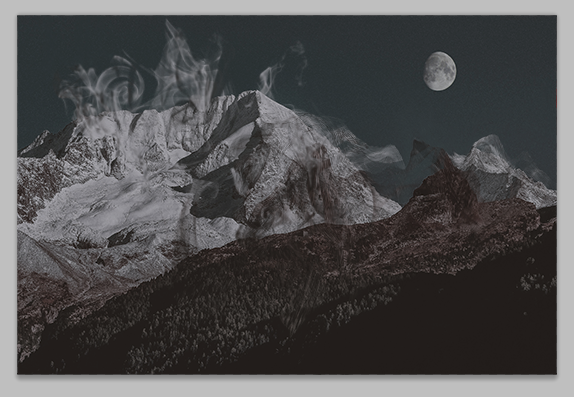
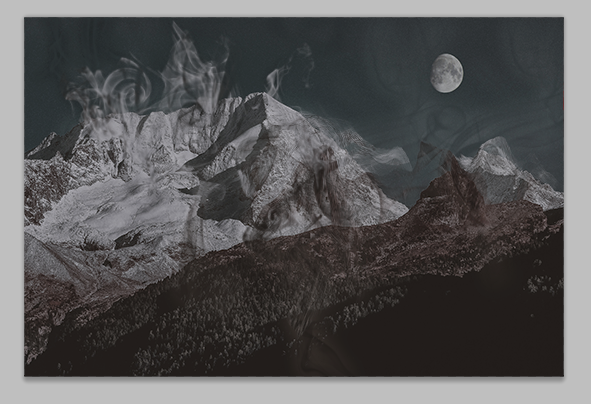
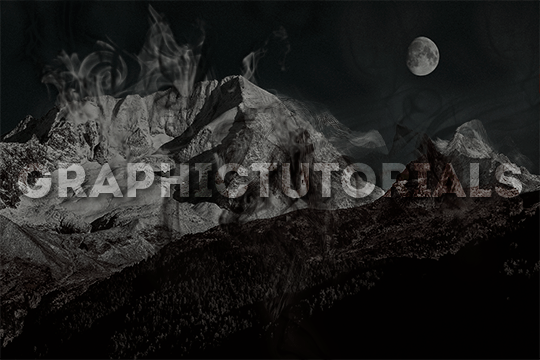
-`. Hello everyone! In this tutorial, I’ll teach you how do make an edit/graphic with smoke distortion, like this: .’-
Important note: You will need smoke brushes.
If you don’t already have brushes, here are some recommendations: 1 (I think this is the one I have), 2, or 3.
Download some smoke brushes and open them in Photoshop to install them.
Once you’ve done that, we can begin.
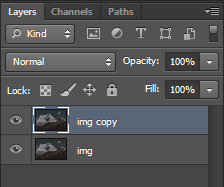
1. Open your image in Photoshop and duplicate the layer.
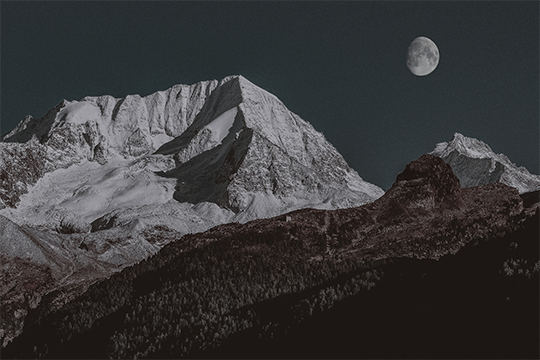
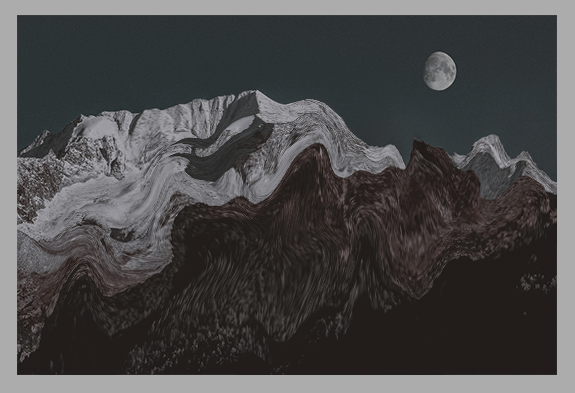
For example, this is my image:
And here you can see I made a copy:
2. On the duplicate layer, go to Filter>Liquify (or hold shift+ctrl+x).
3. Change the tool options to what you feel is best.
If the brush is too big, make it smaller. You don’t want it to be too big, you want it to be small so you can liquify only a few parts of the image. If the brush is too big, it will liquify the entire image, and you do not want that.
You can change the density and pressure, as well, depending on how you want your brush to be.
Here are my settings:

(Keep in mind, my image is 540x360, you might want to make your settings bigger if your image is bigger.)
4. In the liquify section, you’re going to click and drag portions of your image in a certain direction.
For example, for my mountains, I’m going to drag the mountains upwards.
You can make swirls, zigzags, or just straight strokes.
You can switch between brush sizes to create smaller or bigger strokes, too.
Click OK when you’re done.
5. Go to Filter>Blur>Gaussian Blur and apply a small blur.
For example, I put 0.5 radius.

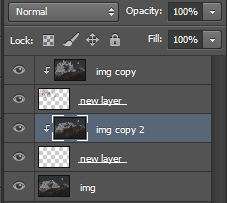
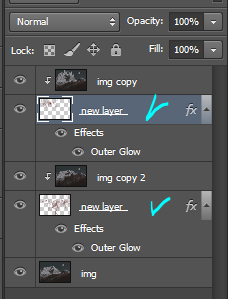
6. Create a new layer (ctrl+j) and place it under the liquified duplicate image.
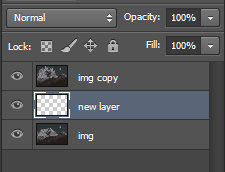
7. Select the duplicated image layer again, right-click, and select “Create clipping mask.”

The duplicate/liquified image will disappear from the workspace but don’t worry, it’s supposed to do that.
8. Select the new layer again, and go to the brushes. Choose a smoke brush you want. I recommend choosing one that goes in the direction of your strokes.
For example, if your strokes go upward, choose a smoke brush that goes upward.
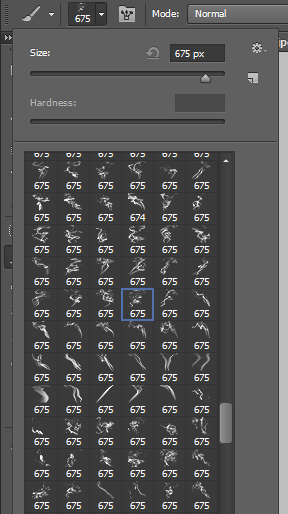
9. Adjust the brush size if you need to, and go back to the workspace, choose where you want the brush to be, and click once.
That portion will now be filled with your liquified image.
10. Apply some more smoke brushes for more of the liquified image to appear.
11. You can go back to the original, unedited image, and duplicate it, liquify again, and repeat the steps for more distortion and smoke.

12. Once you’re done with the smoke, go to each brush layer, double-click, and apply an outer glow of either white or black, depending on the image, in Overlay mode and lower the opacity a bit.
For example, here are mine:
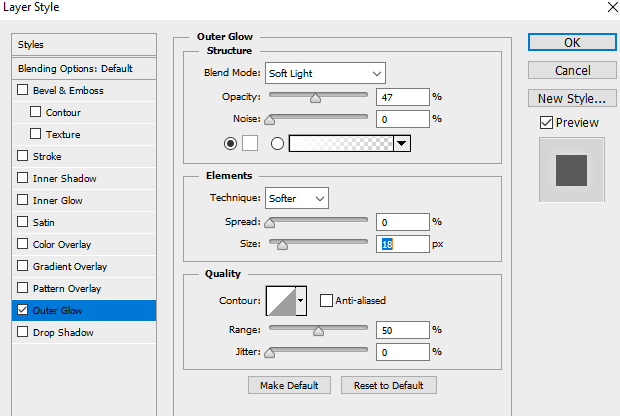
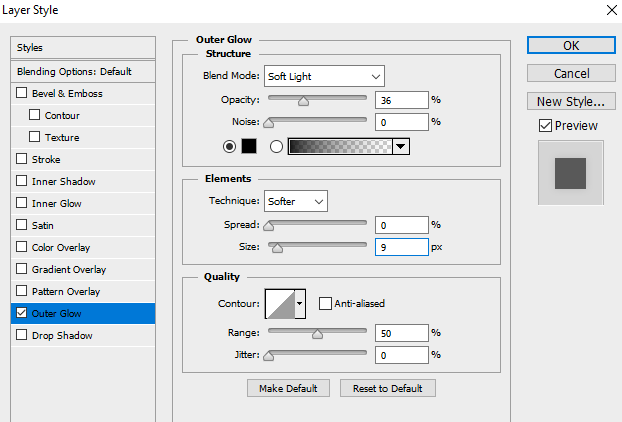
Make sure you only do it to the brush layers, not the liquefied layers!
This will make each smoke layer stand out from the original image and from the other smoke layers.
If you plan on making more portions of your image smoked (?), then repeat the steps until you’re done.
That’s all there is to it!
I hope you found this helpful and plan on using it. If you need any further help, just send me a message!
Post link