#freecrochetpattern
Here is the pattern for 031 Nidoqueen of my now finished Pokemon blanket (see previous post) I will be uploading some extra ideas you can turn these panels into in case you don’t want to make the whole blanket… #crochet #crochetmon #crochetalong #crochetmagic #crochetaddict #crochetmagicpb #crochetersofinstagram #freecrochetpattern #freepattern #pattern #blanket #crochetpattern #crochetblanket #pokemon #pokemongo #pokemonred #pokemonblue #pokemonredandblue #nidoqueen
Post link
My Pokemon Crochet blanket is finished!!! There are 150 separate panels that took about 1-2 hours each to make depending on how detailed they are. They are all now joined together and with a single row border around the outside (although I may add to this and make it bigger) this wasn’t an easy pattern to make, to get enough detail into each panel to make a recognisable Pokemon was not easy but I’m very happy with how it has turned out This was made using Dk yarn, both hayfield bonus Dk and wi yarn from Hobbycraft, a 4mm hook and a uk dc stitch. I already have my next 2 big blanket patterns ready…. more Pokemon or Zelda? #crochet #crochetmagic #crochetmagicpb #crochetmon #crochetaddict #crochetalong #crochetersofinstagram #crochetpattern #crochetblanket #pokemon #pokemongo #pokemonredandblue #pokemonblue #pokemonred #originalpokemon #diy #crafts #blanket #pattern #freepattern #freecrochetpattern #hobbycraft
Post link
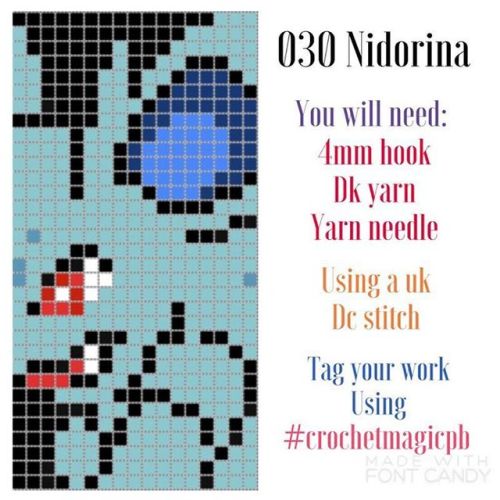
Here is the pattern for #nidorina i am only 2 rows away from completing my blanket now! But my hand is hurting again and need a break so going to use this time to complete part 1 of my joining guide! #crochet #crochetaddict #crochetersofinstagram #crochetpattern #crochetblanket #crochetmon #crochetmagic #crochetmagicpb #yarn #yarnaddict #pokemon #pokemongo #pokemonred #pokemonblue #pokemonredandblue #blanket #crochetalong #freepattern #freecrochetpattern
Post link
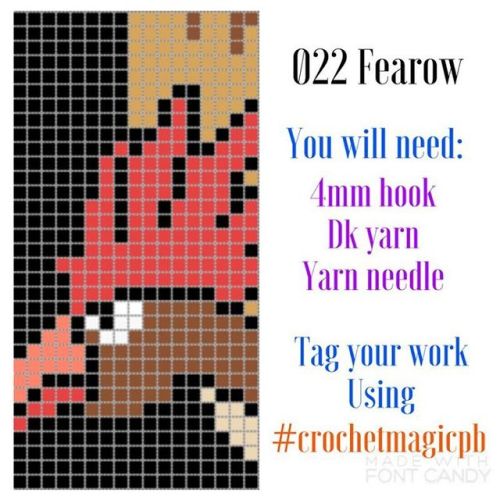
Here is the pattern for 022 Fearow planning to do my live feeds on YouTube from now on so the videos will save on my channel and can be watched again! #crochet #crochetblanket #crochetaddict #crochetpattern #crochetersofinstagram #crochetalong #crochetmon #crochetmagic #crochetmagicpb #pokemon #pokemongo #pokemonred #pokemonblue #pokemonredandblue #fearow #freepattern #freecrochetpattern
Post link
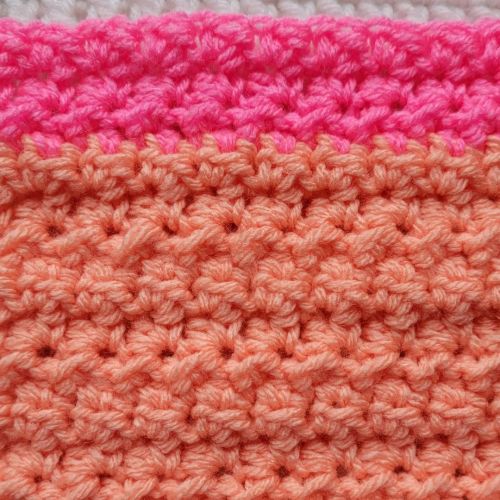
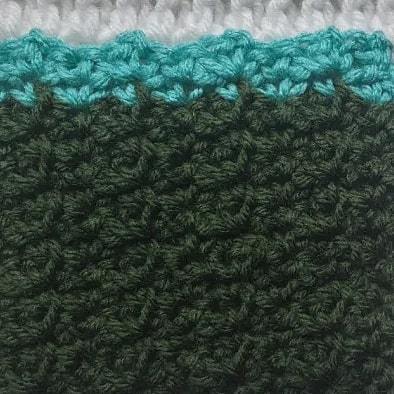
New video tutorial up on my YouTube channel on the Divine Stitch! Find me on youtube @crochetmelovely! Like and subscribe!
https://www.youtube.com/watch?v=m97VpEgDyik
https://crochetml.com/crochet-video-tutorial-how-to-crochet-the-divine-stitch/
Playlist featuring Stitches with Beautiful Texture here!
Post link
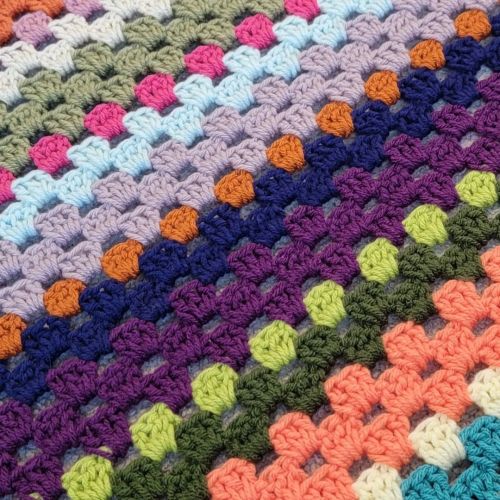
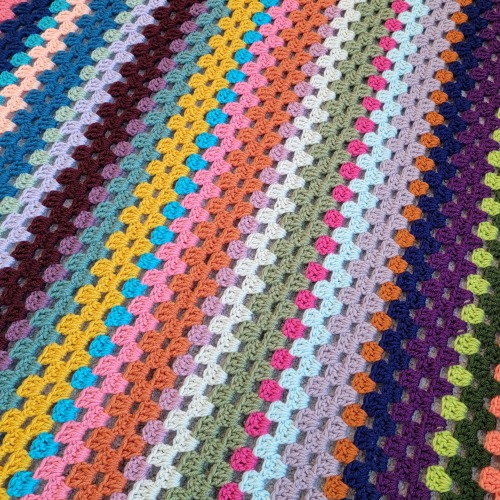
My Granny Stripe Blanket is done! I already have a free pattern out for this one. I’m remaking my older free patterns for video tutorials!
https://crochetml.com/free-crochet-pattern-scrappy-happy-granny-stripe-blanket/
https://www.ravelry.com/patterns/library/scrappy-happy-granny-stripe-blanket
https://crochetml.com/free-crochet-patterns/
Post link
Learn how to make the Crochet Latch Stitch! Video tutorial up on my YouTube channel!
Close up of the Latch Stitch. Reblog got your dash today x
Post link
Free Crochet Pattern! How to Create A Crochet Snug Cowl!
Hello there! I’ve just uploaded my very first Free Crochet Video Tutorial onto my YouTube! Also, I am having a Free Crochet Pattern Giveaway (1) to one lucky Subscriber! Giveaway Rules in the video information section!
Free Crochet Pattern// One Skein Crochet Shawl
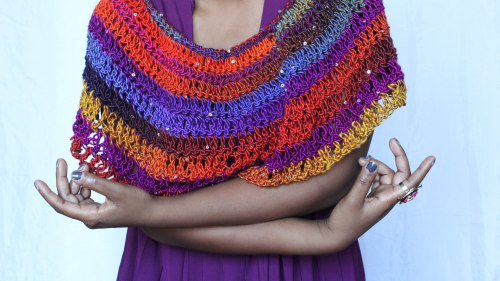
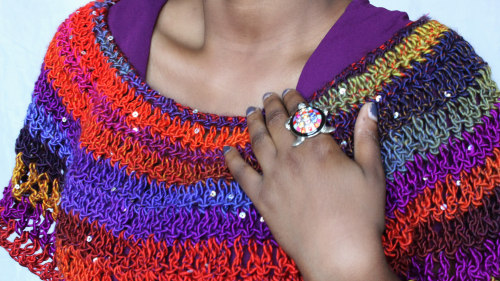
Hello there! I am sharing a free crochet pattern on how to create this shawl now live on the blog!
Post link
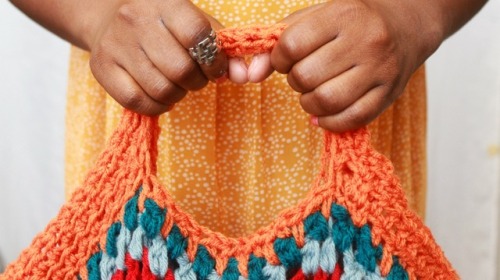
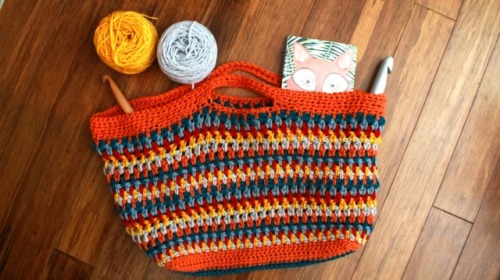
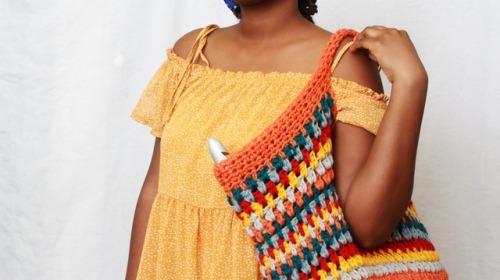
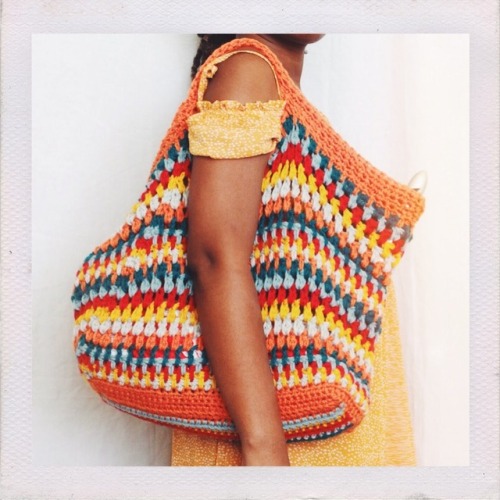
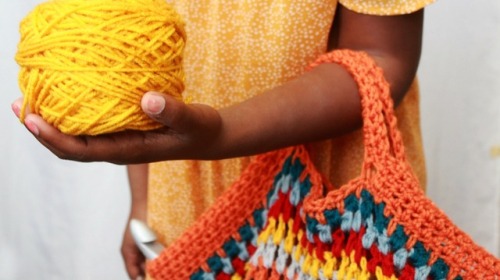
Created this crochet tote which is a Free Crochet Pattern now up on the blog. Perfect for yarn shopping!
www.thedreamcrochet.blogspot.com
Post link
✨Free Crochet Pattern✨
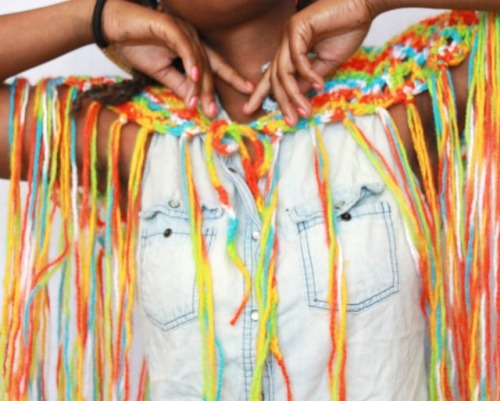
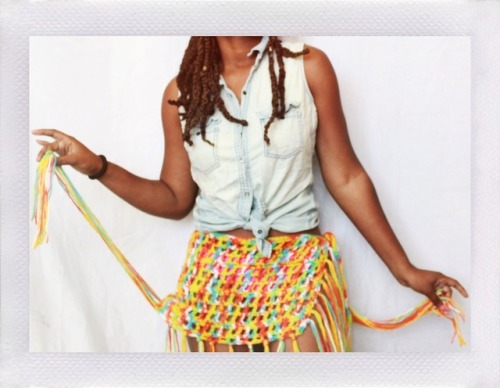
New crochet website and a New Free Pattern for this crochet sarong with fringe inspired by Beach coverups. It can also be worn as a fringe shawl as well! ☀️️www.thedreamcrochet.com
Post link
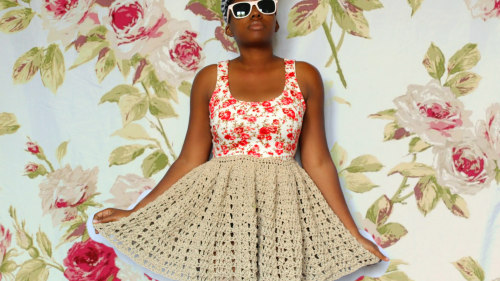
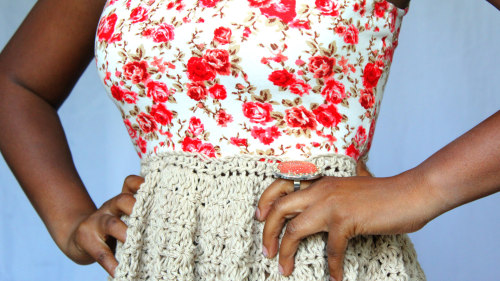
Free Crochet Pattern // Crochet Fusion Dress Pattern!
Hello there! Just posted a free pattern on how to create your very own dress from a simple crop top. Utilizing recycled fashion to create a personalized piece to wear! Enjoy! :D
Post link
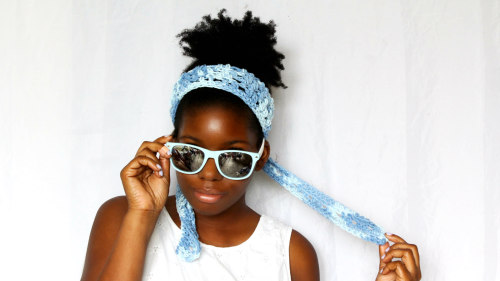
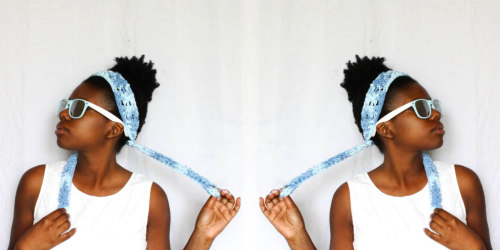
FREE CROCHET PATTERN // CROCHET 70’s INSPIRED CROCHET HEADSCARF
Hello there! Here is a groovy and free pattern, which is on the blog, on how to create this crochet headscarf, perfect for the Summer time!
Post link
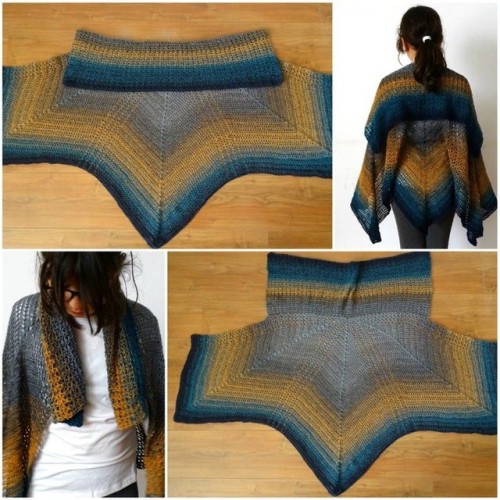
Free Crochet Pattern and Video tutorial are up on my site. Also you will find links to the pattern with pictures from my shops on that page too.The Bat-terfly Shawl
#crochet #crocheted #crochetshawl #lacycrochetshawl #batterflyshawl #butterflyshawl #meladorashawl #shawlforteens #stylishshawl #crocheting #freecrochetpattern #crochetpattern #crochettutorial #DIY #yarn #meladorascreations
https://www.instagram.com/p/ByXWKMOgQPx/?igshid=1rio7t1w0018o
Post link
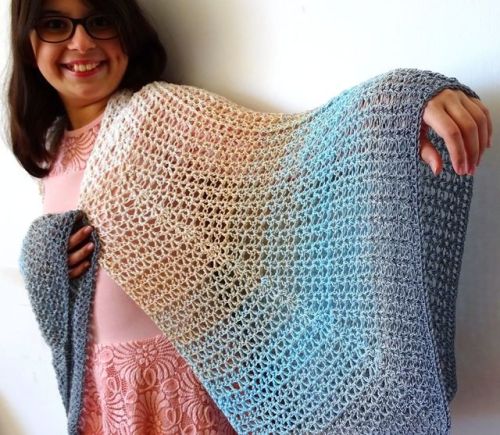
The V stitch Butterfly Shawl is a Free Crochet Pattern and Video tutorial are up on my site which you can find the link for on my profile page. Also you will find links to the pattern with pictures from my shops on that page too. The V stitch Butterfly Shawl can also be found as a PDF with pictorial on my shops.
#crochet #crocheted #crochetshawl #lacycrochetshawl #Vstitchbutterflyshawl #butterflyshawl #meladorashawl #shawlforteens #stylishshawl #crocheting #freecrochetpattern #crochetpattern #crochettutorial #DIY #yarn #meladorascreations
https://www.instagram.com/p/ByXIw98gzTA/?igshid=13zhcch47kwx1
Post link
Summer is coming in full force here in Israel! So I’ve put together a list of lacy cover ups for you to get you prepared to go out and fight the sun in style!
Link in first comment
#crochet #lacycoverups #crochetlacytops #summercrochet #linkblast #crochetroundup #crocheting #freecrochetpattern #crochetpattern #crochettutorial #DIY #yarn #meladorascreations
https://www.instagram.com/p/Bx2t0SeBeU7/?igshid=93cgcr7t58ju
Post link
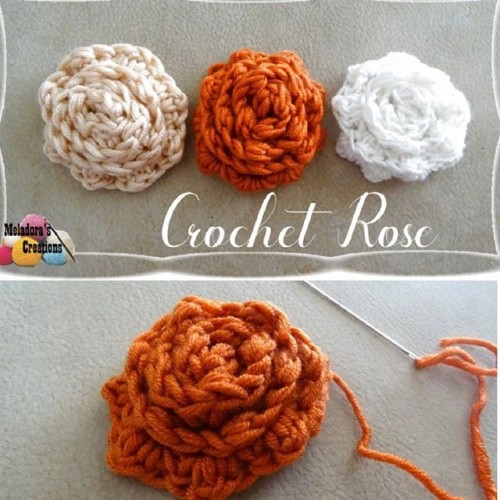
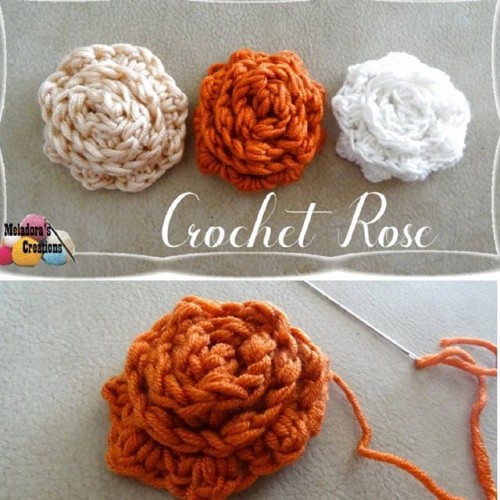
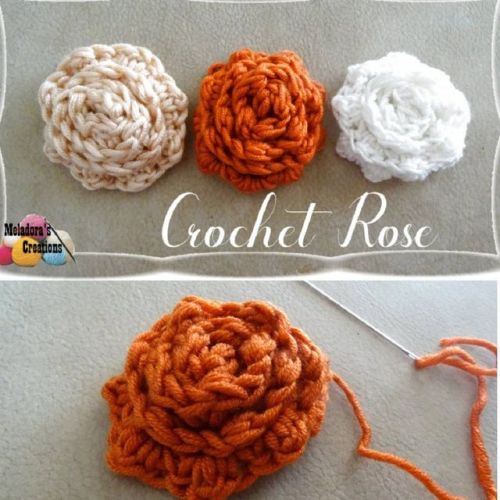
This is a free crochet pattern that comes with crochet tutorials. ��To find this just Click on my Bio Link in my profile and search for Crochet Rose��#crochet #crocheting #freecrochetpattern #crochetpattern #meladorascreations #instacrochet #crochetad
https://www.instagram.com/p/BwRQkkdAdXB/?utm_source=ig_tumblr_share&igshid=16x2dcpuzkmfu
Post link
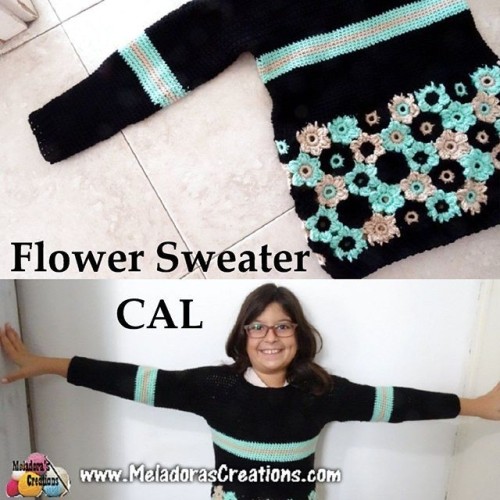
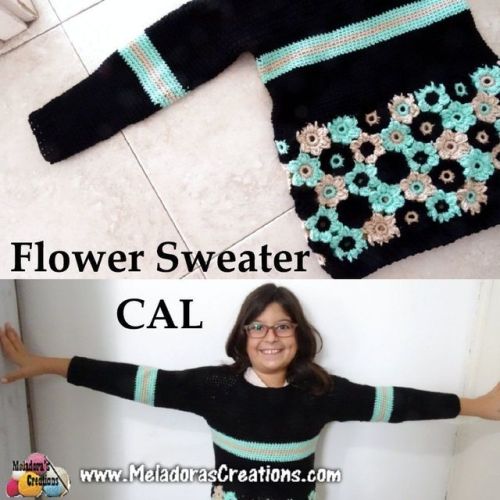
This is a free crochet pattern that comes with crochet tutorials. ��To find this just Click on my Bio Link in my profile and search for Flower Sweater CAL��#crochet #crocheting #freecrochetpattern #crochetpattern #meladorascreations #instacrochet #cro
https://www.instagram.com/p/BwRTdKNgu2r/?utm_source=ig_tumblr_share&igshid=ftqf1bwn0aza
Post link
This is a free crochet pattern that comes with crochet tutorials. ��To find this just Click on my Bio Link in my profile and search for Crochet Rose��#crochet #crocheting #freecrochetpattern #crochetpattern #meladorascreations #instacrochet #crochetad
https://www.instagram.com/p/BwRQkkdAdXB/?utm_source=ig_tumblr_share&igshid=pv0ey2bth6bi
Post link
This is a free crochet pattern that comes with crochet tutorials. ��To find this just Click on my Bio Link in my profile and search for 10 Cherry Blossom Free Crochet Patterns���#crochet #crocheting #freecrochetpattern #crochetpattern #meladorascreat
https://www.instagram.com/p/BwRLpyBAFDm/?utm_source=ig_tumblr_share&igshid=y4ay4rnkeok
Post link
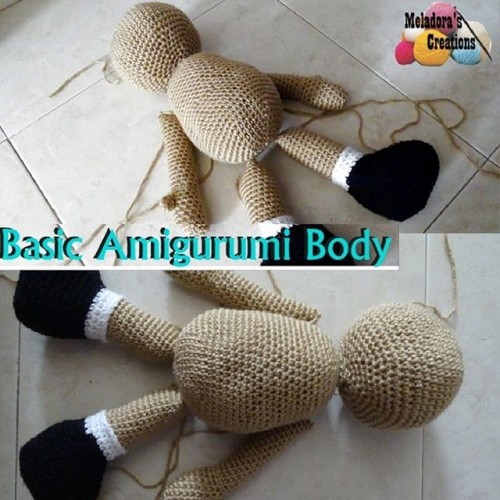
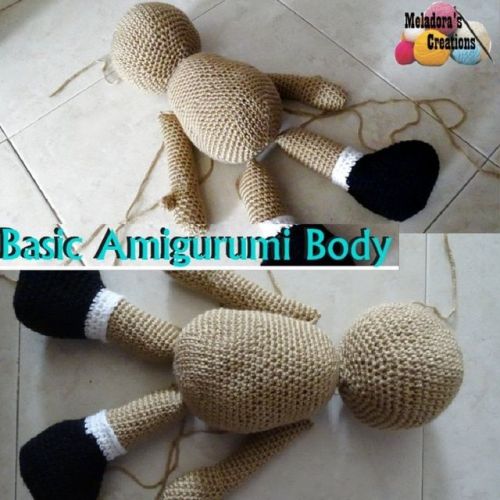
This is a free crochet pattern that comes with crochet tutorials. ��To find this just Click on my Bio Link in my profile and search for Basic Doll Body��#crochet #crocheting #freecrochetpattern #crochetpattern #meladorascreations #instacrochet #croche
https://www.instagram.com/p/BwRDqUhgoQN/?utm_source=ig_tumblr_share&igshid=167908j8uecsh
Post link
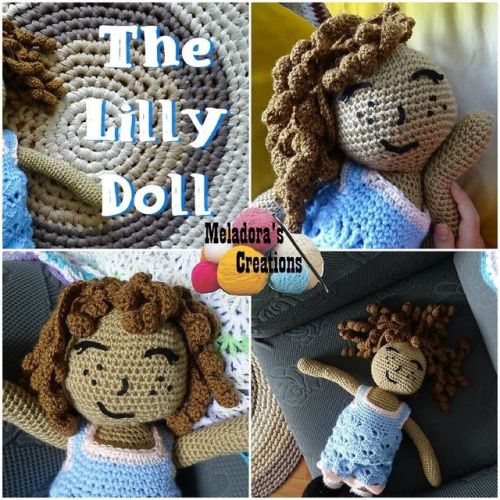
Find this crochet pattern on my shop on Raverly and Etsy. It’s called - Amigurumi Lilly Doll Crochet Pattern by Meladora’s Creations
#crochet #crocheting #freecrochetpattern #crochetpattern #meladorascreations #instacrochet #crochetdoll #crochetdoll
https://www.instagram.com/p/BvxOnASHw9k/?utm_source=ig_tumblr_share&igshid=qnrc3yqbikft
Post link
This is a free crochet pattern that comes with crochet tutorials.
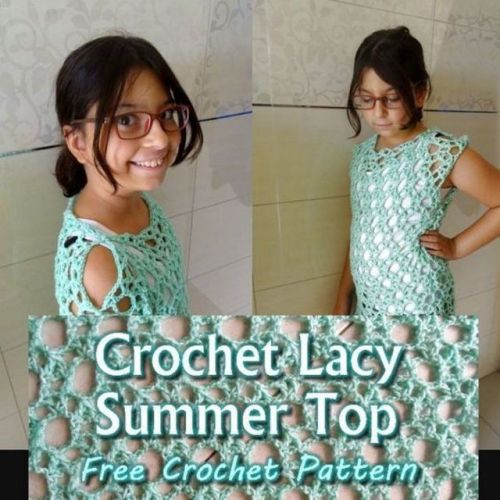
To find this just Click on my Bio Link in my profile and search for Lacy Summer Top
#crochet #crocheting #freecrochetpattern #crochetpattern #meladorascreations #instacrochet #crochetaddict #crochetlove #yarn #crochetersofinstagram #crocheted #yarnlove #crochettutorial
#crochetvideo #crochetlove #meladorascreations #yarnlover #crochetgeek #craft #crochetinspiration #ravelry #yarnofcrochet
https://www.instagram.com/p/BvySWQtAYXu/?utm_source=ig_tumblr_share&igshid=8kc3cd18ximy
Post link
This is a free crochet pattern that comes with crochet tutorials.
To find this just Click on my Bio Link in my profile and search for Basic Doll Body
#crochet #crocheting #freecrochetpattern #crochetpattern #meladorascreations #instacrochet #crochetaddict #crochetlove #yarn #crochetersofinstagram #crocheted #yarnlove #crochettutorial
#crochetvideo #crochetlove #meladorascreations #yarnlover #crochetgeek #craft #crochetinspiration #ravelry #yarnofcrochet
https://www.instagram.com/p/BvyM-KeD3Cl/?utm_source=ig_tumblr_share&igshid=f5d8j01rewun
Post link
This is a free crochet pattern that comes with crochet tutorials.
To find this just Click on my Bio Link in my profile and search for Crochet Rose
#crochet #crocheting #freecrochetpattern #crochetpattern #meladorascreations #instacrochet #crochetaddict #crochetlove #yarn #crochetersofinstagram #crocheted #yarnlove #crochettutorial
#crochetvideo #crochetlove #meladorascreations #yarnlover #crochetgeek #craft #crochetinspiration #ravelry #yarnofcrochet
https://www.instagram.com/p/BvyKreSjWbj/?utm_source=ig_tumblr_share&igshid=upabts7sa67v
Post link
This is a free crochet pattern that comes with crochet tutorials.
To find this just Click on my Bio Link in my profile and search for Flower Sweater CAL
#crochet #crocheting #freecrochetpattern #crochetpattern #meladorascreations #instacrochet #crochetaddict #crochetlove #yarn #crochetersofinstagram #crocheted #yarnlove #crochettutorial
#crochetvideo #crochetlove #meladorascreations #yarnlover #crochetgeek #craft #crochetinspiration #ravelry #yarnofcrochet
https://www.instagram.com/p/BvyJwffjGki/?utm_source=ig_tumblr_share&igshid=6zew4pnqyyjx
Post link
Cat Latte Art Pattern

There are quite a few versions of coffee/tea/latte crochet patterns out there, but I decided there wasn’t one quite like what I wanted! As always, if you use this pattern, please link back to my page, and tag me here on tumblr or @ erin.gurumi on instagram! I love to see what people make!

Technical stuff:
Unfortunately, the blue and cream yarns I used both came from the stash I inherited from my grandma, and I don’t know exactly what they are! The blue yarn is definitely thicker than Red Heart Super Saver, so much so that I used a 4mm hook for the blue yarn, as opposed to the 3mm yarn I used for the cream (unknown, but very similar to Red Heart Super Saver) and brown (Red Heart Super Saver in Cafe Latte).

^Cup
I was not the most happy with the shaping on the cup, but I think it turned out ok in the end! Keep in mind again this was with a thicker yarn than what I usually used (ie thicker than Super Saver yarns), so trying this with a thinner yarn will make it end up smaller!
- 6 sc in a magic circle
- inc 6x to make 12 stitches
- (1 sc, inc) 6x to make 18 stitches
- (2 sc, inc) 6x IN THE BACK LOOPS to make 24 stitches
- (3 sc, inc) 6x to make 30 stitches
- (4 sc, inc) 6x to make 36 stitches
- 6 rows of 36 stitches
- Finish off and weave in end - I didn’t use the tail because i only needed the brown tail from the coffee!
- NOTE! Before stuffing, I put a small circle of cardboard at the bottom of the cut, about the size of the 18 stitch circle. This just helps the bottom to hold its shape better! AND I made a cardboard circle the size of the opening, but you don’t need to put that in until you make the coffee surface!

^Coffee:
I think it makes sense to do the surface “coffee” next, so that you can stuff the cup and have something to hold while attaching the handle and cat! Like I mentioned, my yarn sizes did not match, so this was very much just crocheting a flat circle until it filled the walls of the cup - here is how many rows it took me, but it might be different for others!
- 6 sc in a magic circle
- inc 6x to make 12 stitches
- (1 sc, inc) 6x to make 18 stitches
- (2 sc, inc) 6x to make 24 stitches
- (3 sc, inc) 6x to make 30 stitches
- (4 sc, inc) 6x to make 36 stitches
- (5 sc, inc) 6x to make 42 stitches
- (6 sc, inc) 6x to make 48 stitches
- Finish off with a long tail. Add cardboard to bottom of cup, stuff fairly lightly. Begin sewing brown circle to the inside of the blue stitches, slightly below the lip. As you start to secure the coffee surface, you may want to add more stuffing, but try not to add enough to puff it out! ALSO don’t forget to add in the cardboard circle (I slide it in when I’m about half way around sewing them together), as this will really help keep the surface flatter!

^Cup handle:
Very simple, just a small tube! I really eyeballed it until I got the desired length I wanted, so I would recommend the same! You can see in this pic I didn’t attach the handle until I added the surface of coffee and was experimenting with the size of the foam mound, so also don’t feel like you need to sew it on at a particular time - it’s probably easier to add once the cup is shaped!
- chain 6
- sc into the first chain to make a loop
- ~10 rows of 6 sc
- leave a tail, sew to the body of the cup!

^Cat head:
Just a big lump! I kinda think this could have been smaller, but it’s totally up to you just how big a pile of “foam” you want! I didn’t want it to be perfectly round, so I had several repeat rows where I didn’t increase, and at the end I did a more extreme increase to make the last row kinda flatten out.
- 6 sc in a magic circle
- inc 6x to make 12 stitches
- (1 sc, inc) 6x to make 18 stitches
- one row of 18 stitches
- (2 sc, inc) 6x to make 24 stitches
- one row of 24 stitches
- (3 sc, inc) 6x to make 30
- one row of 30 stitches
- one row of 30 stitches
- (sc, inc) 15x to make 45 stitches
- OPTIONAL: I used a pet slicker brush to fluff out this yarn so that it would have more of “foamy” look, and so that the needle felted parts were more likely to stick, but this is not necessary and I’m sure it would look cute with smooth stitches!
- leave a long tail to sew into the coffee surface, being sure to leave a bit of room in front for the paws!
Cat ears:
I started from a smaller magic circle so they are a bit pointier, and I used the hook to really press the tips into a point!
- 4 sc in a magic circle
- inc 4x to make 8 stitches
- attached to head with tail, use slicker brush if you would like them to also be fluffy!

^ Needle felting:
I definitely don’t think needle felting the features of the cat is necessary - and if you want this to be a toy for a child or animal I would probably recommend against it in favor of using something like embroidery and safety eyes! I used brown felt so it would look like the cocoa powder details that people sometimes add to latte art! I’m not very good at needle felting so I didn’t do a lot of detail, but how much you add is up to you!

^ Paws:
I couldn’t decide between a paw facing up (so you can see the cute pawprint!), and the folded over paw (as if the foam is dripping over the side of the cup!) I’ve seen both in irl latte art, and decided I can do whatever I want! The only difference is the folded over paw is slightly longer, and the upright paw has a bit more needle felting that needs to be done!
Upright paw:
- 6 sc in magic circle
- 2sc, inc 2x to make 8 stitches
- ~1 row of 8 sc
- press it flat, use slicker brush, needle felt the pawprint, and use tail to sew into coffee!
Folded over paw:
- this one is longer:
- 6 sc in magic circle
- 2sc, inc 2x to make 8 stitches
- ~4 rows of 8 sc
- press it flat, use slicker brush, sew bottom of paw to coffee, fold over and use remaining tail to secure it over the lip of the cup!

This is a nice simple pattern with not too many bits to sew together! I hope you like it, and don’t forget to tag me here on tumblr or @ erin.gurumi on instagram if you end up using the pattern! Happy crocheting!
Nonbinary Flower Lion Pattern

This is a fairly simple pattern, and I’m sure it could be adapted to be many kinds of colors (dare i say… a whole PRIDE :D). As always, if you use this pattern, please link back to my page, and tag me here on tumblr or @ erin.gurumi on instagram! I love to see what people make!
Technical stuff:
I used a 3mm hook and these yarns:
- Red Heart Super Saver in Bright Yellow (body)
- Red Heart Super Saver in Pale Plum, Lavender, Amethyst, and Medium Purple (petals)
- Loops and Threads Woolike in Rose (tail tuft)
Of course, I don’t think matching the colors is necessary, since I think many color combos would be cute! It should be noted though, that the yarn I used for tail is super-fine weight unlike the others that are worsted, so if you want to use a thicker yarn you should probably modify that part!

^ Head
This is a very straight forward amigurumi head! A couple bits of advice: I made the ears a bit taller than I would have otherwise, and set them a bit further back on the head since I wanted the ears to go behind the mane/petals.
- 6 sc in a magic circle
- inc 6x to make 12 stitches
- (1 sc, inc) 6x to make 18 stitches
- (2 sc, inc) 6x to make 24 stitches
- (3 sc, inc) 6x to make 30 stitches
- (4 sc, inc) 6x to make 36 stitches
- (5 sc, inc) 6x to make 42 stitches
- 6 rows of 42 stitches
- 5 sc, dec) 6c to make 36 stitches
- (4sc, dec) 6x to make 30 stitches
- (3sc, dec) 6x to make 24 stitches
- (ADD EYES/STUFFING)
- (2sc, dec) 6x to make 18 stitches
- (sc, dec) 6x to make 12 stitches
- dec, until closed, finish stuffing and finish off
Ears
- 6 sc in a magic circle
- inc 6x to make 12 stitches
- 4 rows of 12
- flatten, sew to head

^Muzzle:
I made the muzzle out of felt and embroidered the nose/mouth Also, while I worked on the muzzle bit early on, I didn’t attach it until near the very end, since I was afraid it would get messed up with all the other sewing I had to do!

^ Petals
Make 8 of these! I would recommend making all 8 at once and then pinning them to the head before sewing - that way if they are a bit too big (which I think I ended up having) you can slightly curve them so that they fit! (If they are too small, either space them out evenly, or if it really looks bad you may need to increase to more stitches)…
- 6 sc in a magic circle
- inc 6x to make 12 stitches
- 2 rows of 12
- flatten, pin, and sew to head

^ Body:
Pretty straight-forward, I made them a bit taller than a usual amigurumi because I wanted them to be sitting like a cat rather than a teddy bear!
- 6 sc in a magic circle
- inc 6x to make 12 stitches
- (1 sc, inc) 6x to make 18 stitches
- (2 sc, inc) 6x to make 24 stitches
- (3 sc, inc) 6x to make 30 stitches
- (3sc, dec) 6x to make 24 stitches
- 1 row of 24 stiches
- (2sc, dec) 6x to make 18 stitches
- 4 rows of 18 stitches
- (1sc, dec) 6x to make 12 stitches
- finish with a long tail, sew onto head

^ Haunch and legs
I think a haunch/leg combo is often cuter than the usual amigurumi “sitting teddy bear” pose, but they are both applicable in different circumstances!
Haunch:
- 6 sc in a magic circle
- inc 6x to make 12 stitches
- 1 row of 12 stitches
- stuff lightly as you sew it on
Leg:
- 6 sc in a magic circle
- 3 rows of 6
- flatten, sew under the haunch

^ Arms
First, depending on the shaping of the body and where it was sewn relative to the head, it might take a slightly different number of stitches to get the arms to touch the ground! Here’s the number it took for me, but you may need less or more! Secondly, I took a bit of spare yarn and sewed the two “paws” together at the bottom so that they would sit more daintily!
- 6 sc in a magic circle
- 8 rows of 6
- finish off, sew to the body

^ Tail:
For the length of the tail, I used foundation single crochets. If you don’t know how to make these, there are some good tutorials online, and they’re a great trick for your crochet bag as I find them more consistent and nicer than starting projects that would normally start as a chain. Or, you’re probably fine to just chain out and sc back to the length of tail that you want!
Length of tail:
- foundation sc 10
- sew one end to backside
For the tuft at the end of the tail, I definitely winged it, and I used a much thinner yarn than the rest of the project… I think this is what I did but I am honestly not sure of the exact numbers, the idea was to have one end round and the other taper by decreasing slowly. See if this works for you??
- 4 sc in a magic circle
- (2sc, inc) x2 to make 6
- dec to make 5
- dec to make 4
- dec to make 3
- dec to make 2
- finish off, attach round end to tail

I think they turned out cute! If you have any questions please feel free to ask me! Again, if you make them, tag me here or on instagram @ erin.gurumi - Good luck and happy crocheting! ^_^


