#gluten free vegan
Well… not exactly. Free in the sense of “gluten free” or “nut free”
One thing that royally sucks is not being able to eat nommy food because of an allergy, intolerance, or cost issue.
This isn’t a recipe so much as a sort of framework that will let you make a recipe according to your needs. It’s also a great vehicle for adding stuff that you might need - I used it for rice protein powder when I was dr-ordered to try not eating a whole bunch of food (think gluten free times ten). Those were dark days. But brownies got me through.
I’m going to start out gluten free - there’s already a recipe that uses wheat flour on the blog, and you may find it suits your needs better.
Flour
You’re gonna need some kind of flour. Most will do, but you’re gonna want a base of something quite fine and light - rice or corn flour is ideal. Any standard gluten free flour mix will do too. You’re going to end up with a total of two cups of flour, and you want at least one of those cups to be your base flour, like rice or corn.
From there you can add in almost anything you want, the only thing you really want to avoid is stuff like sorghum, millet or other really grainy flours.
Personally, I really like almond flour or coconut flour in brownies, they’re probably the most grainy flour you’ll get away with in this mix (especially if you’re adding in other stuff like protein powder). For these sorts of flours I wouldn’t add more than half a cup as part of your two cups.
Binder
Depending on your mixture, you may not need a binder, some flour combos just bind well on their own. With gluten free recipes I tend to like having a second binder though.
We have a fair few options here:
- Gums and Starches - Tapioca starch, potato starch, arrowroot powder, xantham gum, agar powder, etc. They’re all fine. The amount you would use will vary - for example a half teaspoon of agar will be plenty, but tapioca and potato starch you’d use a few table spoons, so go with what you’re familiar with and know you can eat.
- Ground linseed (flaxseed) - This is my favourite binder for baking. It binds well, it’s cheap, and it has loads of protein and fibre, its taste is neutral (or slightly nutty if you add a lot) and it’s super easy to use and store. I’d add a quarter cup to this recipe personally, but you can use less (or more) if you want without too much trouble.
- Oats- These are only a mild binder, and if you have any issues with gluten it’s probably easier to just avoid them, since certified gluten free oats are expensive. They add a chewy, softer grainy texture. I wouldn’t add more than a quarter cup to this mix.
- Chia seeds - These are effectively the same as linseed, but about three times the price, they have a more obvious texture, and they’re higher in protein. You do tend to need a little less though. Maybe three tablespoons in this mix.
- Egg replacer - These are available in most supermarkets. I don’t often use them personally, they’re usually a combination of starches, but they’re quick and easy, so if it works for you, awesome ^_^. I would only add one ‘egg’ worth to this mix.
Liquid
I typically use non dairy milk and there’s a few options there - almond milk, oat milk, rice milk, soy milk, the list goes on. You can use water as well. I find it reduces the flavour a bit so if you do, add more cocoa or whatever you’re using in replacement, and more oil or whatever you’re using instead of that.
You’ll want about a third of a cup, and you might add a little more depending on how your batter turns out.
Fat
You could potentially make these without some kind of fat, but I haven’t tried it, so some experimenting might be in order. Applesauce might work in the place of oil. Mashed banana works too but it has a fairly strong impact on the flavour.
- Vegetable oil - Any is fine, I find soy bean oil is a little bitter. Olive oil is too expensive to waste in baking. Plain old canola or blended vegetable oil works for me. I would add about a third of a cup for this recipe.
- Vegan butter or margaraine - Use the same amount as the oil.
- Peanut butter - I usually add this as well as oil or marg. It’s not essential to the recipe but I’ve found it improves the texture and flavour a lot. I prefer smooth but crunchy is fine too if you want that texture. Add anywhere from a couple of tablespoons to half a cup, depending entirely on your tastes. If you’re adding less than a quarter of a cup, increase your other fats a little (don’t go higher than an extra three tablespoons). If you’re adding more than a quarter of a cup, lower the other fat sources by the same amount. If you’re using peanut butter as your sole source of fat, also decrease the liquid content a little and expect the batter to be a lot thicker.
Sweetener
I typically use soft brown sugar, but any will do. You can also use stevia, maple syrup (decrease liquid content accordingly), dates (soaked overnight in water and blended), or even apple sauce.
I typically add a quarter of a cup of sugar, but I tend to like brownies not too sweet, so adjust according to your tastes.
Flavourings
- Cocoa is the main one here, but carob would also do the trick. I typically add a half a cup of cocoa powder, but I like a strong chocolate flavour, so adjust to suit your preferences.
- Vanilla essence adds to the flavour as well but it isn’t strictly necessary. A teaspoon is about right. If you’re going for low chocolate, up the vanilla to a tablespoon.
Other stuff
- Baking powder - This isn’t strictly necessary, but I find it improves the binding and texture a little. A teaspoon of baking powder is plenty.
- Salt - Not strictly necessary, but useful. I tend to just add a half tablespoon. If you need something low salt or salt free, just leave it out. The flavours won’t be quite so smooth, but it should be fine.
- Adding nuts and seeds can be nommy, if you can have them. I’ve tried walnuts, hazelnut meal, almond slivers, pumpkin seeds, sunflower seeds. They were all nice, either as toppings or in the batter itself.
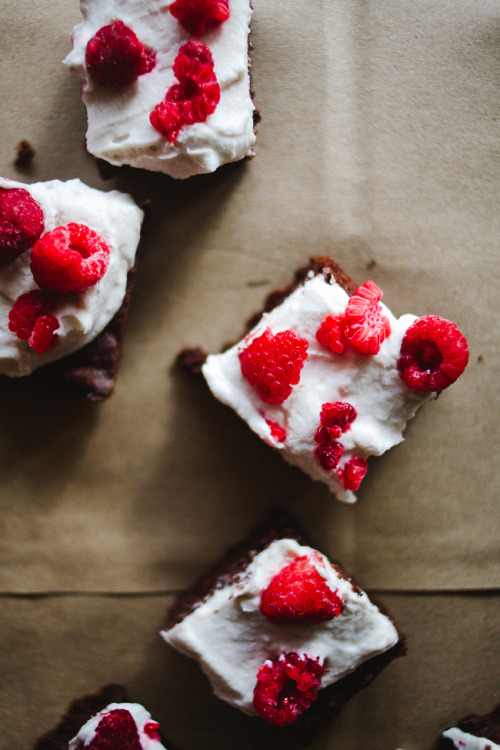
- Icing is always nommy. There’s a recipe for peanut butter and chocolate icing in an earlier post that goes great with these brownies, and another recipe for frosting that you could adapt if you can’t have nuts.
The madness - I mean method
- Mix all the dry ingredients, try to get rid of any lumps.
- Add the liquid ingredients and mix well.
- Add the semi solid ingredients, like peanut butter, margaraine, etc.
- Unless you’re using lots of peanut butter, the batter should be reasonably thin and easy to pour. Think pancake batter but a little thicker.
- Grease a shallow (no deeper than two inches/five cm) nonstick baking tin (or line with biodegradable parchment paper), pour the batter in.
- Stick the tin in the oven at 180 Celsius (350 Fahrenheit).
- Amuse yourself by licking every last scrap of batter out of the bowl. Fight all challengers for the bowl. It’s your bowl damnit, they can’t have it.
- Come back and check in 15 minutes. Given how variable this recipe is, you’ll probably need to experiment to find the ideal cooking time. Stab a clean sharp knife, skewer or toothpick into several place in the chocolatey goodness, if it comes out clean in each place, the brownies are ready. If not, come back in five minutes. If the top is starting to get a little crusty but the centre isn’t cooked yet, make it a tinfoil hat to go over the tray for the rest of the cooking time. This will help keep the moisture in.
- When it’s done, take the tray out of the oven, let it cool for a bit, lift the brownie slab out using the parchment paper, or some highly coordinated gymnastics with flipping and plates and stuff (and post the video on line). Slice, add any toppings you want.
- Nom all the brownies.
Vegan Keto Three Ingredient No-Bake Peanut Butter Cookies (gluten-free, soy-free, tree nut-free)
Vegan Keto Three Ingredient No-Bake Peanut Butter Cookies (gluten-free, soy-free, tree nut-free)
This week I thought I’d go back to my roots with a no-bake vegan keto cookie recipe. When I first started out on a vegan keto diet in 2012, there were no recipe blogs or books or social media accounts for vegan keto recipes or info – that’s why I started this blog! So, when I wanted something sweet, I had to figure it out myself. Coming from a raw vegan background, I was used to making lots of…

Vegan Keto Eggnog Bread Pudding (gluten-free, nut-free)
Vegan Keto Eggnog Bread Pudding (gluten-free, nut-free)
Hello, friends! It’s late December and I hope you’re feeling as festive as I am. “Festive” to me means baking vegan keto versions of all my favorite holiday treats and this week I’m tackling bread pudding. I know what you must be thinking – “but isn’t bread pudding mainly made up of bread…and eggs? How can this be remotely low carb or vegan?” And yes, yes it is. Fortunately, there’s a…


Had my bridal shower yesterday. My aunt had @chipotle catered in and my cousin made me vegan gluten free chocolate cupcakes. It was such a lovely day with even better people.


Had the most delicious ice cream at Love Creamery in Duluth. I got the vegan peanut butter chocolate. Perfect blend of sweet chocolate and salty peanut butter . I got mine in a vegan gluten free house made waffle cone (like whaaattt? That’s awesome! And oh so delicious! )
Peanut Butter Fudge Slice http://www.wholeheartedeats.com/2014/10/peanut-butter-fudge-slice.html
Post link
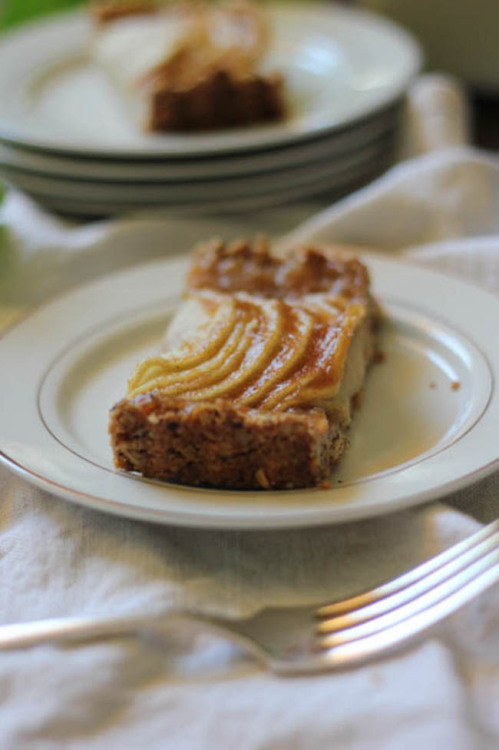
Apple Tart with Date Carmel
http://www.wholeheartedeats.com/2014/09/hazelnut-apple-tart-with-date-caramel.html
Post link
the Ultimate Kale Caesar
http://www.wholeheartedeats.com/2016/06/the-ultimate-kale-caesar.html
Post link

Baked plantain, homemade cashew cream and tomato sauce, corn tortilla with spinach a tofu.
It’s been a while! My baby is now over a year old and we have all been gluten free for almost a year now too. So everything from now on is vegan and gluten free!
RECIPES
Cashew cream:
1 cup raw cashews (soak in hot water for at least 30 minutes or cold water for at least 2 hours)
¼ water
1 lemon juiced
2tsp apple cider vinegar (optional as gives it more of a sour cream taste)
¼ tsp garlic powder
1tsp nutritional yeast flakes
Salt and pepper to taste
Put all in a high power blender/food processor. Scrape down the sides as needed and add more water a TBSP at a time if needed. Blend until smooth!
TOFU:
Per portion of tofu, add a tbsp of liquid aminos (or tamari or coconut aminos) and then a tbsp of nutritional yeast flakes.
If baking, bake at 400f for 20 minutes
In a frying pan, lightly grease and move/turn every few minutes for 10 minutes, longer if you want it to be crisper on the outside.
PLANTAINS
Cut up and place spread out on a baking tray, bake for 20 minutes at 425f.


