#led jewelry
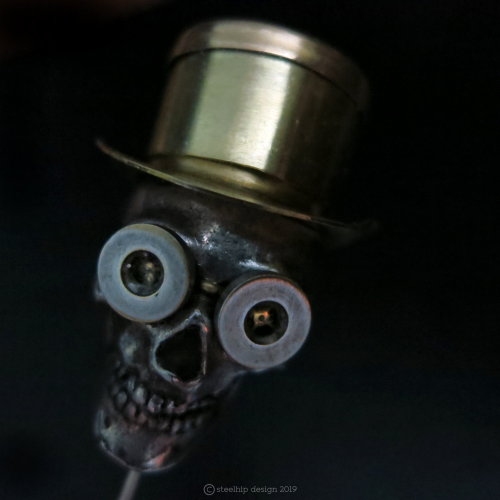
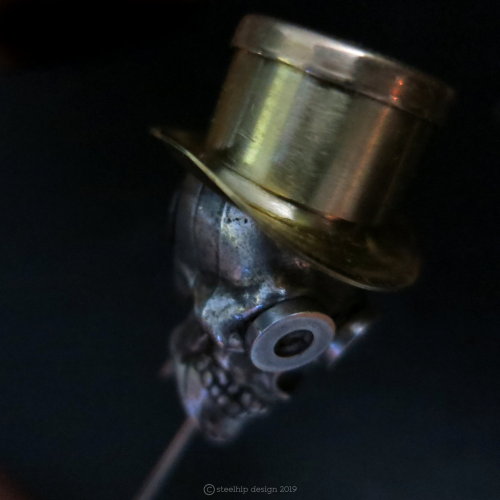
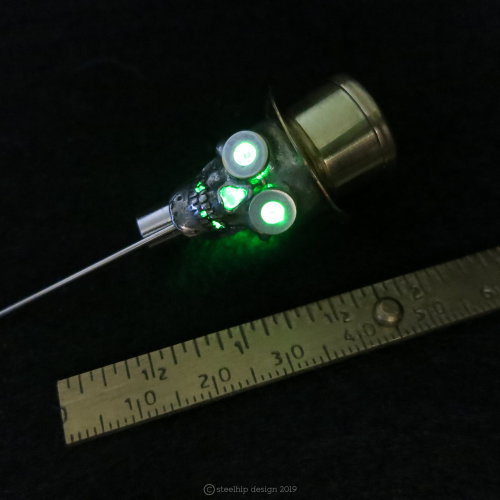
What a dapper chap! I was inspired by a few posts and popularity of my LED experiments in design. Found an old skull charm, gave him goggles and cobbled together a top hat from an XL brass eyelet, some cut brass tubing and walled setting. I attached it at a slight jaunty angle. Couldn’t resist installing a tiny LED within the skull set in resin. Like my other pieces it’s powered by putting a small clutch battery pack on a small post. The whole piece is set on a stick pin so it could be worn on a cravat or dress coat. Unfortunately, the LED has made it very difficult to photograph accurately. The light seems too bright but in reality it’s just an eerie green glow. Perfect finish to a gentleman’s outfit who dabbles in the macabre and dark arts. The batteries are easy to replace.
Post link
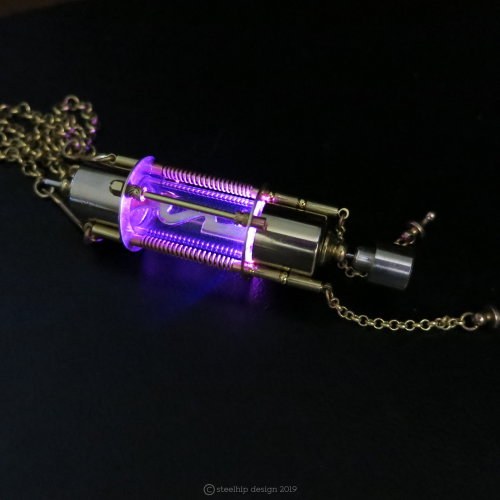
Yes, another gold audio fuse but this one has a pink LED and a bit more embellishment - four struts connected to two bracket rings. It does remind me of an old valve. It has very thin gold plate on the caps and central fuse - apparently it doesn’t degrade which effects sound quality in high end audio equipment. On this one I used a pink LED. The photo does make it look more purple but in reality it is more pink. I don’t like altering product photos too much.
As you can see the light is on when the post is inserted into the silver battery pack. The batteries can be replaced by screwing the top off. When I build these it’s so exciting turning it on for the first time - I was thrilled when I saw this one light up. Perfect for that theatrical costume or just that night out. It will certainly grab attention.
Post link
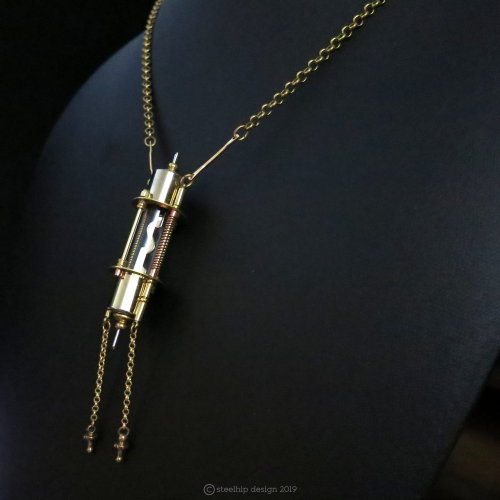
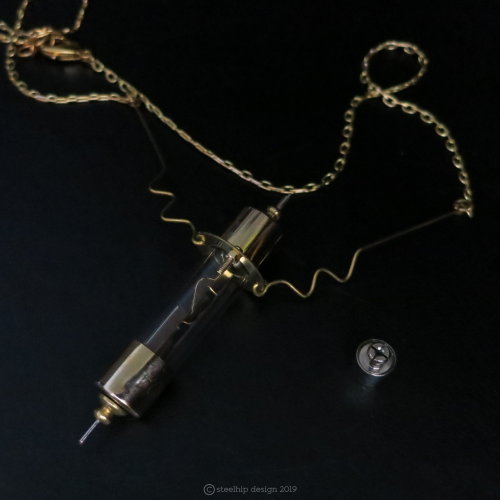
This is made from a gold plated fuse, used in high end stereo for superior sound quality. They have such a great look - atompunk/mid century - I didn’t want to really alter the look. The internal gold plate “S” connection has such great form I couldn’t improve on it. I’ve sold several attached horizontally on a cord for men’s jewellery. Audiophiles love them.
But I wanted to highlight it with light. On the bottom of the fuse I’ve installed an LED with a connection post running through the base cap. The light is turned on by plugging that pin into a small silver tone battery pack. It holds tight to the pin. The battery pack unscrews at the top so batteries can be replaced. The bracket holding the fuse is not fixed so you could turn it up the other way and have the battery pack on the top of the fuse. To balance the piece without the battery I created a similar post on the other end.
Why should fun jewellery, brave jewellery design using light be the domain of gaudy kitsch - plastic flashing Christmas earrings, disposable dance/rave accessories and cheap novelty toys for kids? Why can’t it be used in high quality unique design? Yes, it’s a bit mad scientist and will certainly attract attention whether the light is on or off.
Post link
The Detector
I’ve been overdosing on documentaries about CERN, the Large Hadron Collider, quantum physics/mechanics and proof of the Higgs Boson. As a science illiterate it fascinates me. That massive tube full of magnets, cameras, detectors and liquid nitrogen is an incredible instrument. Simply awe inspiring. These docos play in the background in my studio and I would occasionally look up to see the massive size and complexity of the machine.
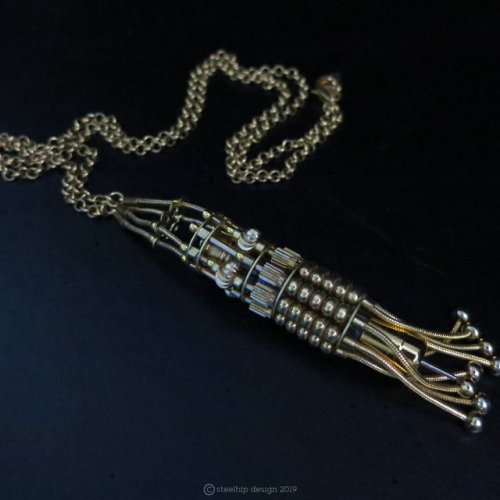
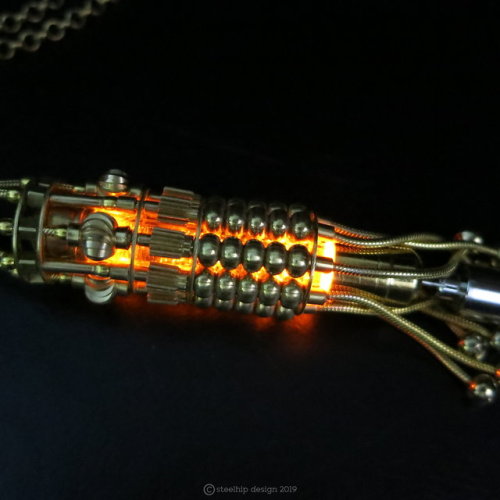
This started with simple flat brass rings with eight holes and some rescued snake chain I cut into eight lengths. This design wasn’t thought out - I just had to wing it. I vaguely wanted a “cage” to hold a glass vial with a Tritium vial in it. Etsy doesn’t like Tritium (their sandpit - their rules) so I sell those pieces off Etsy. It basically glows without the need for a charge - it glows constantly for 10 to 15 years. But I’ve been working with UV resin and recently purchased some tiny LEDS. So I set an orange LED into a gold tone cord cap with UV resin. Then I put a glass tube into the cap and slowly poured resin into the tube stirring it frantically to produce air bubbles. Normally I’m fighting against air bubbles in resin so trying to form and quickly cure them was surprisingly difficult. I didn’t even know if the LED and electronics was going to work after pouring resin on them. The light refracts and diffuses on the bubbles. I was thrilled when it all worked.
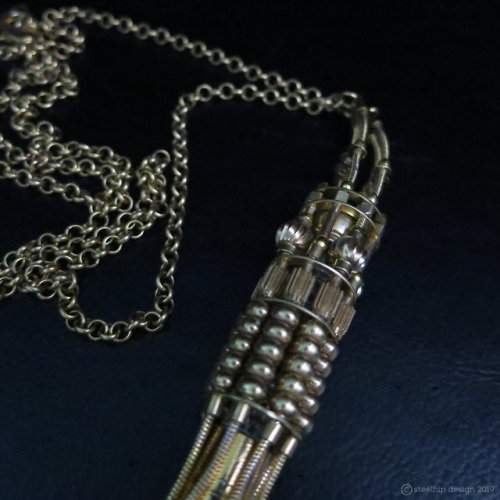
Once I had brass beads on the end of each chain length I threaded a range of beads, pinions, tubing and 5 brass rings to stabilize the tube. I still had no idea if the vial would fit through the middle and how I was going to attach it to the structure. This is where the magic often happens - it fit like it was designed with precision. To fasten it within the tube all I had to do was slide another cap on the top of the glass vial and seal it with a screw.
As you can see - when unlit there is a small silver tube, slightly hidden by the brass tassel. To turn the light on - insert that tube into the battery pack - a tiny silver tone tube with a central hole (3/8 x ¼ inch). Once inserted it turns the LED on. Batteries can be replaced easily by unscrewing the cap.
During the day - it’s an unusual mecha deco design - at night with the light - the wow factor.
It sort of looks like a little mechanical cephalopod with those 8 tassel “legs”. I’ve designed this to be worn low on the body - Gatsby length with a long chain. It’s hitched high on the display bust just to show scale and fit it into the photo. If you want it to be higher - I’m happy to alter the chain length.
Post link

