#uv resin


The Detector
I’ve been overdosing on documentaries about CERN, the Large Hadron Collider, quantum physics/mechanics and proof of the Higgs Boson. As a science illiterate it fascinates me. That massive tube full of magnets, cameras, detectors and liquid nitrogen is an incredible instrument. Simply awe inspiring. These docos play in the background in my studio and I would occasionally look up to see the massive size and complexity of the machine.
This started with simple flat brass rings with eight holes and some rescued snake chain I cut into eight lengths. This design wasn’t thought out - I just had to wing it. I vaguely wanted a “cage” to hold a glass vial with a Tritium vial in it. Etsy doesn’t like Tritium (their sandpit - their rules) so I sell those pieces off Etsy. It basically glows without the need for a charge - it glows constantly for 10 to 15 years. But I’ve been working with UV resin and recently purchased some tiny LEDS. So I set an orange LED into a gold tone cord cap with UV resin. Then I put a glass tube into the cap and slowly poured resin into the tube stirring it frantically to produce air bubbles. Normally I’m fighting against air bubbles in resin so trying to form and quickly cure them was surprisingly difficult. I didn’t even know if the LED and electronics was going to work after pouring resin on them. The light refracts and diffuses on the bubbles. I was thrilled when it all worked.
Once I had brass beads on the end of each chain length I threaded a range of beads, pinions, tubing and 5 brass rings to stabilize the tube. I still had no idea if the vial would fit through the middle and how I was going to attach it to the structure. This is where the magic often happens - it fit like it was designed with precision. To fasten it within the tube all I had to do was slide another cap on the top of the glass vial and seal it with a screw.
As you can see - when unlit there is a small silver tube, slightly hidden by the brass tassel. To turn the light on - insert that tube into the battery pack - a tiny silver tone tube with a central hole (3/8 x ¼ inch). Once inserted it turns the LED on. Batteries can be replaced easily by unscrewing the cap.
During the day - it’s an unusual mecha deco design - at night with the light - the wow factor.
It sort of looks like a little mechanical cephalopod with those 8 tassel “legs”. I’ve designed this to be worn low on the body - Gatsby length with a long chain. It’s hitched high on the display bust just to show scale and fit it into the photo. If you want it to be higher - I’m happy to alter the chain length.
Post link


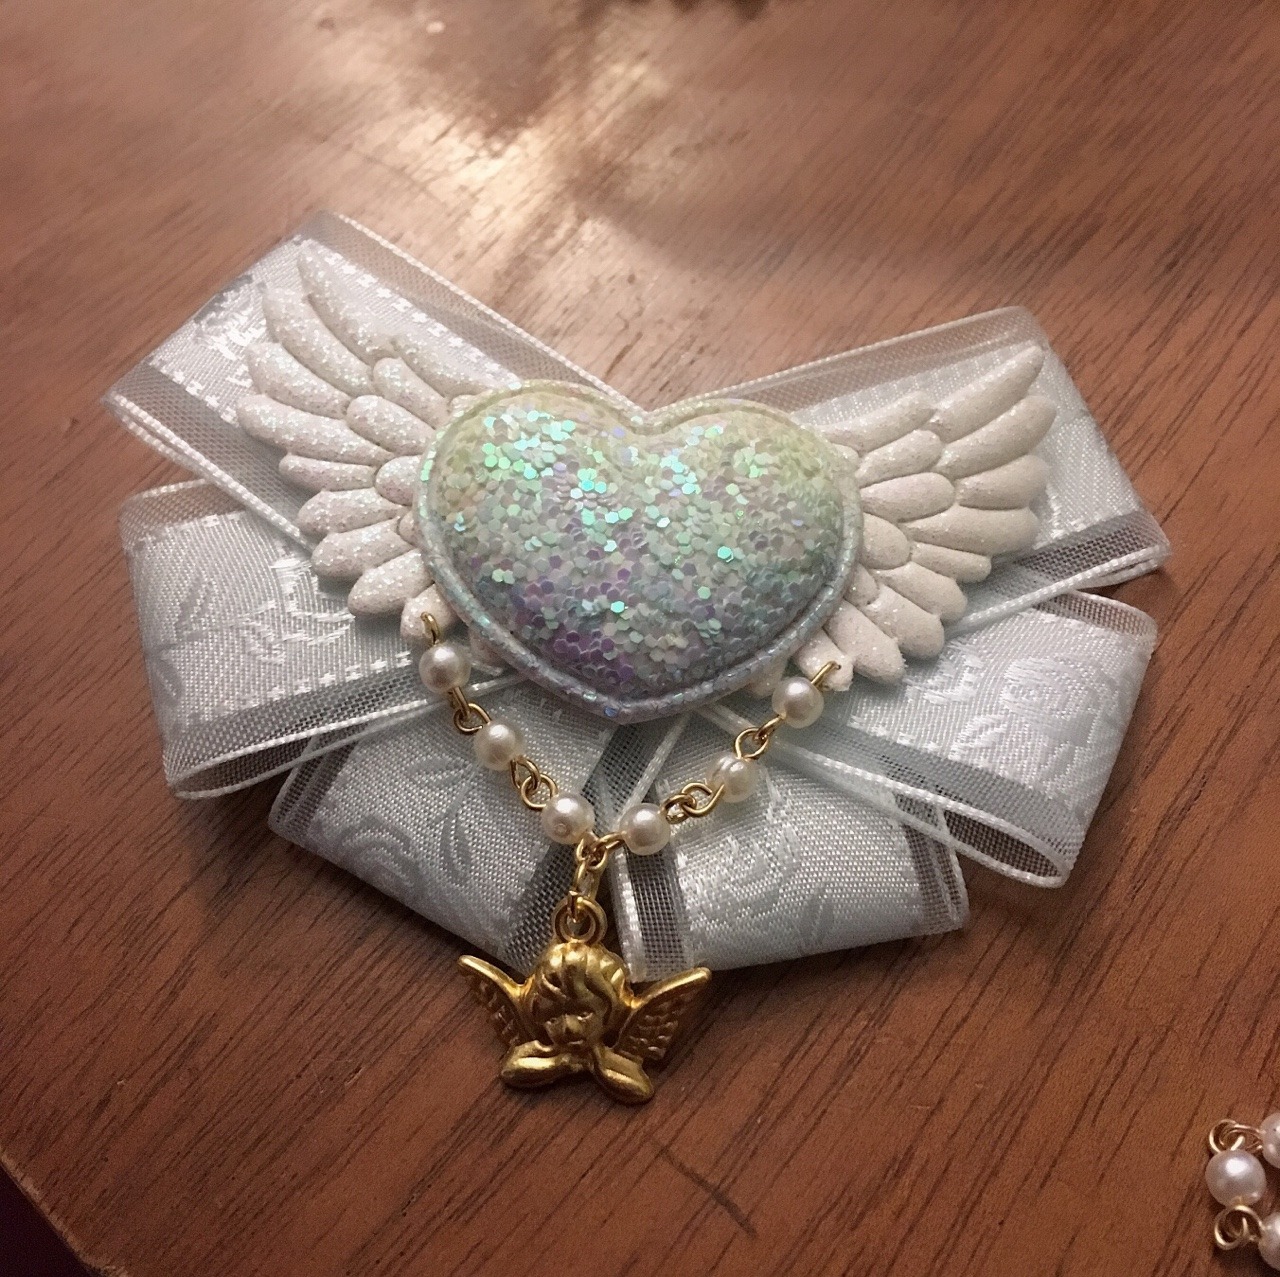
This never sold as an adopt so I turned it into a pin! It’s made from shrink plastic, and domed with UV resin. If I get enough interest I’ll make more to sell, I think I can improve on this a little so we’ll see how that goes, I love how it turned out
Reblogs are highly appreciated!

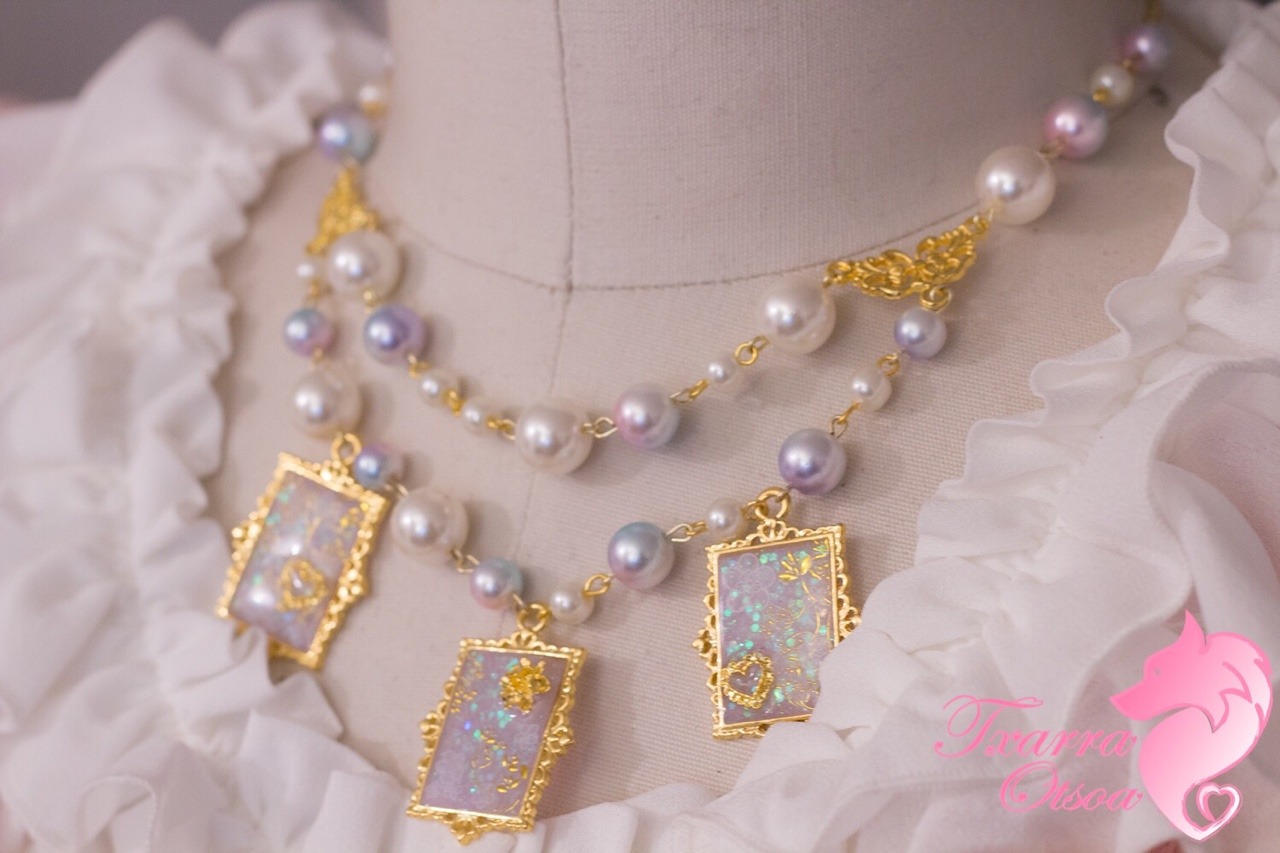
Got to make this as a birthday gift for someone who is so inspiring, smart, patient and kind, I want to be like her when I grow up.
I hope this little vacation in a necklace brightens up your day ☺
Work table be like…
Getting things ready for Thrift Con!


Not really been drawing a lot lately but I’ve been getting into UV resin and made some pendants with it!
All flowers were collected in my hometown and from the plants I have been growing on our terrace I can’t wait for spring for all the pretty flowers that will be blooming then!


Please buy things from my Etsy I’m drowning in jewelry


I got into making UV resin shit and now I can’t stop, help

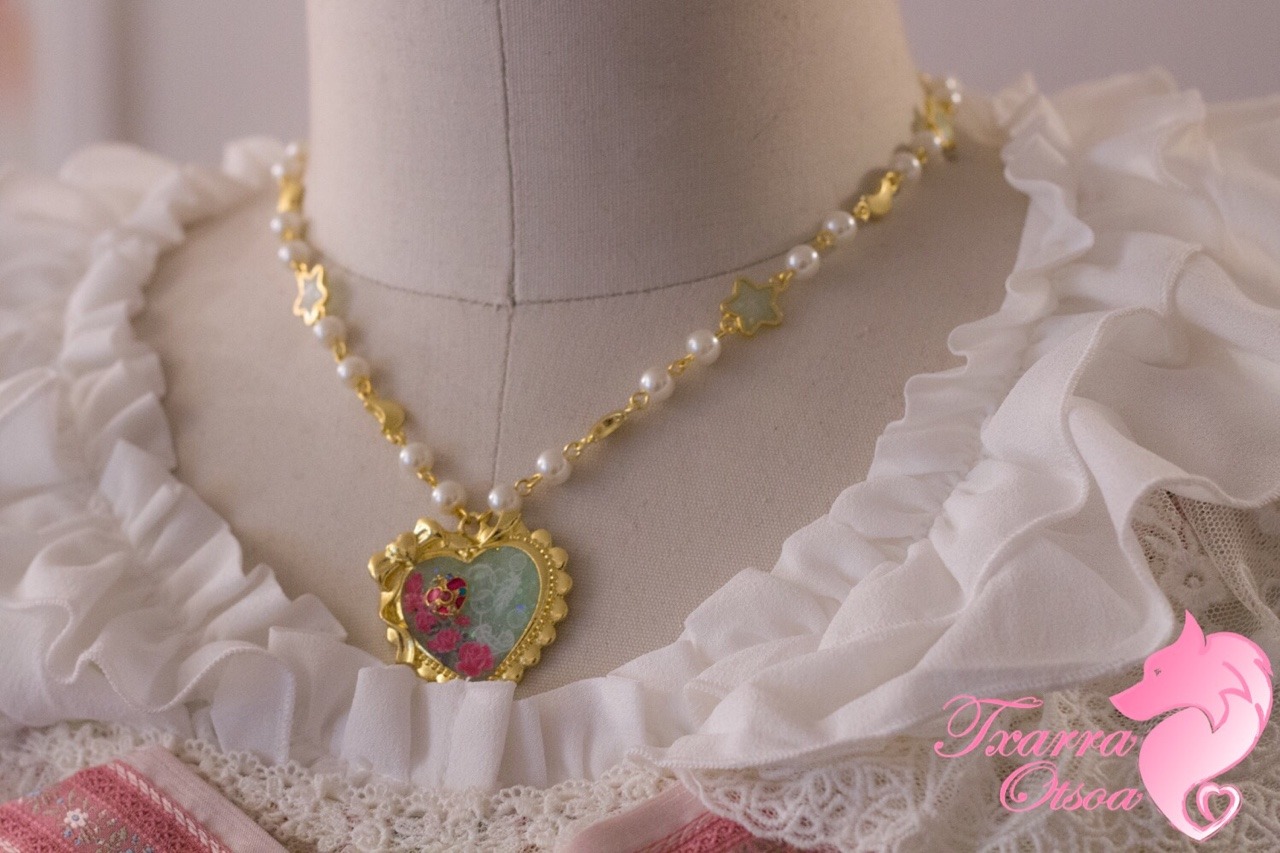
New piece~ This time a necklace! ❤

There are some issues with this piece, but overall I’m really happy with how it turned out!
Made it into a magnet for my fridge :)

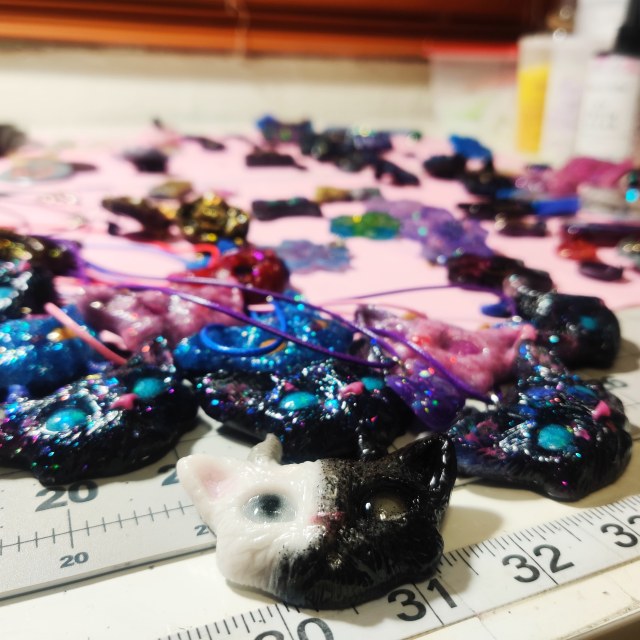
Onix! Polymer clay and resin. I like the effect of the clay, but it ended up a bit uneven on the top because of it. I might try clay again or might stick to resin from here on out.
Might attach a keyring to it, or keep it as a magnet!