#desk ornament

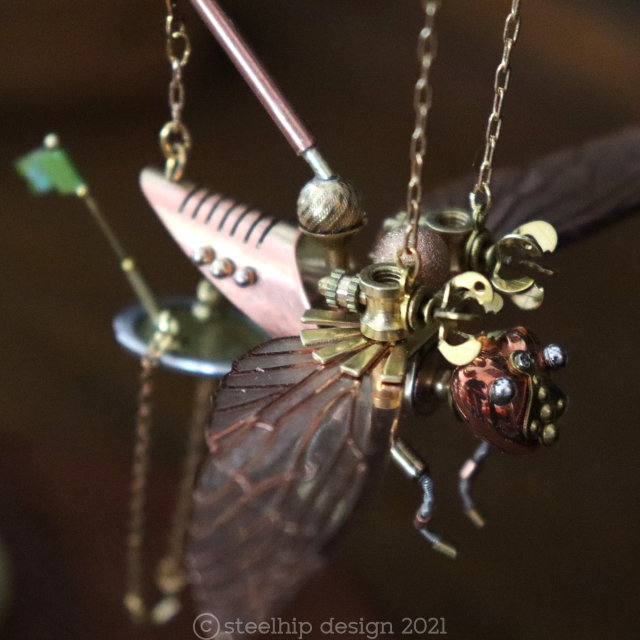


SS Cicada
I don’t know where I got the idea for a dirigible cicada miniature model but here we are. Falling asleep with my YouTube queue probably with videos on the recent 17 year cicada cycle followed by the use of airships during WW1 must have blended together in my subconscious. I enjoyed creating the last insect - the custom bee - I had to do another but this was too large for a piece of jewellery.
So I worked on each separate section, hoping it would all fit together in the end. That’s always the scary part - will the wings fit on the body? Will the scale of everything maintain the illusion of an actual, albeit fantastical, airship once joined? Unlike very clever model scene makers I don’t work with a scale ruler. As I don’t fabricate or cast metal there is no real point - I’ll still have to adjust a part in my collection to fit.
I started with the wings - they bring everything together and set the scale. Like the last piece - the body is a brass screw electrical terminal. The abdomen has two main parts - the high copper piece with a grill and a lower section made from a cut out earing drop I filled in with resin. The wings are also filled with resin and a very light dusting of green and gold mica.
I’ve been making miniature nebulas lately so that is where the glass “hot air balloon” came from. It is fitted with a vintage brass bead cap, chains, tiny brass drops and internal details. While I was searching for pieces I came across the hand blown green glass bead with a swirl pattern. I had to incorporate it but it was difficult to do so. Adding a piece to one side of a symmetrical design alters the way it hangs. The swirl on the bead is matched with the black swirled disk hanging under the balloon.
She has wrapped wire legs with metal crimps, two brass and steel “propellers” affixed to the front, one large rear flag and bunting on the secondary “balloon” tether. Everything attached is done so using screws and very rarely, glue. I have no idea how many separate components I used but it would be well over 100. I’ve been working on and off for a week - probably about 40 hours not including the time sourcing parts, taking photos and writing this. The rigging was a nightmare. The chain at the back, connected to a “U” shape piece is the ship’s anchor.
A friend who is a genius wood worker turned some gorgeous wood bases for me. I think it’s Jarrah. It has four brass legs on the bottom. The hanging mechanism consists of a filigree disk, a vintage brass corrugated bead and assortment of brass rods, copper and brass tubing and beads. The top section pulls out so it can be packed for shipping.
One final surprise. I left a hole in the body for a tiny green LED light. It is difficult to use - turning on by pushing the light into a battery. But it could be used on special occasions to show her off. The battery type is a bit exotic but available online.
I’m thinking about entering her in a local art competition before putting her up for sale. I hope you like her.
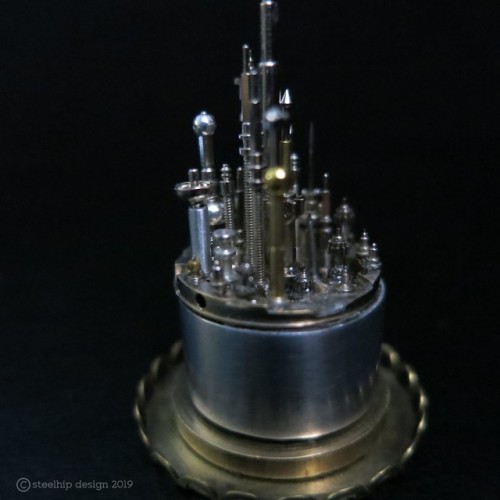
The Metropolis - Capital City.
I see a lot of watch innards in my work. Using a disassembled movement, the “skeleton” of any watch, as the basis for a tiny city has been rolling around in my head for a long time. Most of the holes for the “buildings” are already there. I sometimes need to pop the “jewels” out, usually low grade rubies, so all the holes are available. Many of the “buildings” are seriously tiny, sub 1 mm wide and a few millimetres high. They can also be very sharp. My first attempt wasn’t great as I couldn’t get the “buildings” straight and parallel. Take two using putty hardened before installing all the “buildings”. Third time’s the charm. A little futuristic city with a range of buildings, tiny details and a central “lake” using clear resin. You can’t really see it in the photos.
Here is the dilemma I faced:
It needed to be photographed without the glass so you can see the details, texture and how light plays off it at different angles. It is designed to be a pendant on a chain but for that use I have to stick down the glass dome permanently. If you want it as a piece of art, sculpture, desk ornament, assemblage - I can leave the glass unattached. If there was a way I could do both I would but I can’t see any way to do that using my current skills, supplies and equipment. If it’s displayed on a shelf close to eye level it would be great to keep the glass on to avoid dust but also be able to take the glass off to see all the minute detail. It will also get a lot of attention as a unique jewellery piece on a long chain.
So I leave that option to you - just let me know. It will be the same price for either option.
Components:
- Silver tone tubing - polished
- Two part putty
- Vintage silver tone watch movement
- Assorted watch stems
- Assorted watch bar springs
- Assorted winders
- Assorted balance staffs
- Earring posts
- Pins
- Electronic probes
- Clear resin
- Assorted tubing
- Miscellaneous parts
- Assorted crimps/beads
- Pinions
- Glass dome
- Brass disk
- Brass setting tray
- Eye up loop
Build time: 7 hours
Under the glass dome the pendant is just under 2 inches (4.5cm) high and 1 inch (2.4cm) wide. The chain would be brass gold tone rollo link at the length you would like to wear it at with a lobster claw clasp.
Thanks for looking!
Post link
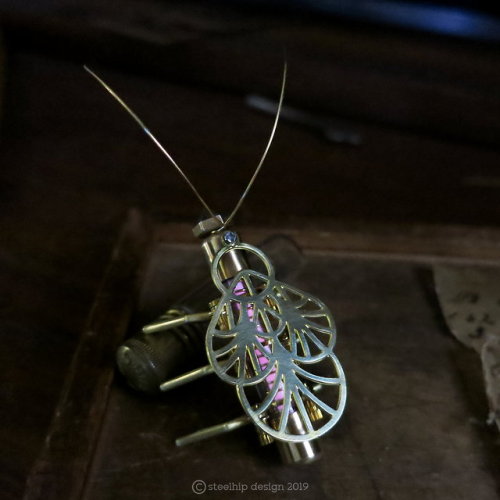
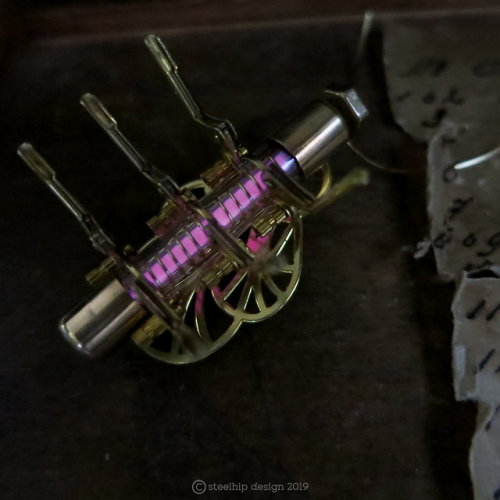
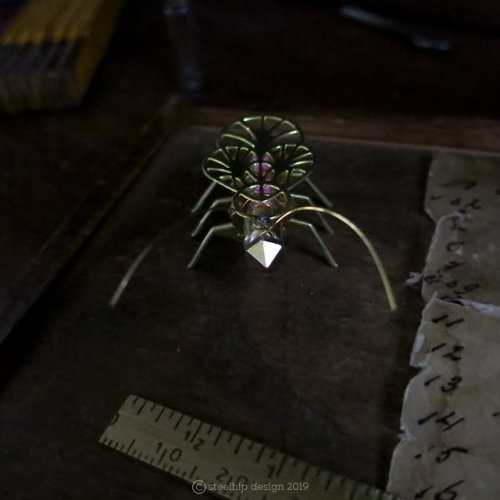
Pink Tritium Bug
Yes, another tritium piece and a bug. Kept this one a bit more conceptual - not so accurately insect. She is very cute.
I started with a pink tritium vial, sealed within a second glass vial. The legs are lever action earrings - that can be moved, bolted on to a bracket. The brass top is screwed into a cord cap. The “face” is a solid brass six sided cabochon. I screwed a bolt into the flat back and then bolted it on the cord cap on the end. Finally I wrapped fine gold tone wire around the head/face join to form antennas.
Please note: pink is one of the least bright tritium tubes. My camera changed the true colour so I used digital manipulation to correct the colour values. My graphics/web design skills are still useful.
She’s slightly over 1 ½ inches long, 1 inch wide and stands ¾ of an inch high - excluding her antennas. I was going to sell her as a pendant - and if someone wants to wear her I can attach to to some chain joined with clasps to her wings. If you need more photos of that - feel free to contact me. You would have to be very careful wearing her - the antenna are fragile. Leg bolts might also loosen with movement and may need to be tightened.
The tritium is estimated to glow for 10 to 15 years without the need for a charge or batteries.
.
Post link
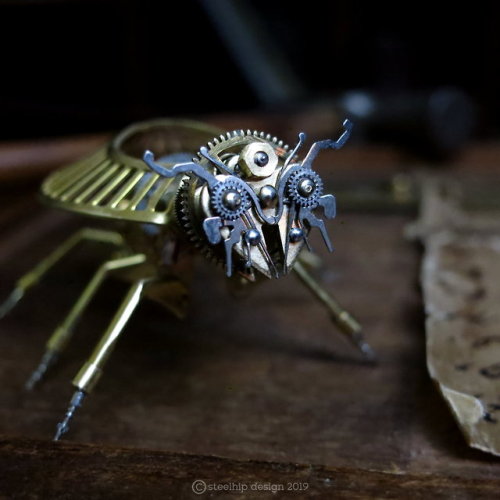
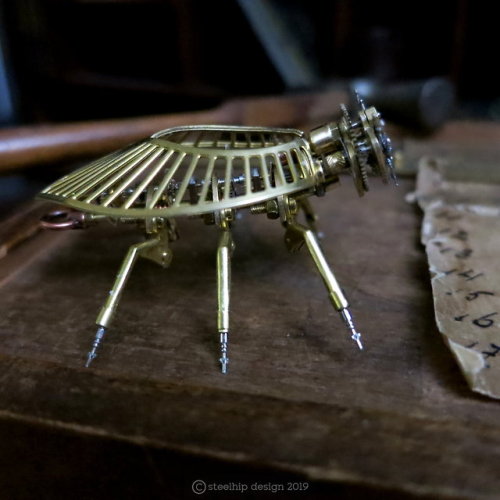
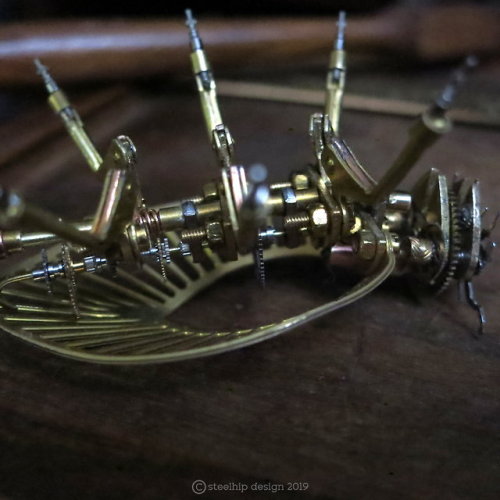
I ordered some amazing brass stamps over Christmas and here is one put to use in the latest mechabug. Watch parts feature heavily in this guy with layers of parts on his face, head and along his top “backbone”. His “legs” are repurposed lever action earrings - cut and adapted for this use, with watch winder stems at the end. Flat semicircle brass stamps form the main skeleton all threaded on a brass rod with sleeves and springs between them. Threading the gears and minute pinions on the “top” backbone was very tricky - a lot of swearing at inanimate objects.
He is 2 inches long, 1.5 inches wide and stands 1 inch high. He’s designed to just sit on your desk or shelf, keep you company and impress guests. He has a hanging loop so it would look like he’s walking down your wall.
When I was researching anatomical bugs for this project I accidentally found myself looking at the Russian spy cockroach - very interesting. So here is the steampunk version. Love to see him come to life…
Post link
Light Spider
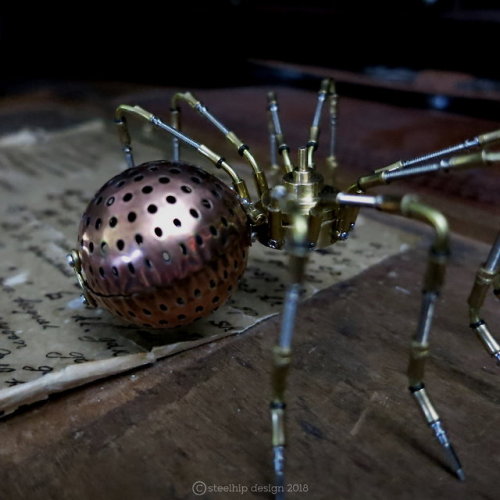
This has been a long time in the making. The parts have literally been sitting on my work desk all year. First problem was creating the abdomen from two perforated domes - something that could be opened and closed. So I found a tiny little hinge and fashioned a swing hook latch. Next major problem was the legs. Another artist who I admire greatly solders watch winding stems for insect legs. I wanted to use the same materials but I don’t copy. So I used sleeves, cord end tubes with loops, tiny rubber rings and brass rods. They are screwed to a brass ring. I did want a lot more detail in the cephalothorax but decided to go simple with a stepped brass finding with brass rings attached underneath for the central screw. It’s more wild wild west than a real representation of a spider.
The glow is from the innards of a LED “fairy globe” sold on one of the big wholesale sites for party decoration. I took it out of the plastic ball and put it in the spider’s abdomen. The light pulses slowly on and off. Batteries can easily be replaced. It doesn’t have a switch so I just break the circuit with a toothpick between the battery and terminal to turn it off.
It’s 3 inches wide, 2 ½ inches long and 1 ½ inches high.
Thanks to all my followers - I really appreciate all of you. I hope you have a wonderful New Year and fantastic 2019!
Post link
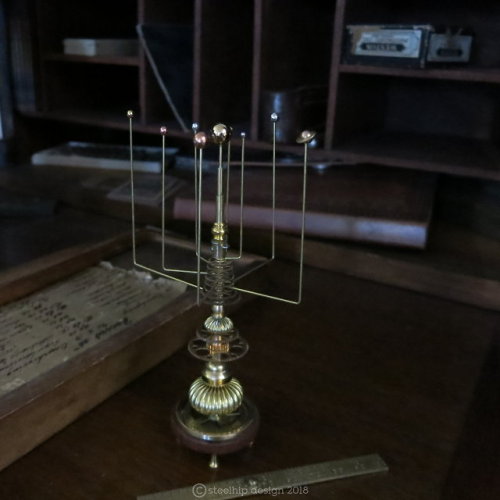
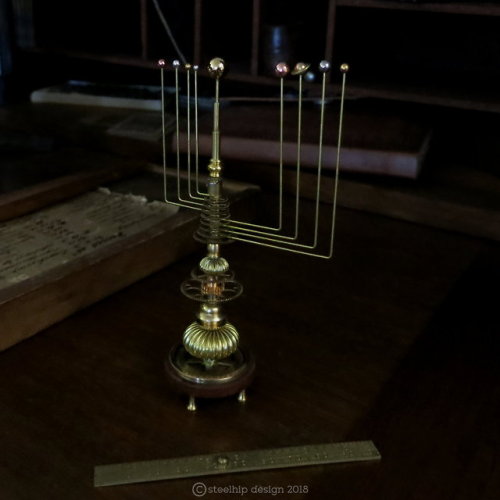
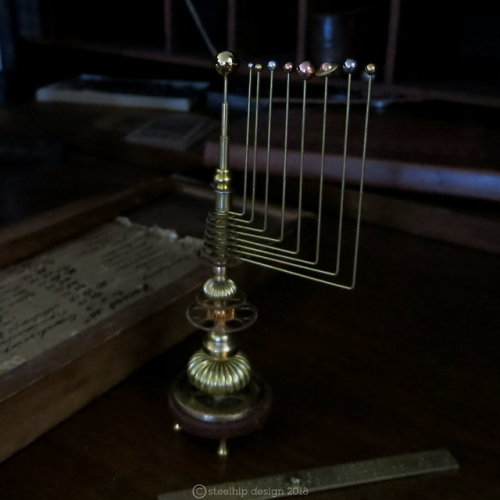
Like all my orrery sculptures - this is NOT mechanical - the planets do not move via clockwork mechanism. They can be turned gently by hand.
I’ve made a lot of orreries - I love making them. The gears are used to imply clockwork movement - so it’s a bit of a folley. This is the third orrery I’ve made using an “arm” for each planet. Please remember - this is not a toy. Moving the planets should only be done sparingly and carefully. To achieve the “look” of a real mechanical orrery I’ve used different sized pocket watch and regular watch gears, collected over many years, to correspond to each planet. All eight planets are represented - Saturn has her rings too.
It is on a stained wood base with four little brass legs and uses a number of different brass beads/components so it looks like a real antique scientific model but without the thousand dollar price tag. On the center stem I’ve used graduated brass tubing to “telescope” to the sun.
It is the perfect gift for a milestone celebration and an intriguing desk ornament for an executive or academic. To make it really personalised you can arrange the planets to the positions they were on a particular day - a wedding, a birthday, the birth of a child when it’s presented. I will send you a link to the free website that will calculate a celestial map for you.
It’s available in the Etsy shop.
Post link
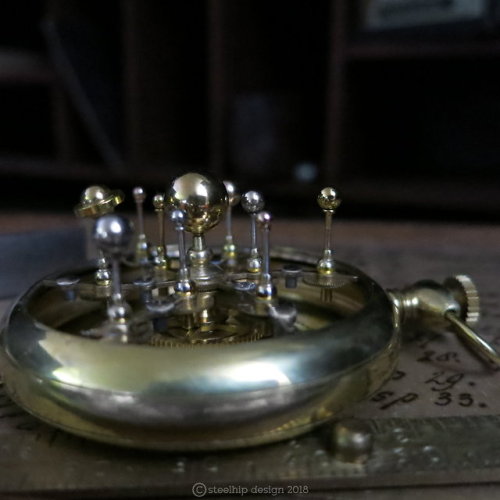
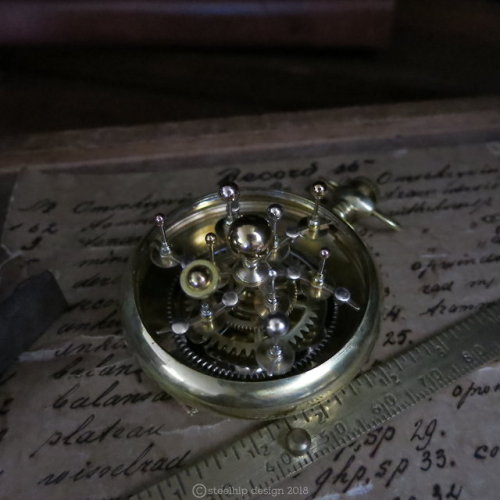
This small orrery inspired piece is designed to be an ornament but could also be worn carefully as a pendant or as a fob. When I bought the case it didn’t have a crown or bow so I used other vintage parts in my collection. I think they suit the piece. The whole swedge with the planets can be gently rotated.
All the small planets, Mercury, Venus, Earth are on the inner ring followed by Mars, Jupiter and Saturn on the middle ring and finally, Uranus, Neptune and Pluto on the outer ring.
It’s available in my here in my Etsy shop
Post link
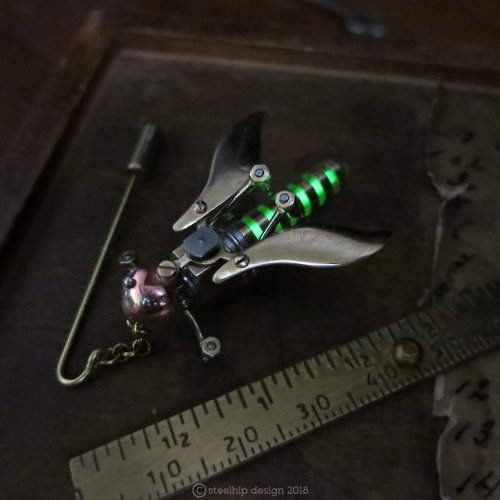
Tritium Powered Assassin Bug
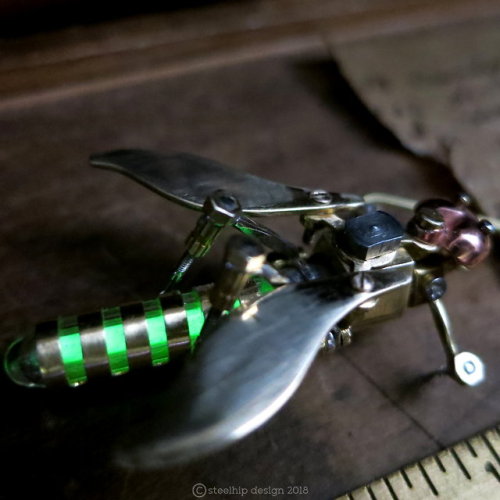
No, not really “powered” by tritium but that would be fantastic. It’s just a fantasy mechanical winged insect with a tritium rod in the abdomen.It’s hanging from a stick pin so it can attached to clothing. The legs are vintage watch stems attached to brass rods. Nearly every connection is nuts and bolts - tiny nuts and bolts. The centre piece is brass with a square top screw securing the glass vial to the body and head.It’s estimated the green tritium will glow continuously for 10 to 12 years. It doesn’t need “charging” from a light source like regular glow in the dark.
It’s 1 ½ inches long, just over 1 inch wide and stands ½ an inch high. It’s US$185 shipping included. If you are interested in buying it - drop me a line with your paypal email address and I’ll invoice you.
Post link
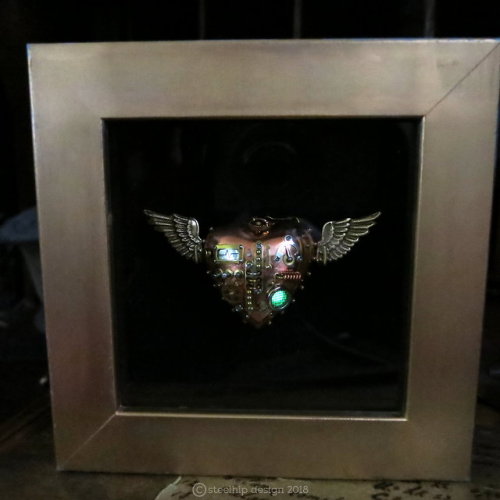
Framed Flying Heart
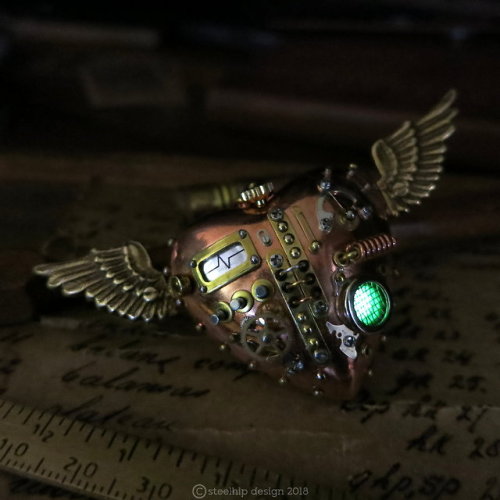
Here is one of my signature steampunk pieces - the mechanical flying heart. Although I make many of these, each one is unique with different features, layout and parts. I love working in miniature - the more complex - the better.
This piece is extremely intricate - 100+ parts some less than 1mm. The green glow under the grill/screen is from glow in the dark powder mixed with resin - I mix my own so it’s a strong glow. I recommend using a UV torch to “charge” it if wearing it at an event.
Nothing is glued on - it’s all deep pinned, soldered, using cold connection methods or screwed. It is robust enough the be worn without fear of anything falling off. I don’t cast or fabricate preferring to use existing items from a variety of sources. Some parts are antique, vintage, NOS or new.
Dimensions:
The pendant is 3 inches wide (75mm) and 1 ½ inches long (36mm) and 1 inch (24mm) deep. The chain is gold tone brass faceted cut cable link, 22 inches long with a gold tone lobster claw clasp.
The frame:
I decided to include a glass frame and dock when clients expressed their desire to be able to have the piece visible when not being worn. So I bought a commercial shadow box, painted it “distressed” gold, attached black felt and brass brackets. The heart can be accessed easily out of the back and attached to the chain with two push clasps and rings. The two clasp points keep the heart from flipping around when being worn.
It takes the piece to another level, especially if given as a gift. As a desk ornament or part of your home decor, my little biomechanical winged heart is sure to be commented on and desired.
The frame is square - 5 X 5 inches (125mm) and 1.6 inches (40mm) deep. The back panel is secured with four rotating clips and also has a “D” ring for wall hanging. The heart just rests on the two brass prongs.
Build time: 40 hours.
Available in my Etsy shop $455
Post link
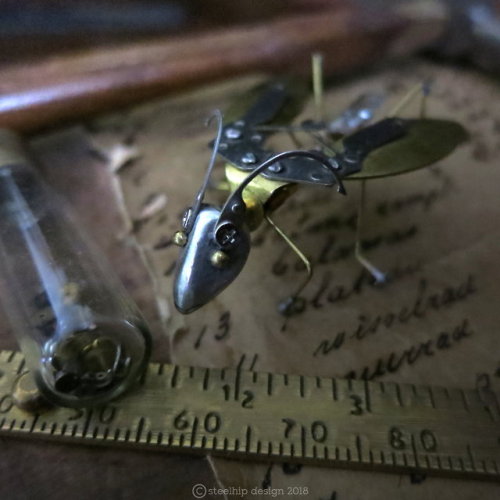
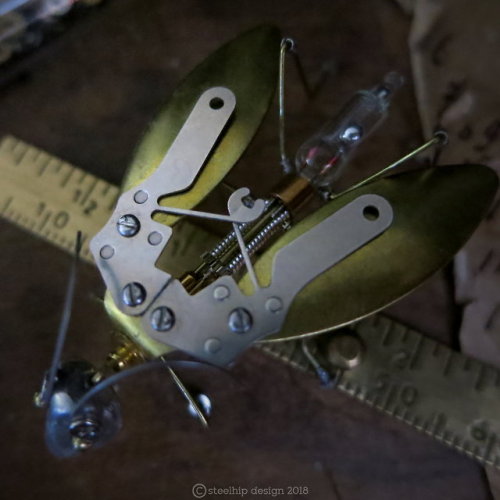
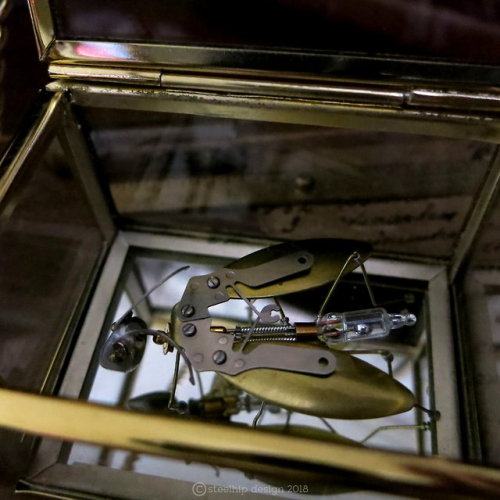
Mercury Drone
There is a local art competition coming up in August and I have an idea - three or four “flying” insects mounted on posts mid flight and presented in a diorama under a glass dome. The insects will all be straight out of my imagination and the grass and flowers will also be biomech steampunk. So I’m working on my insects at the moment. The legs and head are the sticking points. I want the legs to look like pistons or micro hydraulics - but they get too big so I’m starting from wire/pins and work from there. Fortunately I’m never short on ideas to attempt.
The main feature on this guy are the great silver tone mechanical clock parts I’ve used as over wings. I wanted a lot more mech on his thorax but there are tiny details in there. He comes with his very own glass and brass display case with a mirrored base to see “under the hood”. He would be a great low maintenance pet for the office desk or a quirky ornament that will catch everyone by surprise. The drop of mercury in his abdomen does move around the sealed glass nodule.
I like to imagine him as a drone used in spycraft espionage sending back images of the secret base, blueprints or a compromised official. He could also take a nefarious payload or just plug himself in to an unattended server port causing havoc.
So if you like my insect creations keep an eye on my new items as I lead up to the main competition piece. I also had the idea of replicating the framed specimen insect collections that the Victorian era loved so much. Join me for the journey!
Post link


