#pattern making
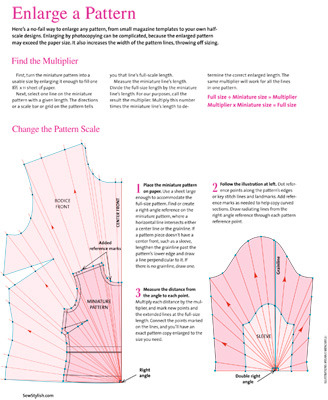
How to Enlarge a PatternbySewStylish Magazine,
View the full tutorial here:
http://www.threadsmagazine.com/item/25087/how-to-enlarge-a-pattern
Post link
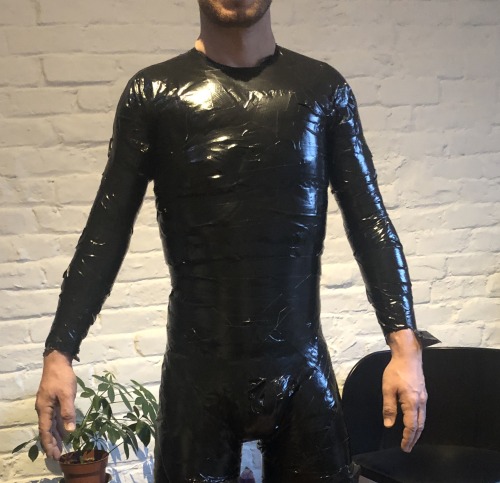
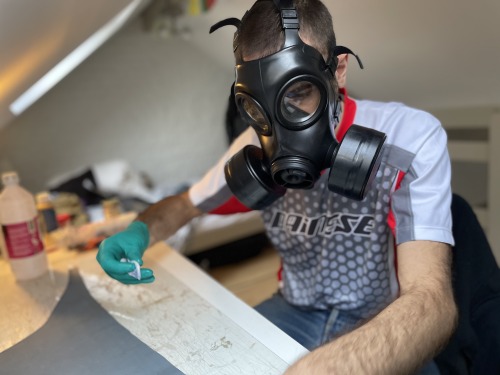
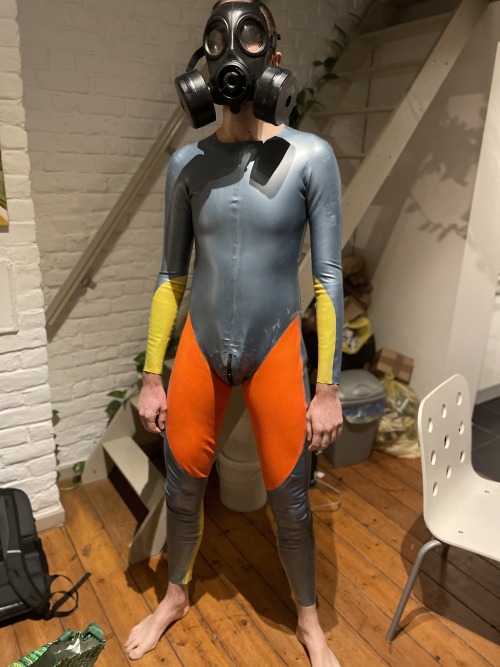
Brussels 2020 - With my boyfriend, we created our own latex catsuits “made to measure”. First step: cover your body with bin bag, then layer tightly with duct tape. Draw with pencil anatomic lines and points, that will be very useful (hips, etc, the more detail, the better !!). Also it is helpful to draw horizontal lines that will be used for horizontal reduction work on latex.
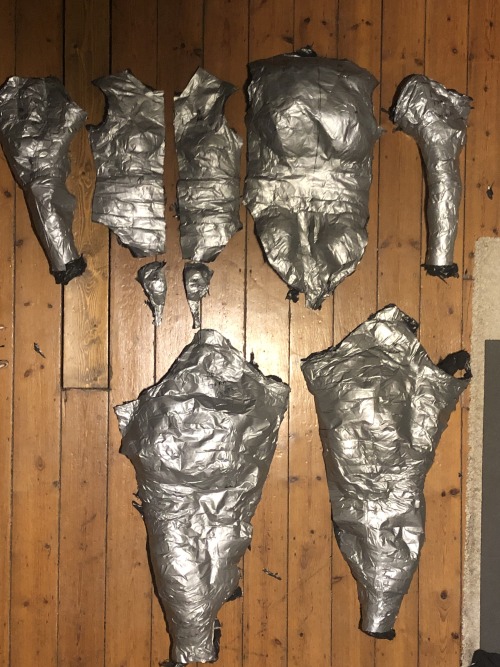
Cut through selected lines to get a first set of patters.
All the game is to get patterns as flat as possible to be able to draw them on paper: 3D –> 2D. Where it is not flat enough you should divide again the the part. Draw your flattened patterns on paper. This is what your real body is like on 2D !
Then it is time to apply your horizontal reduction. Apply a reduction coefficient to your paper patterns. For 0.7 mm thickness latex reduce by 5-7% the size through horizontal lines. For 0.4 mm use a reduction coefficient of around 10%.
Redraw with horizontal correction (we do not use vertical reduction).
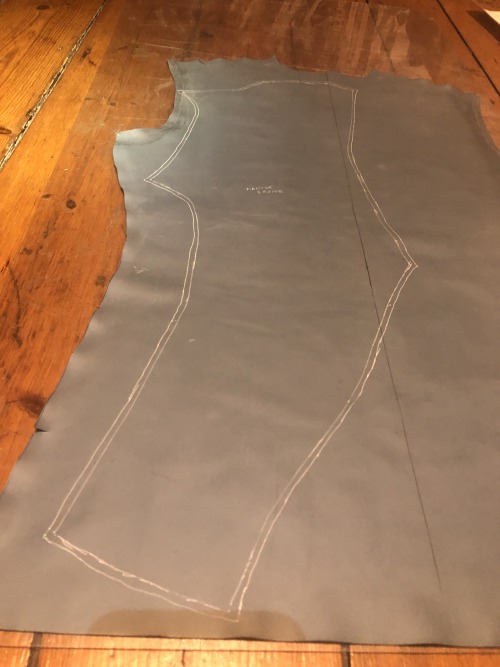
Then draw your reduced paper pattern on latex adding a margin of ca 5 mm for glueing. Cut latex (rotary cutter), clean edges (isopropanol or white spirit), glue (careful as glue is solvent based, use a gasmask or properly ventilate), wait, stick edges together.
You may also decide to add a zipper to your work. I’ll publish another post to explain how to do that.
Post link
CORSET MAKING Posted by in Pattern Making
I like this idea of using a bra cup, the size that you usually wear in your own brassiere, and attach it to a dress form.
One will still need the accurate bust measurements, and apply them to the pattern - and maybe the dress form as shown in this photo with sticky tape - but when fitting the corset on the dress form, it will all look much better and real than without the fake boobie attached.
What do you think? Which aids do YOU use, to make the whole pattern to garment process a bit easier for yourself???
(viaPattern Making | mamimo99)
Post link

Tiny totoros & cherry blossoms I’m a sucker for little linocuts.
Love designing patterns but actually putting together cable charts? Truly my personal hell
I wish it was more of a thing to just scan in a hand-drawn one, because that’s so much easier to do.
Last night I went to see Jessica Hische’s guest editor edition of Hattery Happenings and she at one point commented how “Everyone is SF is a quarter new-agey.” Which is so true and so describes what I love about who SF lets you be.
So, here is Fresh Pattern #56 “A Quarter New-Agey” - completed in a vision-quest type fit of pattern journeying.
Post link

