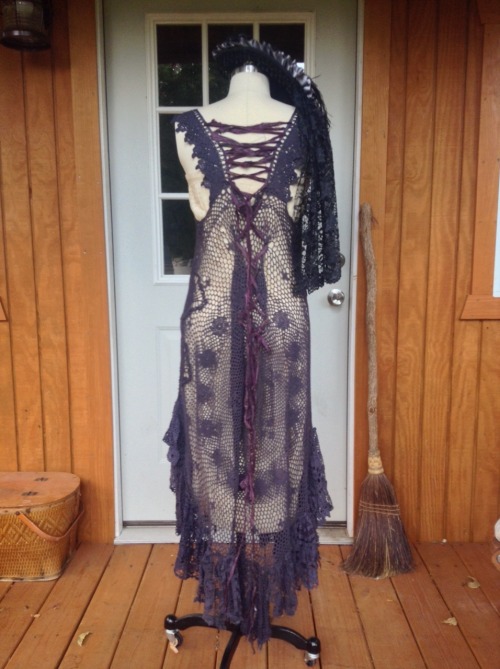
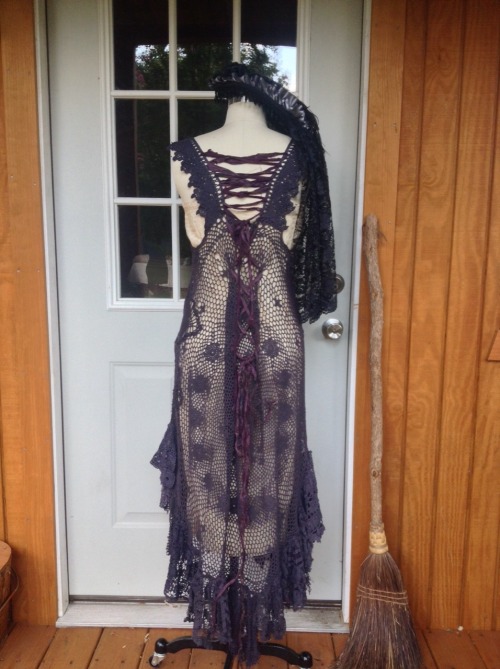
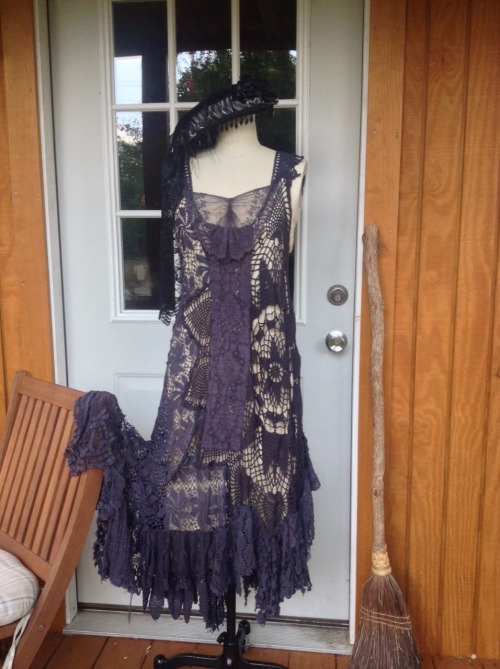
#victorian dress
How To Tell Victorian Clothing Apart By Decades
First and foremost, Karolina Żebrowska made a video about this quite some time ago explaing everything in detail, but I just wanted to make my own little checklist and mention some things that I’ve noticed for myself. Of course, this list won’t be foolproof as I’m only going to talk about the most popular styles at the time and people technically could have made a regency gown in 1900, but… that’s not the point. For the sake of being able to show everything with pictures, I’m going to leave the Regency period out as I’ve already made a separate post about it.
The Victorian era is commonly packed into the visual of a brown bustle dress and/or the typical wide dresses of the Civil War, but the Victorian era actually spans over 64 years and many, many different styles.
Queen Victoria was crowned in 1837, so let’s start in the 1830s.
The 30s were wild, and that’s one word to describe it, but that mostly goes for the first half of the decade. Huge sleeves and full skirts were the thing, often in patterns inspired by wallpaper. That’s right - stripes, florals and anything that stood out was the hit. The off-the-shoulder look is just as important though, that’s what creates the round shoulder shape, together with the puff sleeves. The waistline sat a little higher than the natural waistline and was usually adorned with a belt. In the second half of the decade the sleeves started to “travel downwards”, as in they started smocking or gathering the top part of the sleeve and just leave the pouf at the bottom.

The 40s left the puff sleeves and bright patterns behind, leaving high necklines, tighter sleeves and lowered the waistline to its natural position. Something very popular was the gathered front of a bodice and that trend even lasted into the early 50s. Skirts grew a little wider, requiring more support from layers upon layers of petticoats.

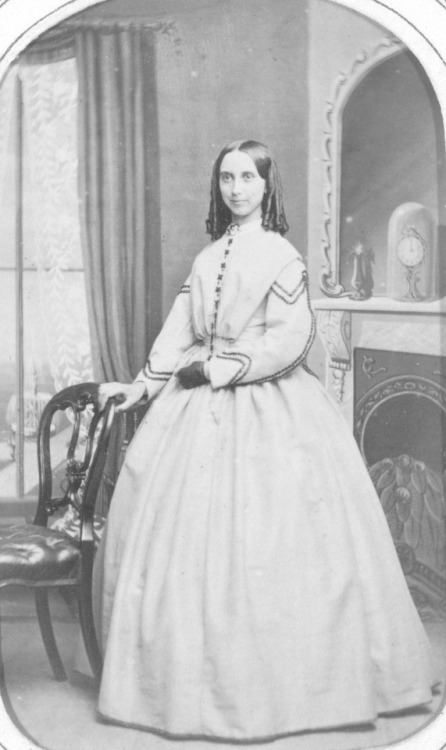
With the 50s here, ruffles came into fashion. If you see a wide, ruffled skirt, it’s probably from the 1850s. Some bodices extended over the hips now and almost looked like coats. Another important aspect: the pagoda sleeve. And obviously it’s important to note that the crinoline was finally patented in 1856. No more layers upon layers of corded petticoats! But this meant that dresses could be even wider than before. However, keep in mind that in the 50s, the crinoline had a round shape whereas in the 60s it started to become oval and extended further towards the back.

With the 60s, ruffles went out of fashion and synthetic dyes were invented, this meant brighter colors for a wider population! Actually, synthetic dyes were already invented in 56, but just like everything it took a while to make all the colors and really catch on so I’m counting it towards the 60s, because that’s when brightly colored dresses really took off. I find that especially evening dresses look very similar to 50s evening dresses so for me the best way to tell them apart is to look at the shape of the crinoline. Not to mention that a lot of people certainly continued to wear or slighly altered their 50s dresses but with a new crinoline.

Now we’re in the bustle era - the shape of the crinoline became slimmer but extended further towards the back, creating the bustle. I still find myself struggling telling mid 70s styles apart from the 80s, but there are some things I look at.
Firstly, the shape of the bustle. Early 70s style bustles are still pretty wide compared to the later silhouettes. Generally, you can say that in the 1870s, the profile of the bustle has a more gentle curve, the curve is not as steep. Also, a lot of 70s day dresses have trains. Many people actually started recycling old 18th century gowns into 1870s dresses so you can see a lot of inspiration and similarity in the shapes and how the dress is put together. The collars often mimick those of 18th century gowns and the back is draped like it was on a Robe à la Polonaise. Towards the very end of the 70s, bustles went out of style and women wore their dresses without a bustle.

Now on to the 1880s. Like I mentioned, the style was very similar but the bustle came back into fashion and became steeper. The necklines on day dresses were high and the collars weren’t square anymore. The draping of the overskirt still stuck, but the skirts became overall a little less wide. Very popular in the mid 1880s was draping the overskirt asymmetrically. That is the best giveaway if you’re unsure. Trains on day dresses still existed but weren’t as common as in the 70s. And once again, towards the very end of the decade the bustle went out of fashion, this time for good.

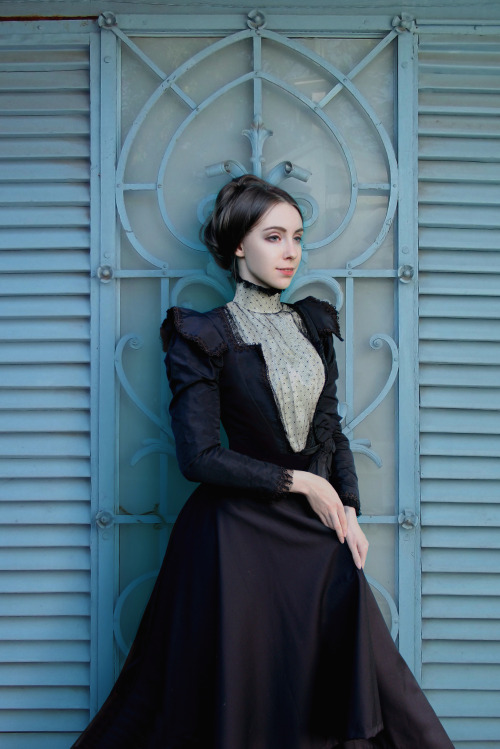
The 90s - certainly my favorite decade in the 19th century. Big sleeves were back! But no off-shoulder day dresses and the waistline was at its natural position. Pretty much all skirts were now straight in the front and gathered in the back - a very popular look. The size of the sleeves and the width of the dress reached its peak in 1895 and after that it all decreased in size again until the puff sleeve went out of fashion in 1898-99. Bodices had a slightly looser fit than in the decade before but were still tight-ish.

Now, the Victorian era only lasted up until 1901, but I’ve decided to add the 1900s to this list just because I really like that decade as well and think the clothes are really pretty.
So, in the 1900s the silhouette changed once again. Now, loose lace blouses were all the rage and the so-called pigeon breast silhouette was created with the help of an s-bend corset and a lot of stategical padding, a frilly corset cover and a loose gathered bodice. At the waist, you’d usually find a silk belt called a sash that matched the dress. The straight front skirts stayed but changed their shape slightly to be bell-shaped and flare out at the bottom. A lot of lace was used for gowns as well as frills and dainty details. But on the other side, a working woman would usually just wear a light colored blouse with a usually dark skirt and wear a belt to tie the outfit together.

So this was my way to tell the decades apart! I specifically love 19th century fashion because every decade is so different from the one before and it’s so fascinating how quickly styles changed back then.
I found a treasure! (that everyone probably already knew about but me)
I’m in the middle of my exam season right now and I’m almost done (yay!) so I don’t have any projects in progress right now, but I still wanted to share something.
For the longest time it’s been a dream of mine to own an Edwardian gown. I keep raving about everything Edwardian on this blog but I’ve never really had the courage to make anything myself because damn, the amout of skill that you need! But I was recently browsing through archive.org looking for some old fashion magazines to find some Edwardian bodices for inspiration cause I wanted to make something actually wearable in the 21st century. Long story short, I found nothing but I came across two The Voice of Fashion magazines, both from the 1890s (Winter 1897andFall 1897) and I felt like I’d found a treasure. All of the magazines I had come across before were usually fashion magazines where you could order something and it’d take about two months (incredible, right?) to arrive. But not this one, not The Voice of Fashion.
They were full of patterns - actual, original 19th century patterns to make these gowns at home. So I quickly looked up those magazines on google to see if there was more and it turns out there is an entire book, a compilation of 14 magazines ranging from 1900-1906. So naturally, I had to buy it and it’s the most beautiful thing I’ve ever owned and I cannot wait to actually make something from that book!

Here are some of my favorites:


And that’s not all! There are also some patterns for underwear (here’s a chemise I’ve been wanting to make for a while).

There are also hats and shirtwaists!

This is what a random pattern looks like. The system is very easily explained and I love that it doesn’t just stop at the pattern but there’s a short instruction as well!

So… I think these patterns and instructions are actually making me feel like I can do it? And it’s incredible to think that one day, hopefully soon, I will actually own one of these beauties!!!
So yes, I got really excited over a book and I hope I could share some of that excitement with you. I hope I can get back to sewing as soon as I finish my exams! Actually, I sort of have to make a petticoat next week so we’ll see how that works out.
Until then, stay healthy and if you’re in the middle of exam season like me, good luck, you can do it!!
Making Anne’s Green Dress from Anne With An E - Part 5 (final)
First of all, before I start to talk about the dress I would like to say thank you to all of you who are following this blog. I just saw that I hit a thousand (a whole thousand!!) followers and I am soo excited and glad that there are people out there who share the same passion as me or just find it interesting! When I made this blog back in March or April I honestly expected to be shouting (or writing) into the void but it’s been so amazing to actually have the feeling to have something interesting to tell. So, the biggest thank you to all of you!!
Now, before I get too sappy, let’s move on to the dress.
I left off still not having finished the sleeves and having to finish all the seams. I thought it wasn’t going to be a lot of work, but I tend to severely underestimate the final parts of my projects.
So, first things first, I tried to attach the embroidered part of the sleeve to the upper puffy part and it took me an embarrassing amount of time to figure out why it wasn’t working and what I was doing wrong. So the thing is, the circumference of the embroidered sleeve is smaller than the puffy sleeve, which I did on purpose to add some nice pleats to the stiped fabric. But I couldn’t get the exact measurment right while the sleeve was round, so I needed to reopen almost an entire seam so I could make the striped sleeve lie flat in order to add some pleats so I could then put the embroidered sleeve on top and attach them. Then I could close that opened seam back up and I was left with the top part finished and the bottom part opened because I was going to add hooks and eyes to close it later (spoiler: I ended up just stitching it shut in the end). Then I attached the embroidered collar; I tried machine stitching it first but because I wanted a very small seam at the bottom some of the fabric from the dress must’ve slipped away and it made a mess so I ended up doing it by hand.


Then it was time for the back seams and the buttons! For the back seams I just folded the edge in once and I plan on cleaning that seam up at some point in the future but for now I just needed a clean edge to work with. Then I did the front buttons. I had some small buttons left over from a skirt I made once so instead of buying ones that you can and are actually supposed to cover in fabric I decided to cover regular buttons in fabric. It worked to some degree but I really think I’m going to have to order some different buttons and redo it because now that I’ve tried it on and put it on the mannequin it feels like the fabric is gonna come off anythime soon. But I’m still going to show you how I did it.
First, I just attached the button as normal onto the dress. Then I took a piece of fabric that I wanted to cover the button with and drew a circle that was bigger than the button. I don’t know how much bigger, I totally eyeballed that, but it has to cover the entire button so I’m guessing double the size? Anyways, I stitched around the circle and then cut it out around the stitching. Then I put it over the button and pulled the thread. I also put some more thread around underneath the button to make sure the fabric stays in place and doesn’t fray. I did this with the thickest thread I had because you have to pull it rather tightly so I had to make sure the thread could withstand that pulling without breaking.

Then I did the same thing in the back and added some button holes with the machine.
Now I only had to close the rest of the sleeves and add another seam to the bottom of the dress so it looks like it’s made out of two pieces of fabric. As I already mentioned, I ended up sewing the sleeve together instead of adding hooks and eyes simply because, to be completely honest, I hate sewing hooks and eyes and I also couldn’t imagine it staying closed throughout the day when you’d wear it. I think Anne’s dress had hooks and eyes, if I’m not completely mistaken it was visible in a closeup but I just opted for the “easy way out”, which, ironically enough, took me about an hour on each side as it was so difficult to sew from inside of the sleeve without catching any other piece of fabric in between. But this is the result which in real life is even less visible as the color of the thread matches the fabric pretty well.

And lastly, I had to sew the final bottom seam. I just folded a bit of fabric over and machine stitched on top of that.
And this is the result of the finished dress-


It’s been very challenging this time, but I’ve also learned not to ignore lining and the importance of beautiful, neat seams on the inside! (The inside is a complete disaster, hence why I’m not posting pictures of it). But overall it looks really nice, I’ve been a little self-critical about it but I think it turned out okay in the end. It’s just frustrating that I decided not to line the skirt and now I’m regretting it because it’s just laying so flat! I think I might make a petticoat for it. It would’ve been worn under that dress anyways. But in all honesty, I think that with every project I get a little bit better because I make all those mistakes. Now I know that I should always line my fabrics no matter how lazy I’m feeling or that I should leave enough seam allowance to fell my seams.
Some projects are more challenging than others but maybe those are the ones that I can learn the most from.
Portrait of a young woman identified as Miss Jeanne taken by Belgian photographer Louis Pierre Theophile Dubois de Nehaut, c. 1854-1856.
Source: Metropolitan Museum of Art.
Post link
Carte de visite portrait of Jane Kettle by photographer J.W. Gilmor of Colchester, England, July 1864.
Source: Rijksmuseum.
Post link

A character created for a challenge on the theme “Victorian animals”.

Black dinner gown
1890s
Augusta Auctions

Black velvet and lace dinner gown
1890s
Augusta Auctions


Silk brocade gown
1880s
Kerry Taylor Auctions

Afternoon dress
1890
Cincinatti Art Museum

Ensemble
1866
Cincinnati Art Museum

Reception dress
1886
Cincinnati Art Museum

Inktober, Day 8


