#sewing tutorial
How to sew burlap pillow cover with cross stitch embroidery
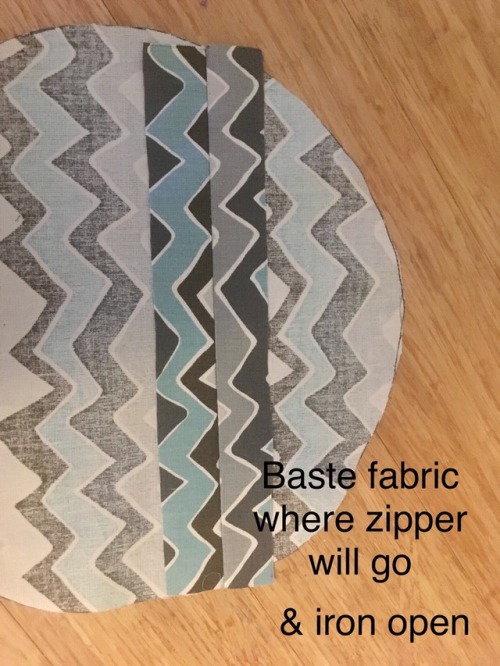
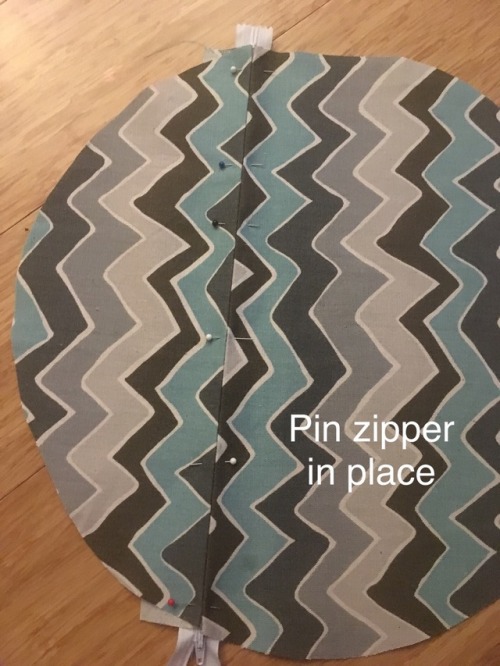
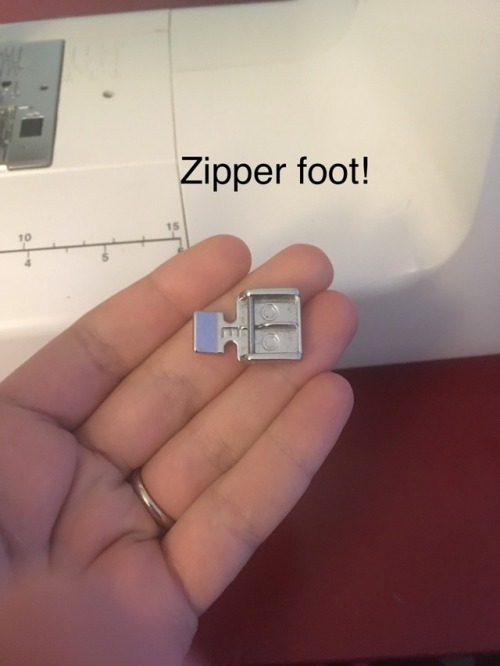
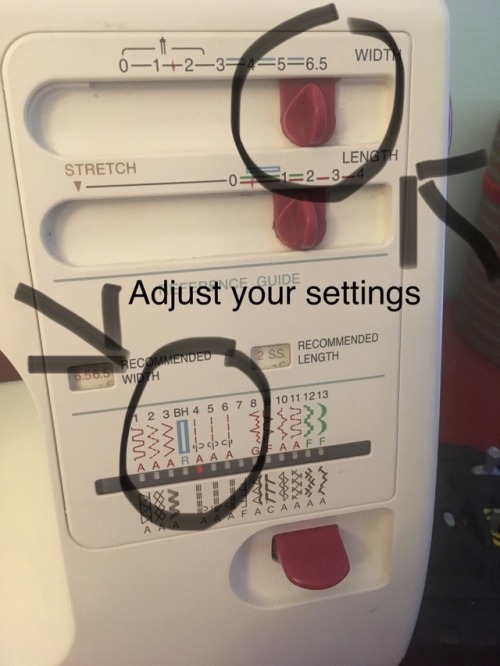
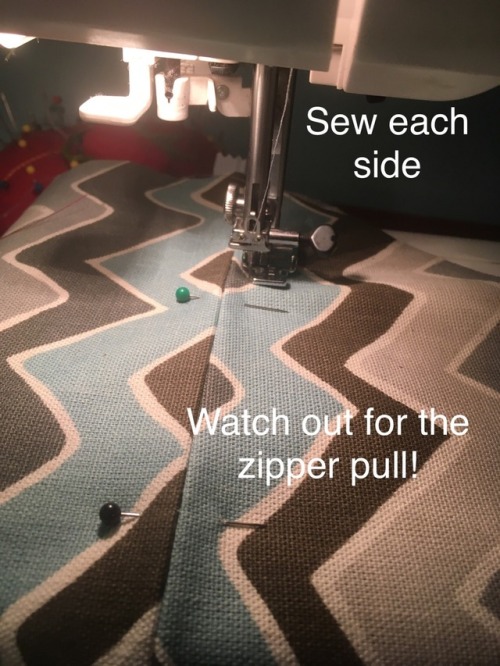
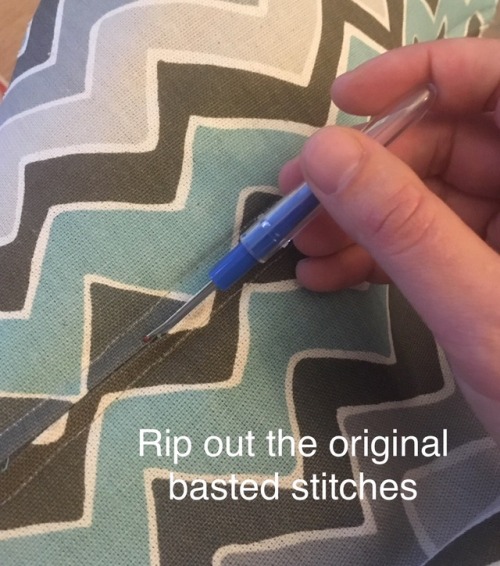
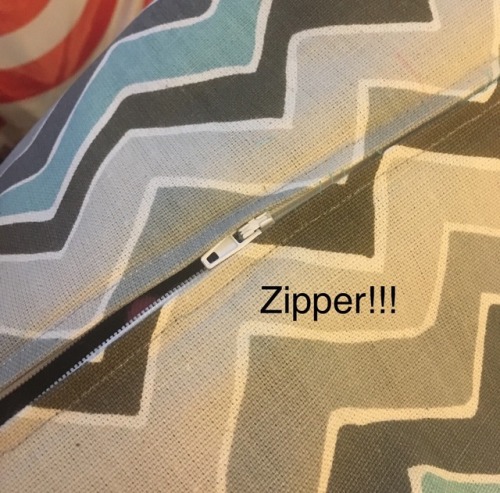
I’ve discovered some people are intimidated by zippers, so here’s a really basic tutorial for installing a zipper so that it’s hidden inside a seam.
Post link
Simple Alterations Tutorial
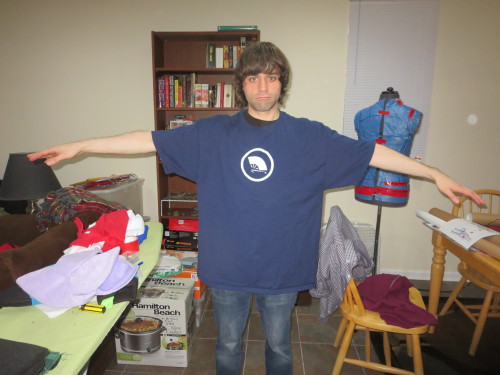
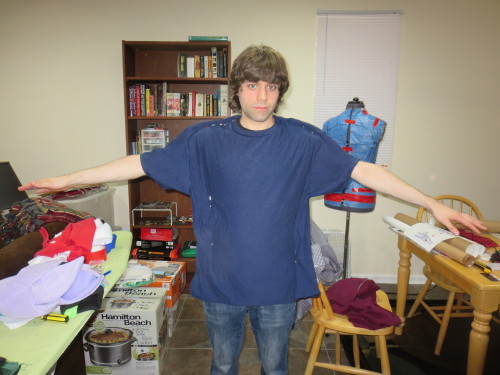
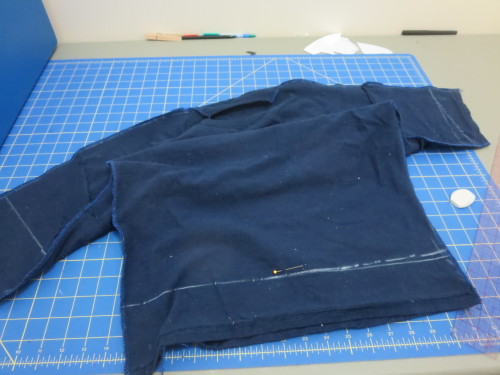
Otakon hands out these great swag bags when you win something in their cosplay competitions, but the con-shirts inside tend to run a bit on the large side. I probably should have just exchanged it at their merch booth, but since I forgot to do that, it means I can show all of you how to alter something.
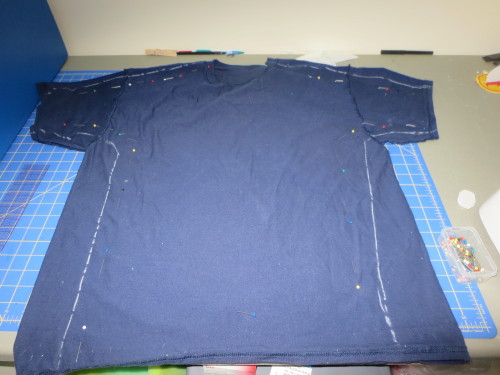
- Flip the garment inside out, and pin how you would like it to fit, works best with a second person. I used a normal shirt that fit me underneath the otakon one as a guide for the neckline.
- Make sure points of pins face in such a way so that when you take it off you won’t stick yourself.
- Use tailors chalk to mark out all of your lines
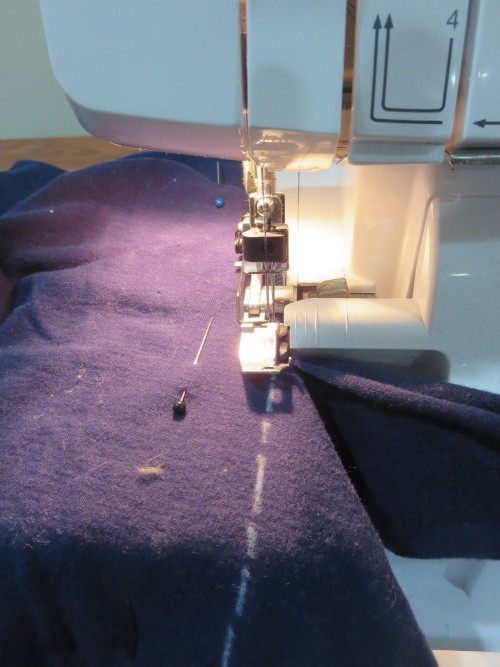
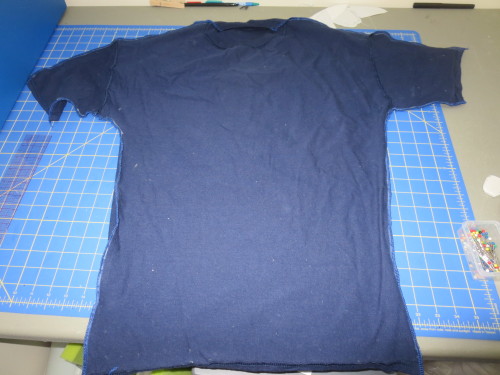
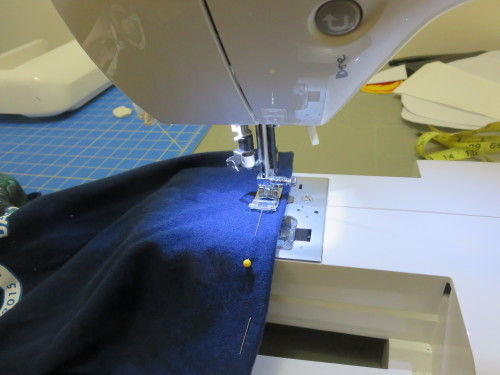
- Use a serger or a regular machine with a zig-zag stitch to make new seams across the whole thing.
- Test fit, and take more in if necessary
- Chalk out new hems
- Edge the new hems and tack them down with a nice top stitch
- Enjoy your now fitting shirt
This can also work well with any second hand clothing or costumes. This tutorial works best with tops, but you can also easily hem pants that are too long this way as well.
If you do not want alterations to be perminant, make sure you use a looser stitch and do not trim anything, you can always fold in seams and flat-fell them so you could technically rip all the seams out and return things to their original state.
Thanks to RoseSpirit for assisting :)
Post link
Fabric Painting Tutorial & Comparison (alt title Unintentionally making small Japanese flags)
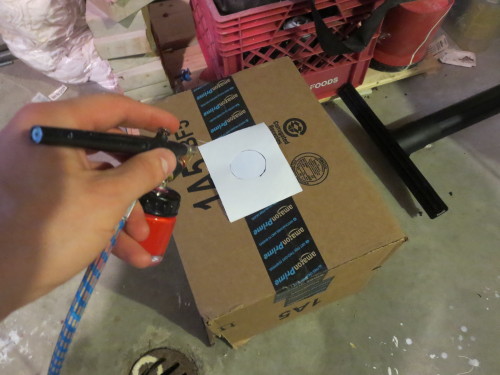
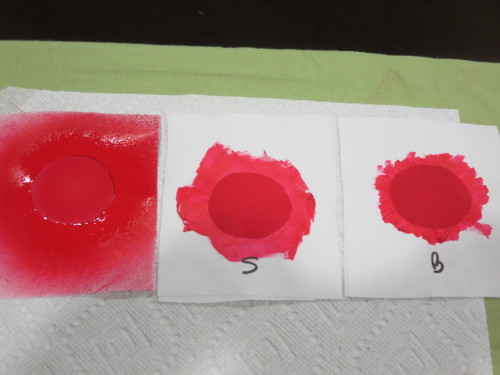
- For each test I’m using a square of bottom weight cotton with an ironed down freezer paper stencil
- Airbrush - Just two quick spurts is enough to cover everything, you can see how wide the spray is and why its important to cover everything you don’t want to paint with the freezer paper
- Pros
- No touching the fabric, so its great for stencils with a lot of tiny detail or something you don’t want brush strokes on.
- Very fast, and the least amount of paint is used (end result is less stiff)
- Little labor required
- Cons
- Many coats might be needed depending on the colors used
- Expensive set up costs (~250 for a compressor/brush combo pack)
- Depending on the airbrush’s nozzle size it can be very prone to clogging until you get used to cutting the paint with the right amount of thinner.
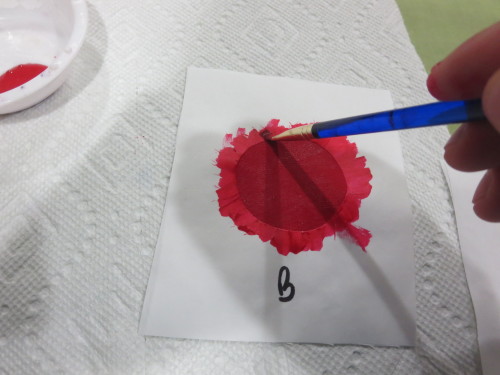
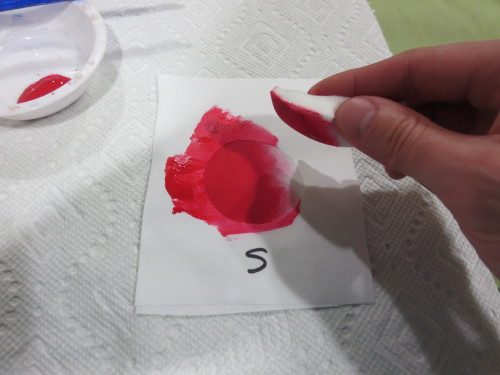
- Paint Brush - Start outside the stencil and drag the paint in toward the middle, this will prevent paint from getting under the stencil
- Pros
- Cheapest and most intuitive
- Can do tiny details if a smaller brush is used, also works well for free-hand
- Cons
- Can leave a heavy paint layer if you aren’t careful
- Have to be careful around the edges to not push paint under the stencil
- Can be labor intensive
- Sponge - Wet and wring out the sponge before starting, then starting outside the stencil, drag paint toward the middle
- Pros
- Also cheap & intuitive
- Lighter coats than brushing
- Does not leave stroke marks
- Cons
- Not good for small details
- Also a danger of pushing paint under the stencil edges
All three methods are very work-able depending on the time you have available. Personally I prefer the airbrush for any heavy lifting, followed by using a paint brush to clean up any over spray or mistakes.
An airbrush is what I used on my koumajou densetsu sash, and while its definitely possibly to paint it all by hand, the amount of time it would have taken would have been far too long. And once you pay that initial up front cost you can use it for many costumes or projects afterward.
Post link
Mini-Hemming Tutorial
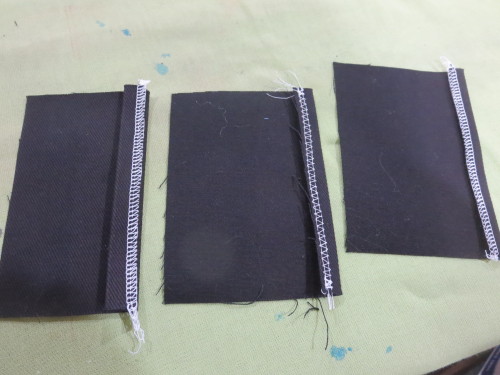
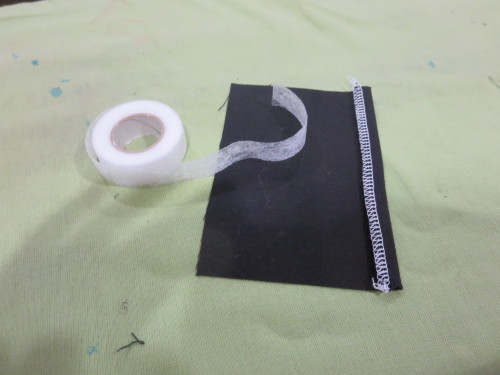
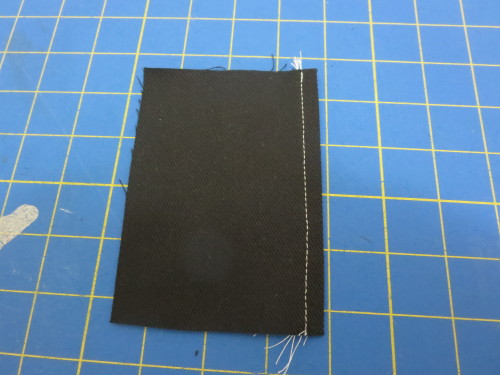
Going to show off three different ways to hem something, using a top stitch, a blind hem, or fusable tape. A hem is when you fold in raw edges of a garment and stitch them down, this prevents fraying and gives a nice crisp edge to the end.
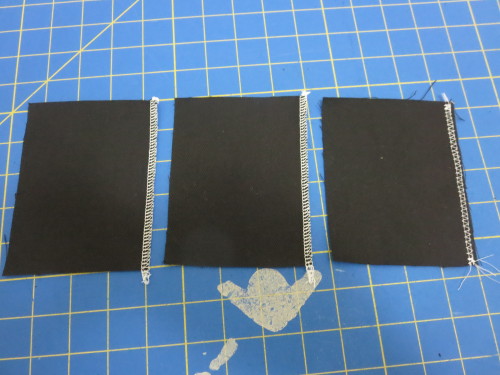
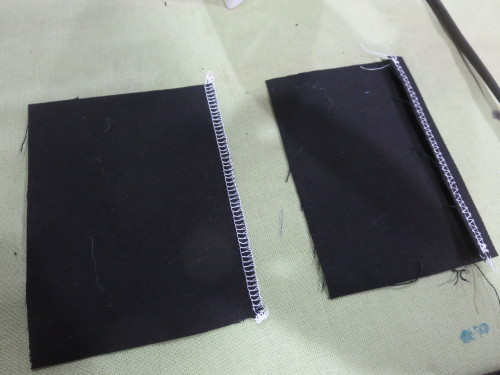
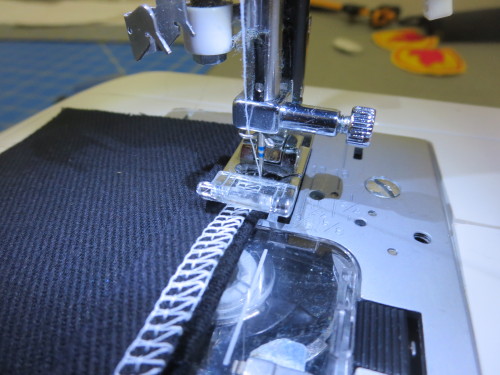
- Apply a holding stitch to the raw edge of the fabric with a serger or zig-zag stitch
- Press and fold the hem, for a blind hem you need to do this twice over with the edges lining up
- For a top stitched hem, simply line the edge up in your machine and do one pass, this will tack your fold in place.
- For the tape, carefully tuck the tape under the fold, then use an iron to glue the hem in place
- For a blind hem, carefully line the edges up, done correctly you should be piercing 3 layers of fabric.
- Press all of the hems flat with an iron
Each method has its ups and downs, personally I most oven use top stitches, but Ive been increasingly using the tape for certain things where thread would break up a design.
Post link
(viahttps://www.youtube.com/watch?v=KxoKrLgCvdU)
These are adult sized Panniers, perfect for Schuyler Sisters or even Marie Antoinette type cosplay. For children’s size pocket hoops, see my other YT tutorial. :)
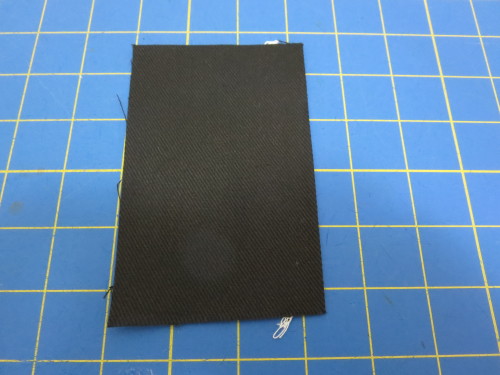
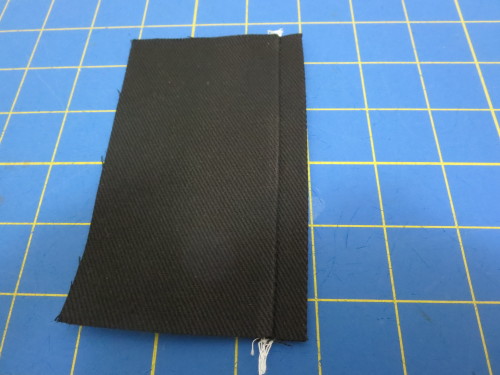
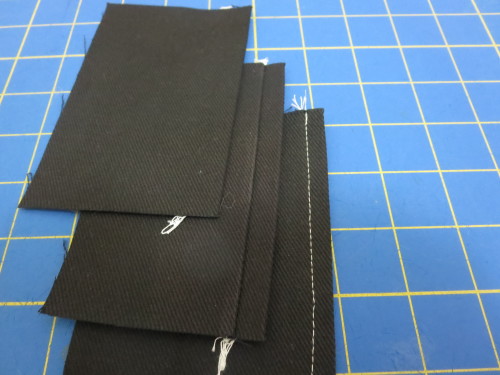
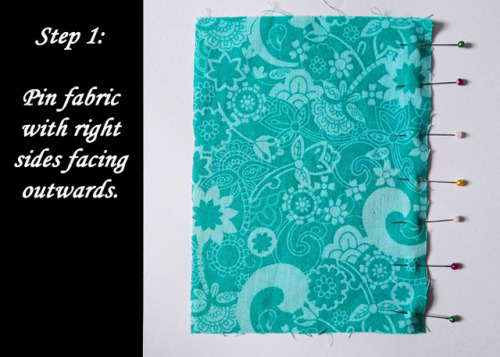
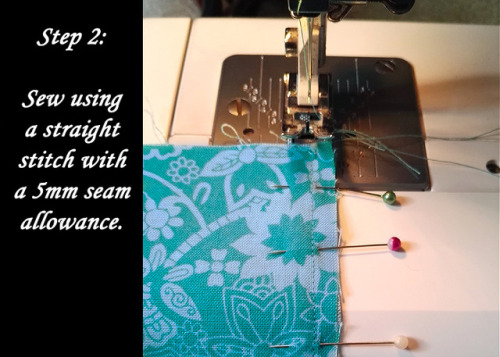
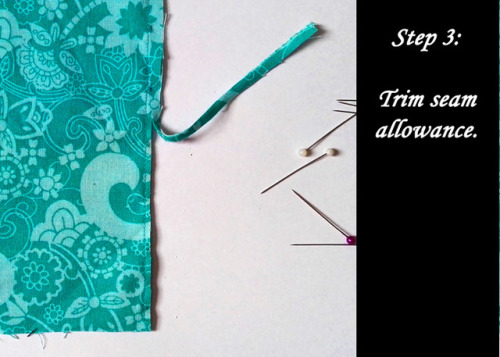
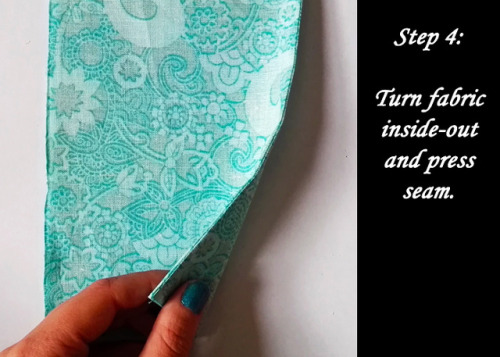
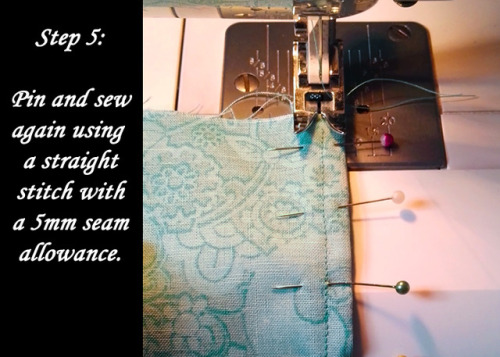
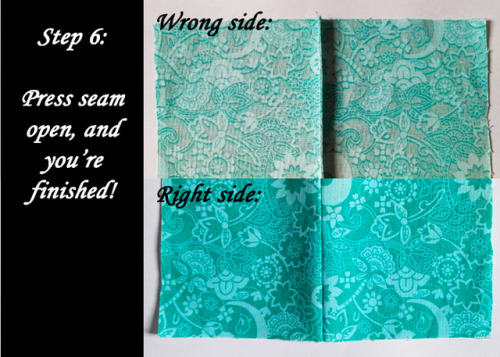
Hey guys, I made a quick little tutorial on French Seams. I’ve done about 20+ meters of them in the past week, so I was on a bit of a roll lol.
French seams are a handy technique to know for:
- preventing seams from fraying without using an overlocker
- creating tidy looking seams inside unlined garments
Kind of a noob topic, but I thought it might be handy for some beginner cosplayers :)
Post link

