#diy crafts

LIVE

ninelro:

How to sew burlap pillow cover with cross stitch embroidery

#the sims    #the sims 2    #the sims 3    #the sims 4    #the sims diy    #papercraft    #plumbob    #halloween    #sims halloween    #diy crafts    #diy halloween    
Make your own DIY wine charms! These are so cute and SO easy to make. Click here for the complete inMake your own DIY wine charms! These are so cute and SO easy to make. Click here for the complete in

Make your own DIY wine charms! These are so cute and SO easy to make.

Click here for the complete instructions! 


Post link
Get crafty for the Oscars! Throw an Oscars party with these fun DIY crafts. Click here to learn how Get crafty for the Oscars! Throw an Oscars party with these fun DIY crafts. Click here to learn how Get crafty for the Oscars! Throw an Oscars party with these fun DIY crafts. Click here to learn how

Get crafty for the Oscars! Throw an Oscars party with these fun DIY crafts.

Click here to learn how to do all of the above crafts!


Post link
Celebrating Dia de los Muertos with Barbie | #BarbieProjectRuby and Little Lady have a tradition o

Celebrating Dia de los Muertos with Barbie | #BarbieProject

Ruby and Little Lady have a tradition of celebrating Dia de los Muertos with DIY crafts. This year Barbie joins in on the festivities!

Read the full story here: http://bit.ly/1p3rXae


Post link
DIY Magazine Beads For Kids And Barbie! | #BarbieProject Arts and crafts bring Yolanda and her daugh

DIY Magazine Beads For Kids And Barbie! | #BarbieProject

Arts and crafts bring Yolanda and her daughter closer together. They dress up Sofia’s Barbie doll with these fun DIY accessories: http://bit.ly/1FidNcr


Post link
Celebrating Las Posadas with Barbie | #BarbieProject  Ruby teaches Little Lady about Las Posadas wit

Celebrating Las Posadas with Barbie | #BarbieProject 

Ruby teaches Little Lady about Las Posadas with a fun DIY project, and of course Barbie dolls are added to the mix!

Read the full story here: http://bit.ly/1xv8Qrr


Post link
Thankful Like Me With Barbie | #BarbieProject Ruby and Little Lady use a beautiful DIY project to ex

Thankful Like Me With Barbie | #BarbieProject

Ruby and Little Lady use a beautiful DIY project to explore gratitude. And Little Lady shares some ideas about what her Barbie doll might be thankful for! Read the story here: http://bit.ly/12kSgxA


Post link
This is the thumbnail, and subsequent photos I used in my last DIY project: DIY Butterflies: How to This is the thumbnail, and subsequent photos I used in my last DIY project: DIY Butterflies: How to This is the thumbnail, and subsequent photos I used in my last DIY project: DIY Butterflies: How to This is the thumbnail, and subsequent photos I used in my last DIY project: DIY Butterflies: How to This is the thumbnail, and subsequent photos I used in my last DIY project: DIY Butterflies: How to This is the thumbnail, and subsequent photos I used in my last DIY project: DIY Butterflies: How to

This is the thumbnail, and subsequent photos I used in my last DIY project: 

DIY Butterflies: How to Make a Crown, Clips & Headband

All of these are incredibly easy to recreate, and I had a lot of fun putting together the video. Would any of you wear a butterfly in your hair? I was thinking these accessories would be great for any summer music festivals, renaissance festivals, or pride parades.


Post link
Enter for a chance to win a signed copy of my book, Kawaii Polymer Clay Creations, along with some c

Enter for a chance to win a signed copy of my book, Kawaii Polymer Clay Creations, along with some clay and starter supplies!


Post link
I’m having a sale because my shop is 8 years old this month! You can get 30% off crochet patterns, p

I’m having a sale because my shop is 8 years old this month! 

You can get 30% off crochet patterns,plushies, and greeting cards, and 15% amigurumi kits.

The sale will end on 3 August 2019.


Post link
thecraftables: DIY Mini Crates made out of Popsicles How cute are these? They’re super cheap to makethecraftables: DIY Mini Crates made out of Popsicles How cute are these? They’re super cheap to makethecraftables: DIY Mini Crates made out of Popsicles How cute are these? They’re super cheap to make

thecraftables:

DIY Mini Crates made out of Popsicles

How cute are these? They’re super cheap to make and don’t take a lot of time either. Bonus, you can use these mini crates in so many cute and rustic ways: use them as mini centerpieces for meals, store your jewelry & tiny stuff or even make them into candle holders. Quite useful and you can have them in any colour. 

What you need for this idea:

  • Popsicle Sticks
  • Glue (the good kind, that dries fast)
  • Water in a container
  • Toothpicks
  • Scissors
  • Paints (any kind works)

What you need to do:

  1. Soak the popsicle sticks in water for a few minutes. This makes them easy to cut. 
  2. Cut them into 12 pieces. 8 of a slightly bigger size and 4 small. 
  3. Paint the 12 pieces of wood & 4 toothpicks.
  4. Stick 2 shot sticks to 2 long sticks and add a toothpick before that. Make 2 sets. Make sure to leave a slight gap between the two parallel sticks.
  5. Stick the 2 sets made together to form a rectangle/square.
  6. Cut the toothpicks to the edge of the rectangle.
  7. Stick the 4 remaining pieces together to form a base for the crate.
  8. Paste the base to the rectangle made earlier. And Done!

Things to keep in mind:

  • Let the sticks dry before you try to stick them together. Damp wood does not stick well.
  • Get fast drying glue that dries up quickly when you’re sticking the edges. Otherwise they edge will move, making the crate wonky.

Hope you like these mini crates :) Happy Weekend!


Post link
thecraftables: How to make Personalised Letter Magnets We did something cute :) Right? We made thesethecraftables: How to make Personalised Letter Magnets We did something cute :) Right? We made thesethecraftables: How to make Personalised Letter Magnets We did something cute :) Right? We made these

thecraftables:

How to make Personalised Letter Magnets

We did something cute :) Right? We made these magnets for my cousins, because we like magnets and they’re fun to paint. Here’s the link for the tutorial on the blog.

Have a great weekend!


Post link

Part 2 on how to make kitty ears! Used them for a photoshoot I did, and they turned out pretty well and were inexpensive!

I am finally done with Jumin’s roomJumin my Husband ~ !!I was in this project for so long^^ FINAI am finally done with Jumin’s roomJumin my Husband ~ !!I was in this project for so long^^ FINAI am finally done with Jumin’s roomJumin my Husband ~ !!I was in this project for so long^^ FINAI am finally done with Jumin’s roomJumin my Husband ~ !!I was in this project for so long^^ FINAI am finally done with Jumin’s roomJumin my Husband ~ !!I was in this project for so long^^ FINA

I am finally done with Jumin’s room
Jumin my Husband ~ !!
I was in this project for so long^^ FINALLY done^^ shall change up for after wedding with jumin’s room

Ahahaha in some photos jumin looks like he is reprimanding Elizabeth the 3rd or he is finding Elizabeth

Hope you guys like my jumin han project ^^


Post link

hollowxo:

Hello There,

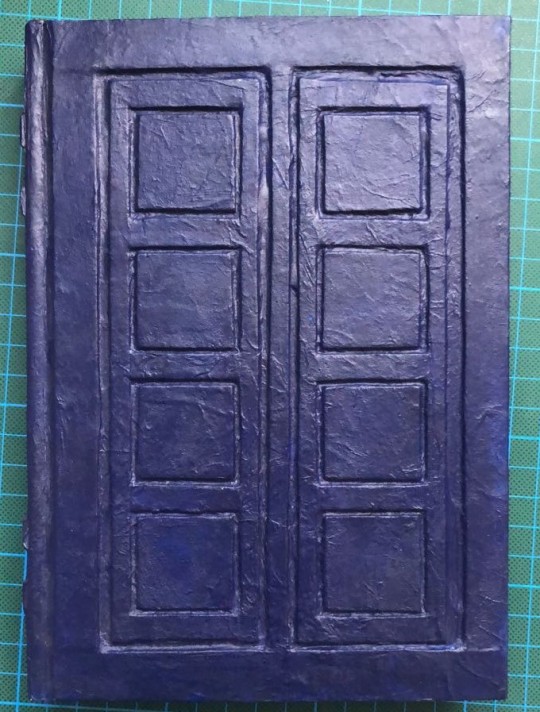
a few years ago (dear lord, that makes me sound so old) I wanted to make a very special birthday present for my best friend who happenes to be a Whovian, just like me.

And I thought I could get a nice River Song Journal. But all those you can find online are either crappy or waaayyy to expensive.

So I decided to do what I can do best Save the day! caughingSorry, it wont happen again. I decided to make one myself.

The reason this post is coming now: I just found the old pictures and want to share my thoughts and the struggles I had trough the process. Maybe I can inspire others or help you creating your very own River Song Journal.

Lean back and enjoy the show:

First I did some research and stuff cuz I wanted to create something as accurate as possible.

(1) I googled around a little for the Color

or this, same color code tho.

But they didn’t sell that in my local art store so screw that I had to mix my own color! (a picture will appear later in the process, like a wilde bulbasaur or something)

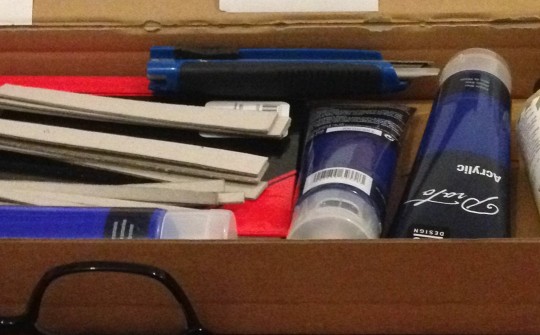
I’ll just get some shades of blue, a white and a black one in order to … improvise.


I went shopping

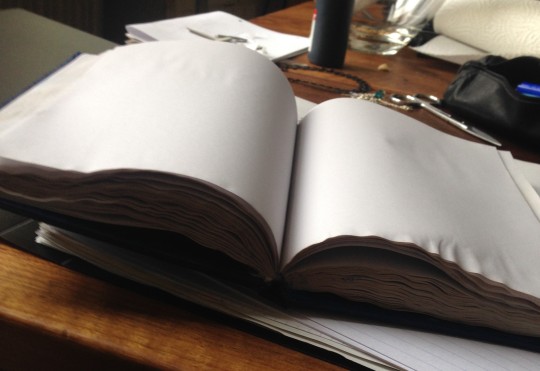
A blank hardcover Notebook; the Colours; carton; glue; Tissue Paper. I already had a box cutter somewhere at home.


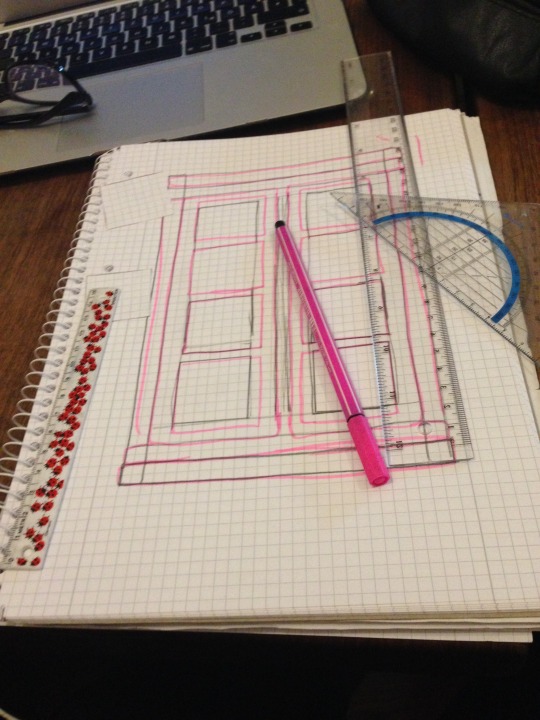
For the particular kind of pattern I did some more research.

And found this nice thingy

somebody else created that in order to also make their own Journal big thanks for that, it really helped me back then

but still I had to alter it in order to make it fit on the book I got.


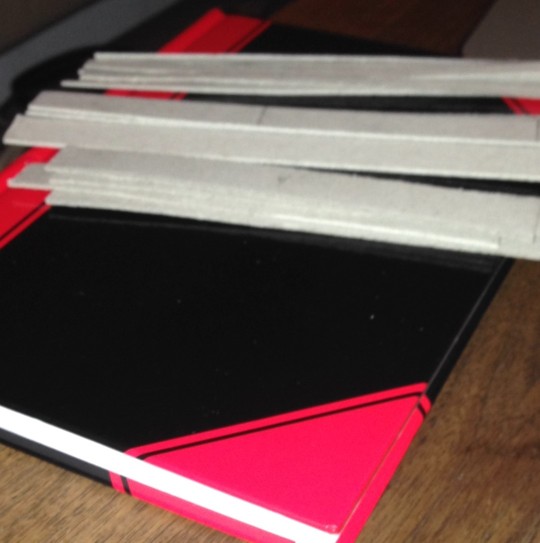
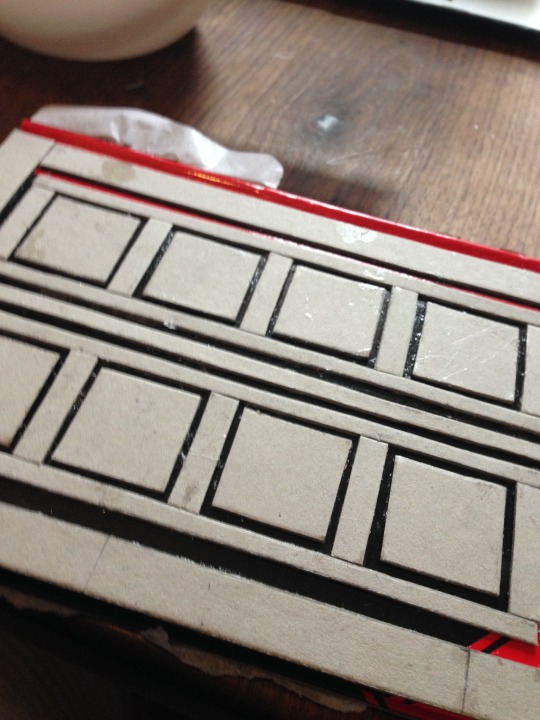
Lets get to Work then!

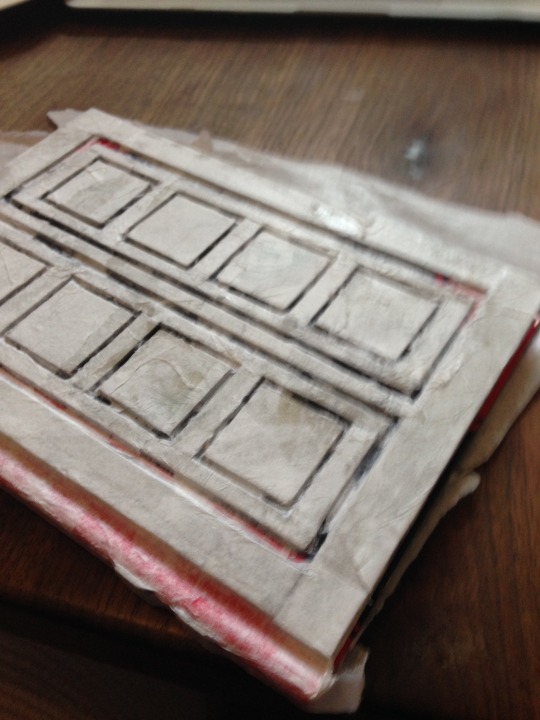
I would really recommend switching between cutting with the box cutter and the scissor because cutter takes longer but doesn’t really hurt while scissor hurst and is fast. But you have to be very careful with the scissor because I ruined some of the carton pieces.


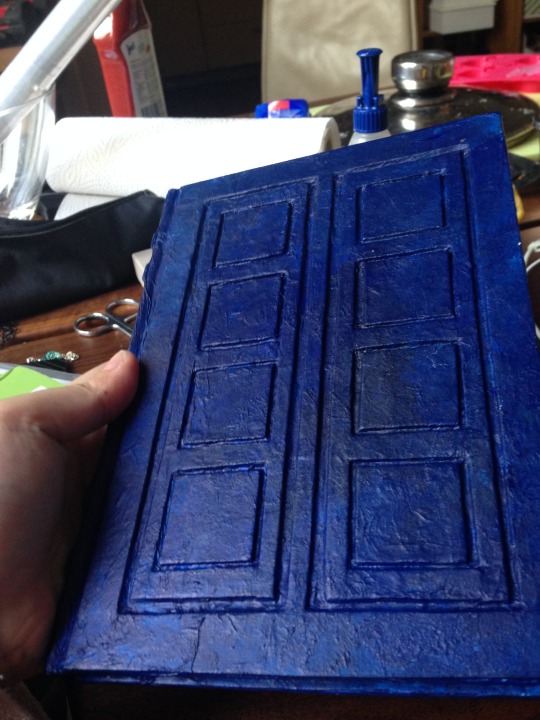
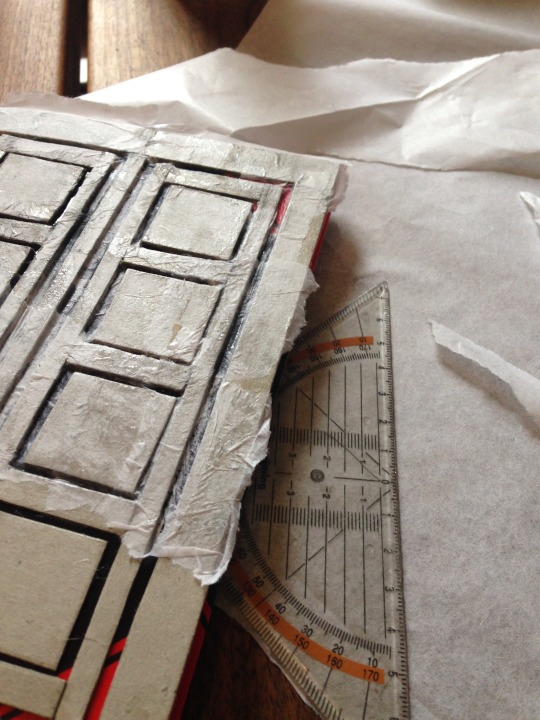
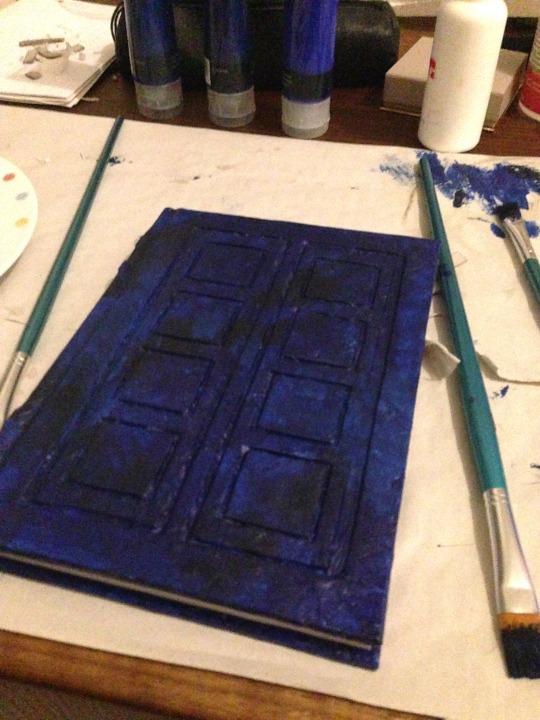
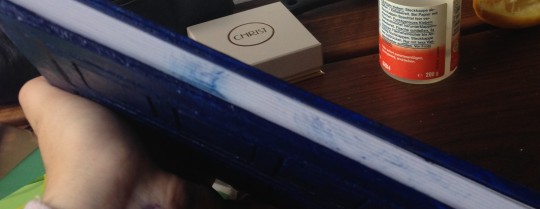
And now glue it on the Book!!

This looks like something already!


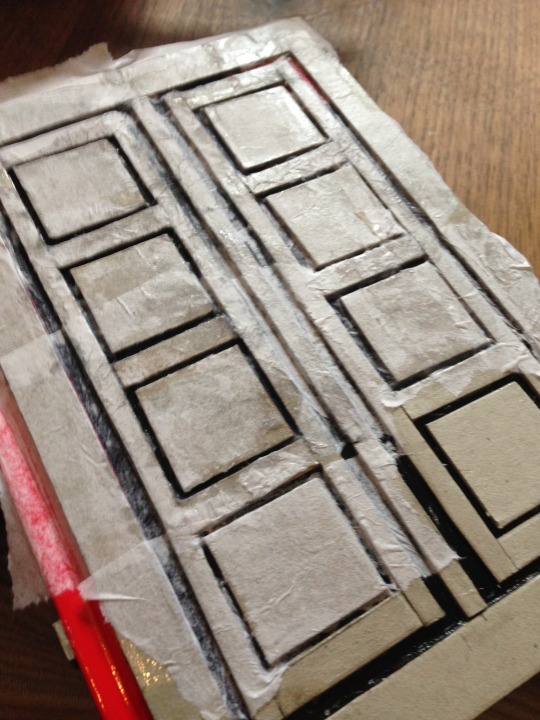
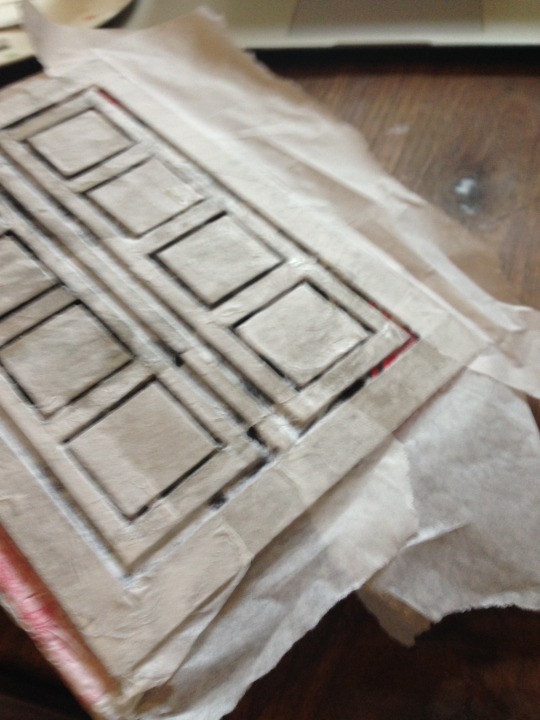
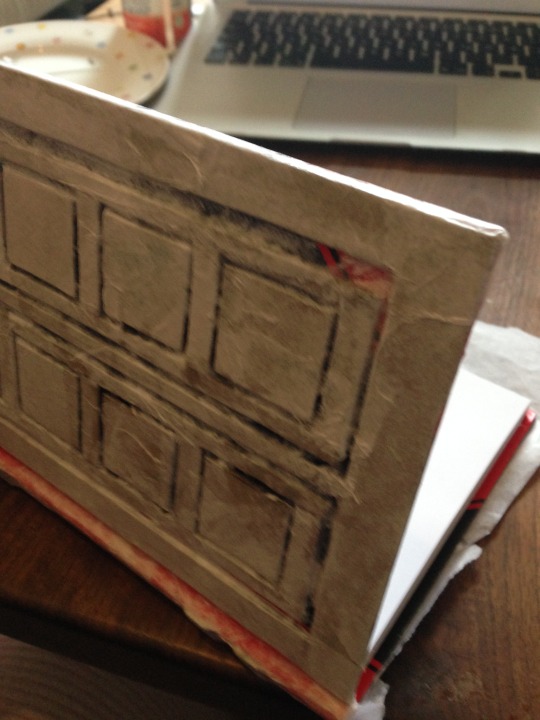
carefully glue the Tissue paper on it in order to create a nice patina, haptic and optic. Use a brush and something wallpaper adhesive-ish. It’s nice finish for the surface.


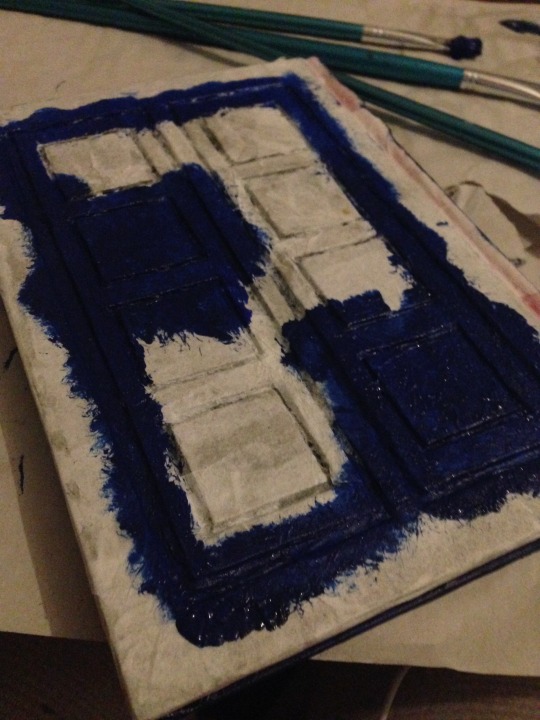
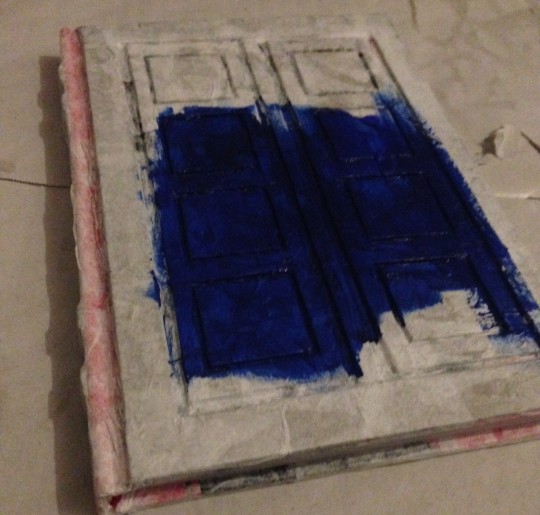
Next step: Coloring!

always let it dry properly and don’t color it too unitary. Uniqueness is beautiful.

Try not to let THAT happen.


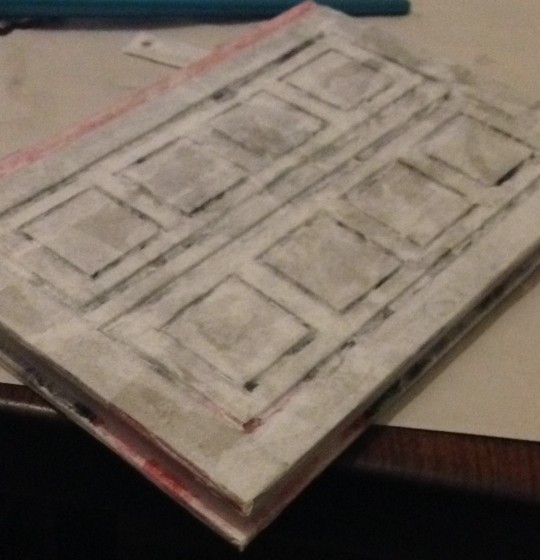
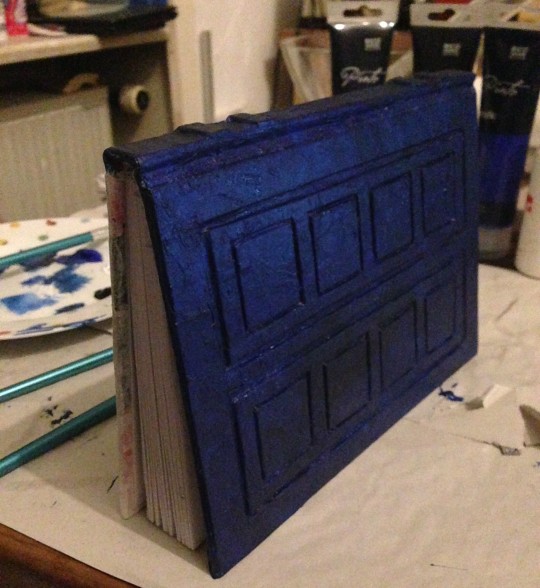
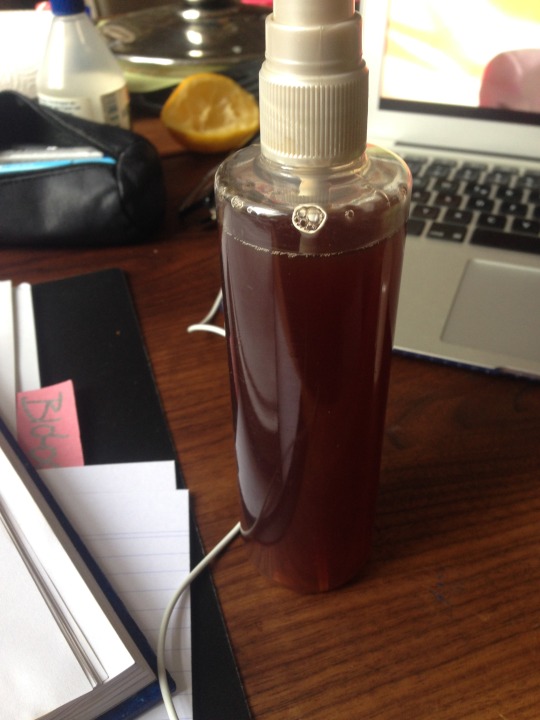
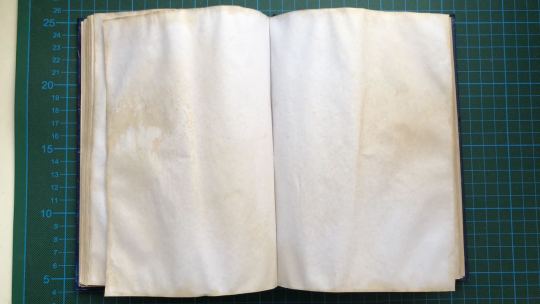
Last thing: making it look more antique and used.

Google helps. Earl gray colors better than coffee or different things. So let me just brew some an put it in a spray can
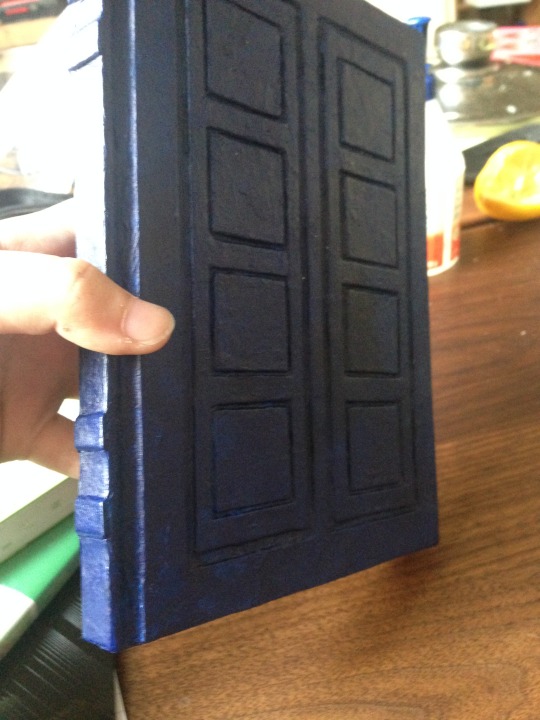
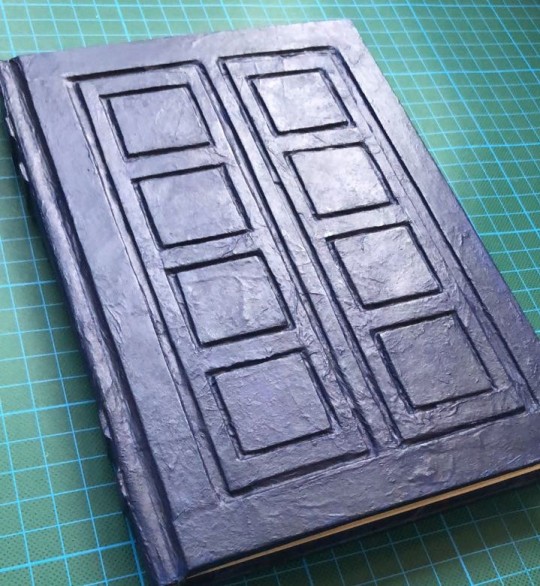

Voilà !!

Sidenote: She was very happy about the present. And I had fun making it!

Have a nice day!

loading