#the craftables
DIY: HOLI INSPIRED PINWHEELS!
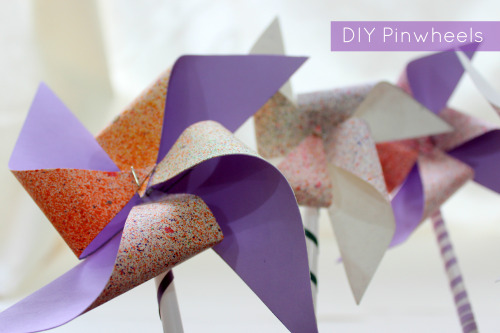
Holi is coming up guys! It is one of our all time favorite festivals of the year. It’s just so colourful and bright and messy. And an extremely happy and fun day! This year for the decor, we made these simple pinwheels in large numbers and varied sizes, so that they can be can be kept all over the place. Also, made a few for the kids to have as keepsakes from the day.
Time taken to make one pinwheel: Less than 5 minutes!
Here’s what we used to make them:
- Scale
- Crafts knife
- Long pins
- Colourful paper (This paper is made by dipping toothbrushes in paint and spraying it with your hand onto the paper)
- Thick double sided tape
- Straws
Here are the steps on how to make them:
- Cut out a square and draw lines joining opposite ends with a pencil.
- Cut along the drawn lines till the centre. Stop when you are about a centimeter away from the central point.
- Add a little glue on the right corners of each triangle. Fold these corners to the middle and stick them. These need to overlap.
- Insert a pin through the central point where all 4 flaps meet.
- Twirl a straw with ribbon (optional step).
- Put a small piece of double sided tape on one end of the straw and put a small piece of paper on top of it. This is to make sure the tape does not stick to anything, while holding the straw in place.
- Push the pin through the tape and slightly out of the straw. Put another piece of tape at the end, to ensure the pin doesn’t poke anyone.
Things to remember:
- Make sure there is a gap between the paper and the double sided tape when you insert the pin in the last step.
- Definitely put a tape at the end of the pin, or it will poke someone.
- Go crazy with the colours and sizes!!
Try them out :) Happy Crafting!
Post link
DIY Cross Stitch Bag Tags
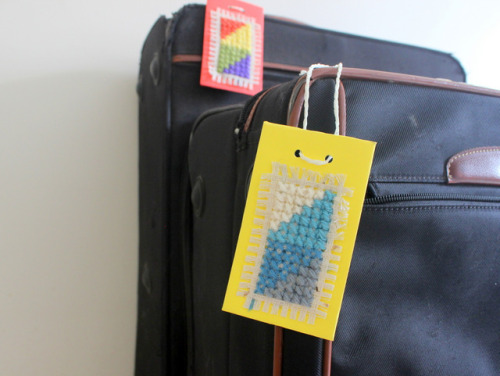
I’m really loving these handmade bag tags for my luggage. Scraps of ribbon bother me so much. So, this tutorial was a bit of a no brainer.
In case you don’t want to do cross stitch, you can use a simple image instead. Or, if you can learn cross stitch (I just learnt last week).
Have a great start to the week!
Post link
Printable Wrapping Paper #2
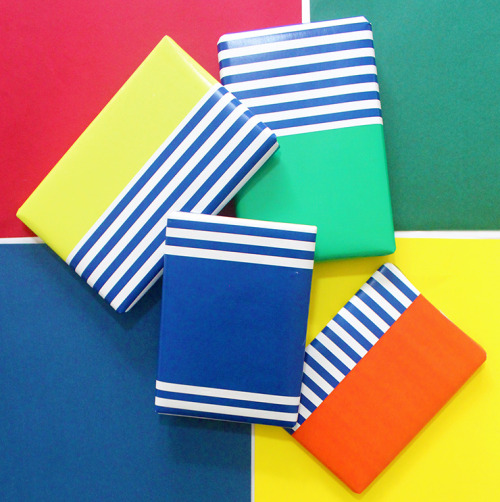
It’s been all about follow ups and customer requests, off late at The Craftables workshop. Last week, we made a clay pen holder for some pens we made a while back. And this week, by request, we are sharing a second set of free printable wrapping paper (check out the first, ombre pink set here). For this one, we went with a classic navy blue strip print, matching it with various block colors. It’s a very standard print that you can use for any occasion and for anyone. Click on this link to download and use the paper.
Post link

